Introduction
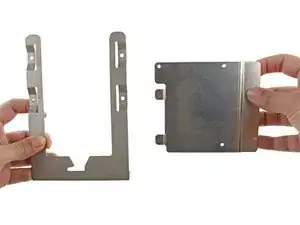
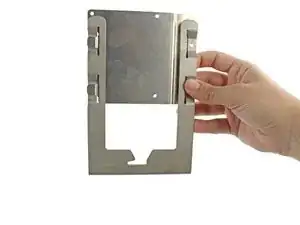
These steps will guide you through the process of removing your hard drive and then assembling a new hard drive to a Mac Pro First Generation Hard Drive Sled Adapter. The existing hard drive bay sled brackets in this device are meant to fit 3.5" hard drives, but this adapter enables you to install any SATA 2.5" solid state, hybrid, or standard hard drive. It also correctly aligns the SATA connector to match the socket in your Mac Pro.
Tools
-
-
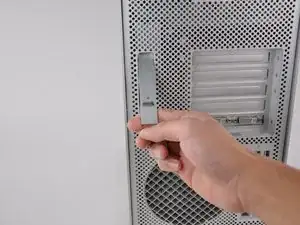
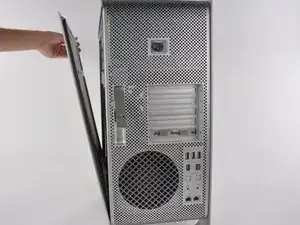
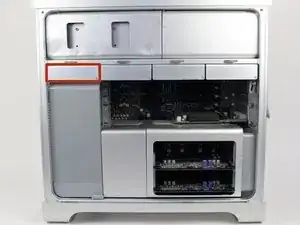
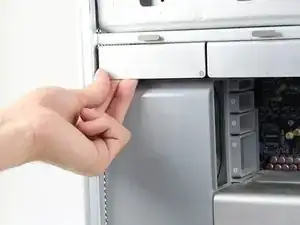
Locate the desired hard drive bay after opening the case .
-
This is usually the drive closest to the front of the case.
-
-
-
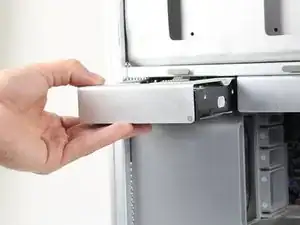
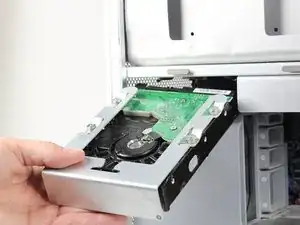
Pull the Hard Drive straight out by grabbing the metal sled from the bottom. It may be hard to pull out at first, but after it gets released the sled shouldn't take a lot of effort to remove.
-
-
-
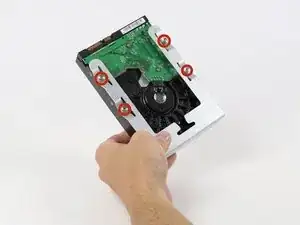
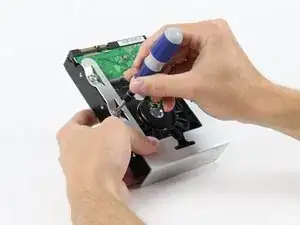
Locate the four 6-32 type screws on the Hard Drive sled.
-
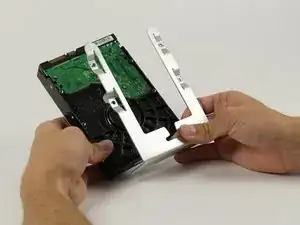
Using a Phillips head screw driver remove the four screws and separate the metal sled from the Hard Drive
-
-
-
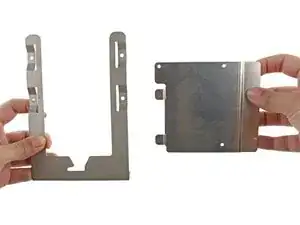
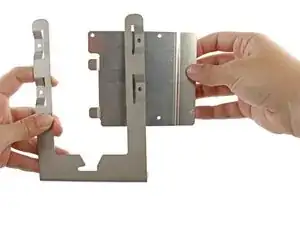
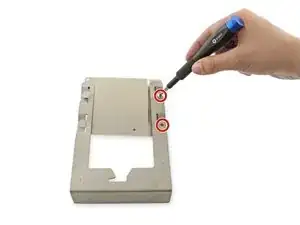
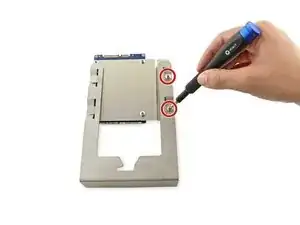
Insert the two tabs on the left side of the metal adapter bracket into the slots on the left side of the hard drive bay sled.
-
Align the holes on the right side.
-
-
-
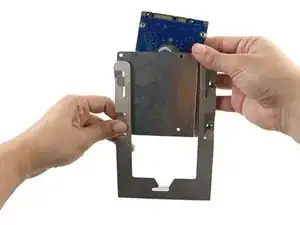
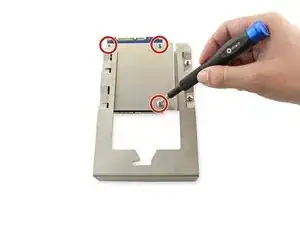
Align the holes in the hard drive with the three holes on the bracket.
-
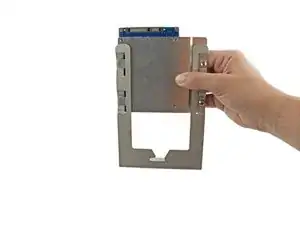
Screw the three 6.1mm PH0 screws into the bracket and hard drive.
-
To reassemble your device, follow these instructions in reverse order.
One comment
Tried installing these on MacPro5,1 today. Very disappointed. Sled does not slide into place correctly, and any attempt to nudge it into place only scratches the carrier.
Going back to OWC sled to mount SSD drives.
tjod -
