-
-
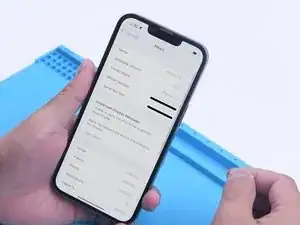
Recently, Phone Repair Guru posted a video about iPhone 13 screen replacement. After replacement, “Important Display Message” pops up. What’s worse, Face ID is not available. Since the iPhone 13 screen includes no flood illuminator module and all the parts for the TrueDepth system are housed in the iPhone itself.
-
REWA LAB speculates that the chip on the original screen has saved Face ID data. Transferring the chip to the new screen might solve the problem. Today, let’s verify this speculation
-
-
-
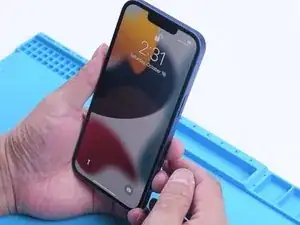
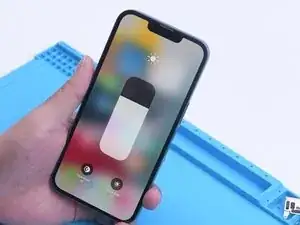
In the first place, we test the Face ID function of iPhone 13. True Tone function is normal. Face ID can be set up and is working fine
-
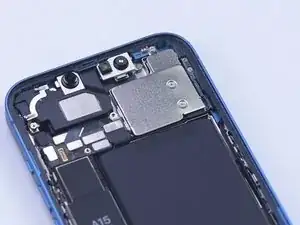
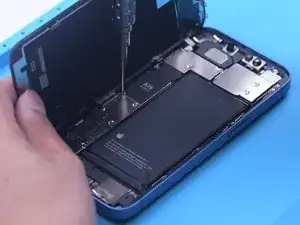
Then we disassemble the phone and try to replace the screen with an original and genuine one. Remove the original screen.
-
-
-
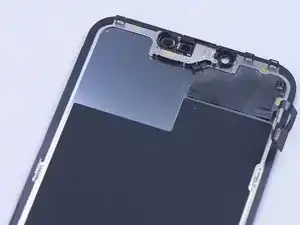
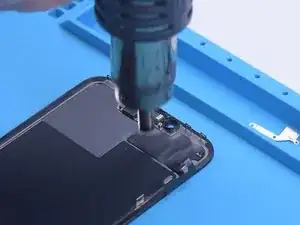
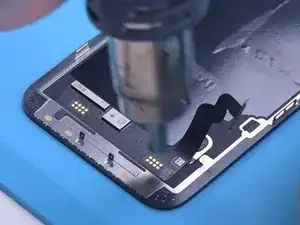
Detach the sensor flex cable with Hot Air Gun at 100 °C. Please be careful not to damage the flex cable when you remove it .
-
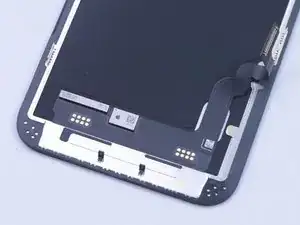
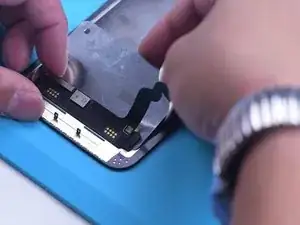
Attach the removed sensor flex cable to the new screen. Install the screws. Connect the new screen. Turn on the phone.
-
-
-
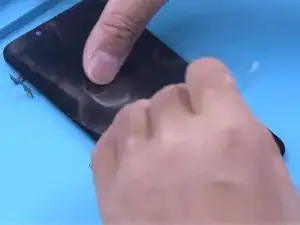
Next, we try to transfer the IC on the original screen to the new screen. Remove the new screen. To prevent scratches on the screen during operations, apply a protective film to the screen.
-
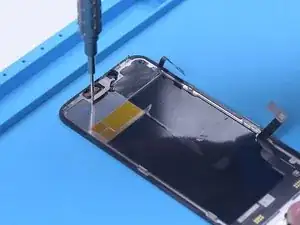
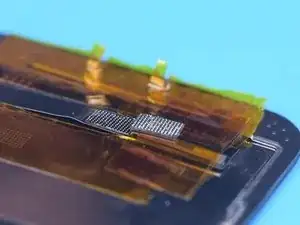
Heat the screen flex cable with Hot Air Gun at 100 °C. Gently pull up the flex cable.
-
To protect the screen, insert the reballing stencil under the flex cable for insulation.
-
-
-
Apply high-temperature tape.
-
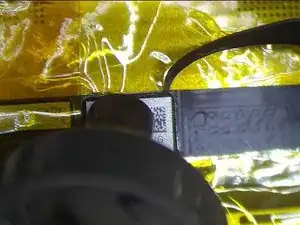
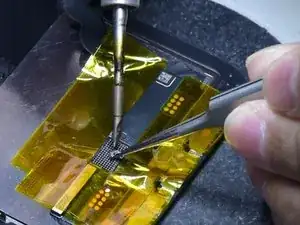
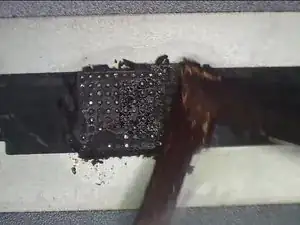
Remove black adhesive around the chip with Hot Air Gun at 240 °C.
-
To remove the chip, set the temperature to 300 °C and airflow to 6 .
-
-
-
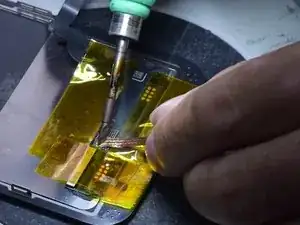
Apply some middle-temperature Solder Paste.
-
Clean the bonding pads with Soldering Iron at 360 °C and solder wick.
-
Keep cleaning the bonding pads with PCB Cleaner.
-
-
-
Next, remove the chip on the original screen with the same method.
-
Clean tin on the chip of the original screen. Apply some middle-temperature Solder Paste to the bonding pads. Clean tin and black adhesive on the bonding pads of the chip with Solder Wick. Keep cleaning the bonding pads with PCB Cleaner.
-
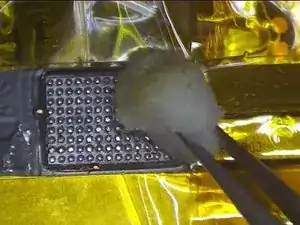
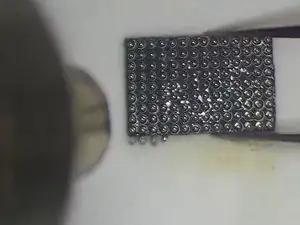
Next, reball the chip. Put the reballing stencil in position. Apply a layer of middle-temperature Solder Paste evenly.
-
-
-
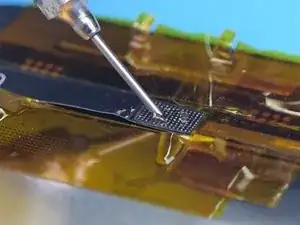
After the solder balls are formed, clean with PCB cleaner. Apply Paste Flux to the bonding pads of the new screen.
-
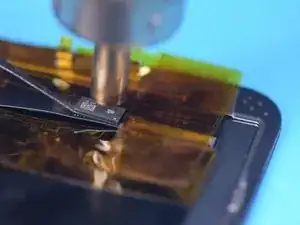
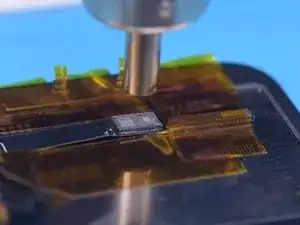
Align the chip of the original screen. Solder the chip with Hot Air Gun at 300 °C. Remove high-temperature tape after the flex cable has cooled.
-
-
-
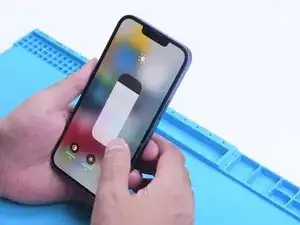
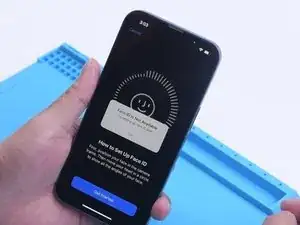
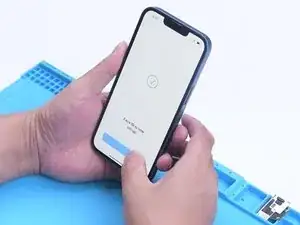
Connect the screen. Turn on the phone. There is no “Important Display Message”.
-
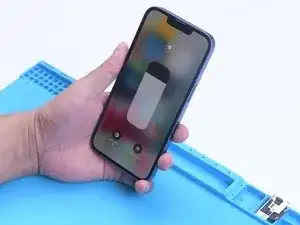
Face ID can be set up and is working fine. But True Tone hasn’t been restored.
-

To reassemble your device, follow these instructions in reverse order.

One comment
this is old. now no need display ic change for face id.
javad mv -