Introduction
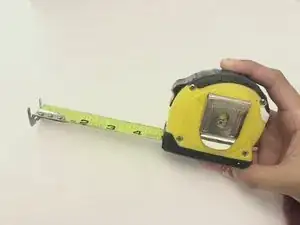
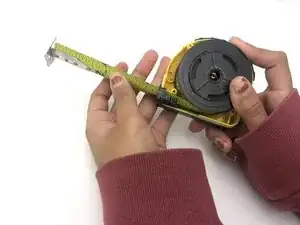
Use this guide to fix a non-retracting tape measure so that it retracts smoothly and on its own. The tape measure being fixed in this guide is the Ace 1in x 25ft Tape Rule. However, this guide should apply to any measuring tape needed. This guide requires a screwdriver to remove the screws depending on which kind of different screws tape measures may have. The purpose of this guide and why you should follow it is to make your tape measure retract smoother, faster and easier.
Tools
-
-
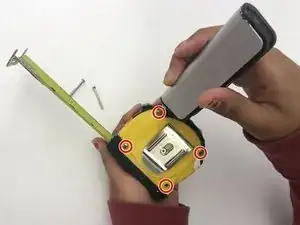
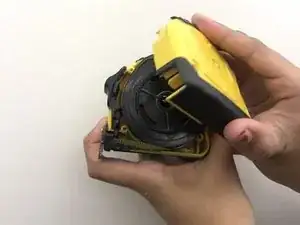
Remove the four 3mm Phillips #1 screws on the case around the clip.
-
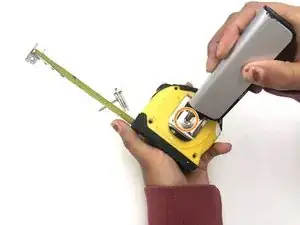
Remove the 3mm Phillips #1 screw from the center of the clip.
-
-
-
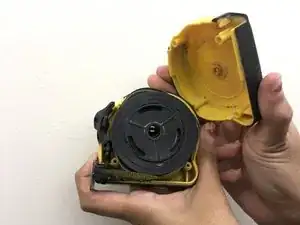
When the whole tape is out, slowly begin rolling it back in.
-
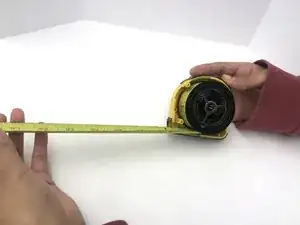
Roll it back in keeping your thumb firmly pressed on the wheel so that it goes back in smoothly and won't come out.
-
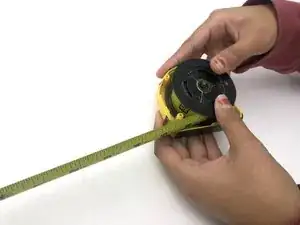
Once you start reaching the end, keep the tape straight with your thumb so that it retracts with no inconveniences.
-
-
-
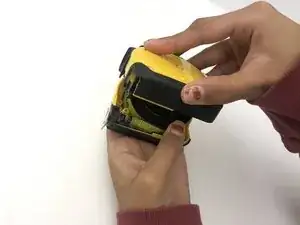
Once you have rolled the tape in again, place the top back on making sure the tape doesn't come out or roll out by itself.
-
-
-
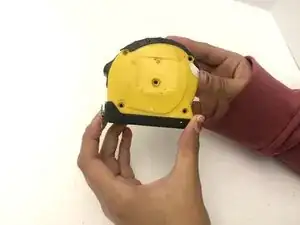
Begin placing the screws back in to their respective places and screwing them back in tightly.
-
Do this as you apply pressure on the top so that no parts come out.
-
-
-
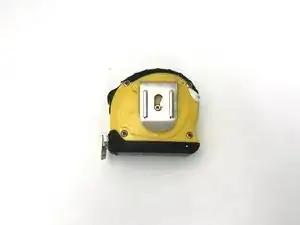
Once your screws are back on, check your tape measure to see if it works properly or not.
-
If it isn't working the way you wanted to, repeat steps 2-7.
-


To reassemble your device, follow these instructions in reverse order.
