Introduction

This is a prerequisite guide! This guide is part of another procedure and is not meant to be used alone.

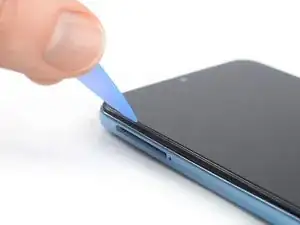
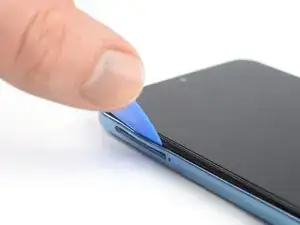
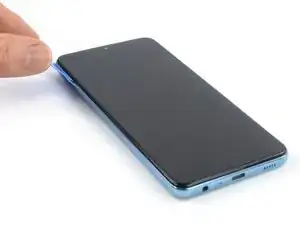
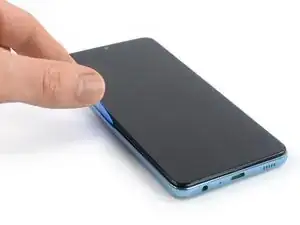
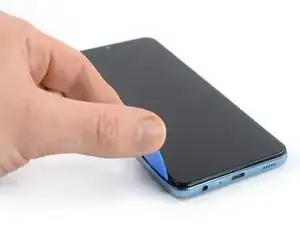
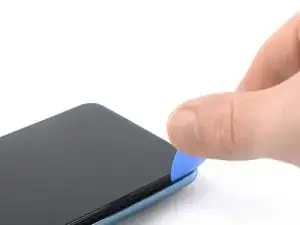
Use this guide to disconnect the battery in the Samsung Galaxy A32 5G.

  1. YFuWdcMkdDwISO4V
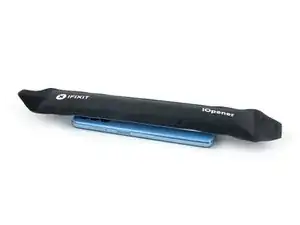
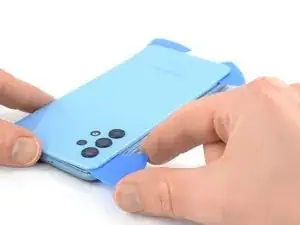
    • Prepare an iOpener and apply it to the back cover for at least two minutes to loosen the adhesive underneath.

    • A hair dryer, heat gun, or hot plate may also be used, but be careful not to overheat the phone—the display and internal battery are both susceptible to heat damage.

  2. gJda3ZWaNnGrBV4Z
    gJda3ZWaNnGrBV4Z
    SluTT2QUXBrIEiTn
    Twc1RWDfZBysrNIe
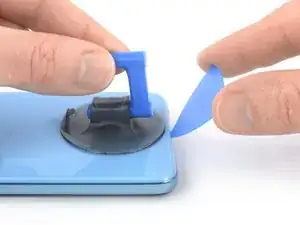
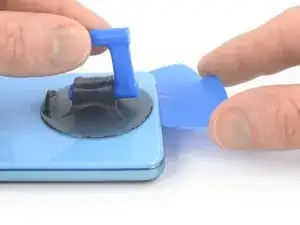
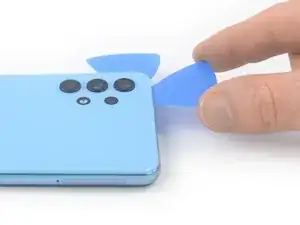
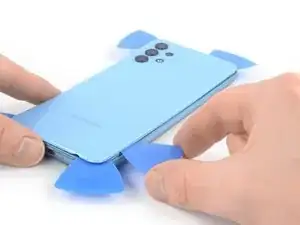
    • Secure a suction handle to the bottom edge of the back cover, as close to the edge as possible.

    • If the back cover is cracked, the suction handle may not stick. Try lifting it with strong tape, or superglue the suction handle in place and allow it to cure so you can proceed.

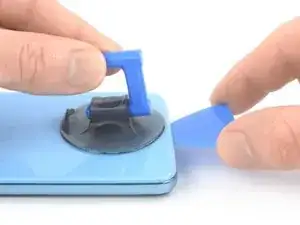
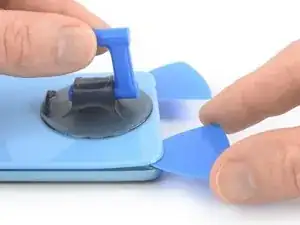
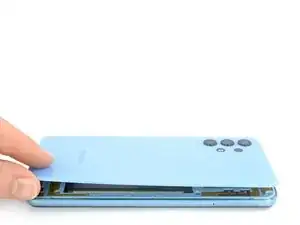
    • Lift the back cover with the suction handle to create a small gap between the back cover and the frame.

    • In case you have trouble creating a gap, apply more heat to further soften the adhesive. Follow the iOpener instructions to avoid overheating.

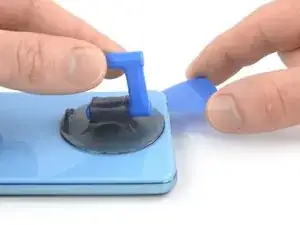
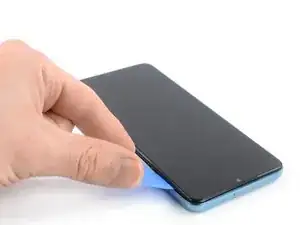
    • Insert an opening pick into the gap you created.

    • Slide the opening pick to the bottom right corner to slice the adhesive.

    • Leave the opening pick in place to prevent the adhesive from resealing.

  3. Sbm41JwyBEbOeQOR
    Sbm41JwyBEbOeQOR
    MNIWVWgliRkMFg1L
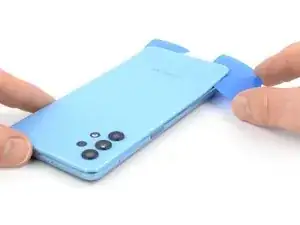
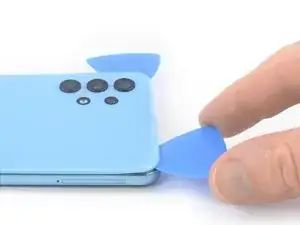
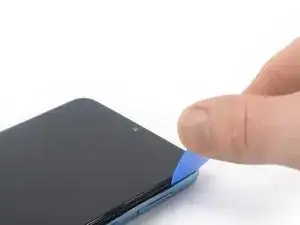
    • Insert a second opening pick at the bottom edge of your phone.

    • Slide the opening pick to the bottom left corner to slice the adhesive.

    • Leave the opening picks in place to prevent the adhesive from resealing.

  4. DD62PxSptCTcQJbw
    DD62PxSptCTcQJbw
    MXFyZygkagBNRJJ4
    wTIZKAIdbq4miMNV
    • If the adhesive becomes hard to cut, it has most likely cooled down. Use your iOpener for one to two minutes to reheat it.

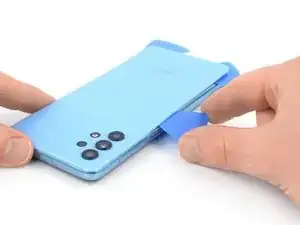
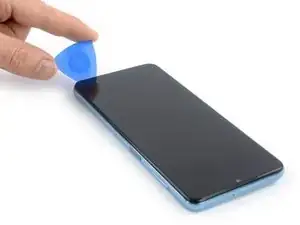
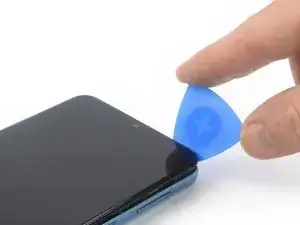
    • Insert a third opening pick at the bottom left corner of your phone.

    • Slide the opening pick along the left edge of your phone to slice the adhesive.

    • Leave the opening pick in the top left corner to prevent the adhesive from resealing.

  5. qUSMoIlJRnfw2PXy
    qUSMoIlJRnfw2PXy
    eMfMLMoZW5TSCYBG
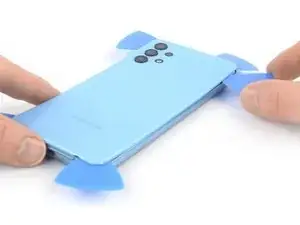
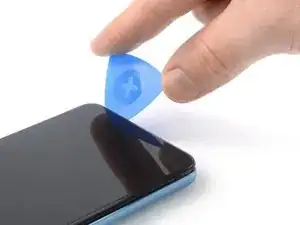
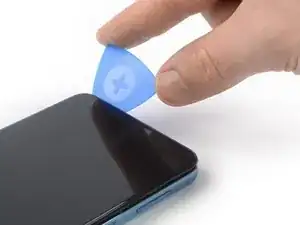
    • Insert a fourth opening pick underneath the top left corner of your phone.

    • Slide the opening pick along the top edge to slice the adhesive.

    • Leave the opening pick in the top right corner to prevent the adhesive from resealing.

  6. PbfBGQ1FCOr1LyVI
    PbfBGQ1FCOr1LyVI
    eSblSQRVj6KQToLI
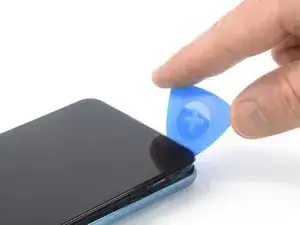
    • Insert a fifth opening pick underneath the top right corner.

    • Slide the opening pick along the right edge of the back cover to slice the remaining adhesive.

  7. jIfeiZ1vDDXpeVGu
    jIfeiZ1vDDXpeVGu
    JVwoRt2hxQtQcftF
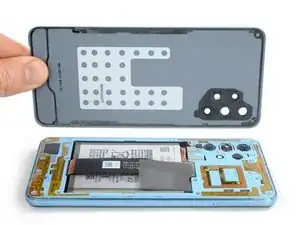
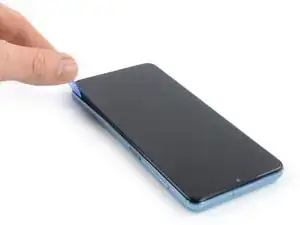
    • Remove the back cover.

    • Apply new adhesive where necessary after cleaning the relevant areas with isopropyl alcohol (>90%).

    • Secure the new back cover with pre-cut adhesive or double-sided adhesive tape. After installing the back cover, apply strong, steady pressure to your phone for several minutes to help the adhesive form a good bond—a stack of heavy books works well.

  8. bUWUKJiR3MuGoMYo
    bUWUKJiR3MuGoMYo
    e4nBksEHxagapOMe
    i5lviJByldgPW2In
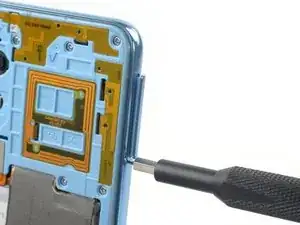
    • Insert a SIM card eject tool, a SIM eject bit, or a straightened paper clip into the hole on the SIM tray located at the left edge of the phone.

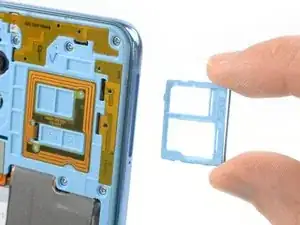
    • Press directly into the hole to eject the SIM card tray.

    • Remove the SIM card tray.

  9. DYDxSpQIQAKbHU3g
    DYDxSpQIQAKbHU3g
    FcofFbpnEaYi5Xmg
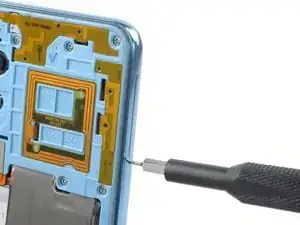
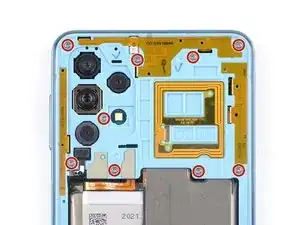
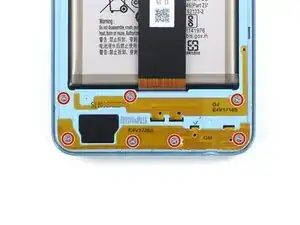
    • Use a Phillips screwdriver to remove the sixteen 4.1 mm-long screws securing the midframe.

    It would be useful to show a picture,here, highlighting the 7 screws below the battery that also require removal.

    Robin Lewis -

  10. hKkH3XlncE21nUSu
    hKkH3XlncE21nUSu
    NlSktBeh6nO5PaXL
    • Use a spudger to disconnect the power and volume button flex cable by prying the connector straight up from its socket.

  11. VCux2i5wUwkHNdNj
    VCux2i5wUwkHNdNj
    EpLgkr1dFFpYtVEG
    • The midframe of the Samsung Galaxy A32 5G is held in place by plastic clips.

    • Insert an opening pick between the midframe and front panel assembly on the left edge of the phone where the SIM tray slot is located.

  12. Ti2CqNtQ1lqnRHPN
    Ti2CqNtQ1lqnRHPN
    inmLlV4wVYpxI3l6
    Rl2OYyB3gxhGFgtH
    • The plastic clips of the midframe are sitting in place tightly. Releasing them might require some force.

    • Slide the opening pick along the left edge of the phone to release the plastic clips.

  13. BwvMBZINXKKItRpW
    BwvMBZINXKKItRpW
    KYldN4GXJMCk3y1G
    MRdtlgYlqqU3DMEg
    • Slide the opening pick around the bottom left corner.

    • Slide the opening pick along the bottom edge of the phone to release the plastic clips.

  14. EMLvkJGRVPbZNkyR
    EMLvkJGRVPbZNkyR
    iVIAoAmEoAVepSPQ
    dEZUSIZZyyUg4aaG
    • Slide the opening pick around the bottom right corner.

    • Slide the opening pick along the right edge of the phone to release the plastic clips.

  15. VTwtahSXjkvGmvMs
    VTwtahSXjkvGmvMs
    mUHAwKwWsDCmiFJN
    uYnxSeI34f6VjLa5
    • Slide the opening pick around the top right corner.

    • Slide the opening pick along the top edge of the phone to release the remaining plastic clips.

  16. 6JJpGWXlWhGF6NEo
    6JJpGWXlWhGF6NEo
    HpAtHRjGwx4ZTllA
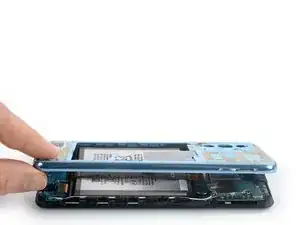
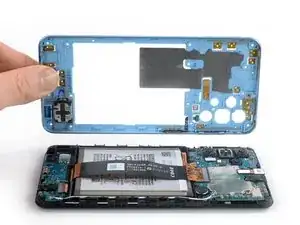
    • Place your phone with the display facing downwards on your working surface.

    • Remove the midframe.

  17. NeFCuMEVWLEwAccx
    NeFCuMEVWLEwAccx
    A6m4uRl13QjwmZMx
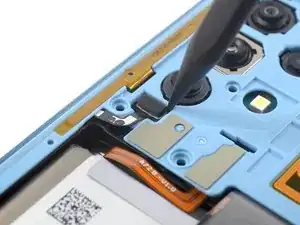
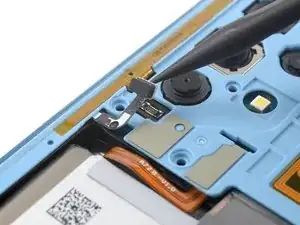
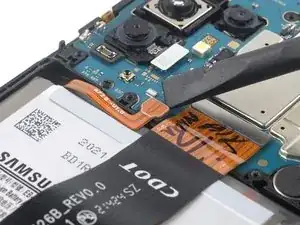
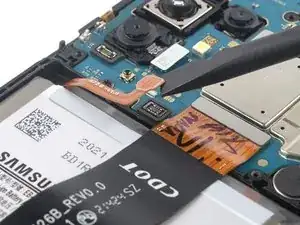
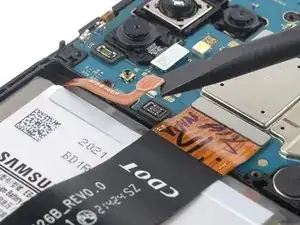
    • Use a spudger to disconnect the battery cable by prying the connector straight up from its socket.

Conclusion

To reassemble your device, follow these instructions in reverse order.
Dominik Schnabelrauch

Member since: 23/11/16

201162 Reputation

0 comments