Introduction
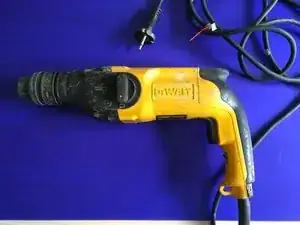
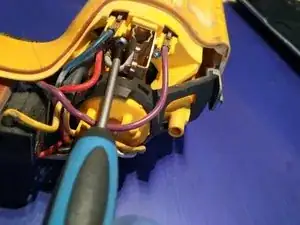
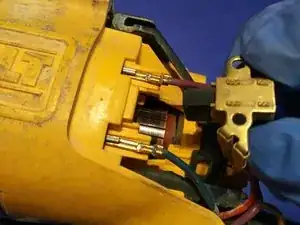
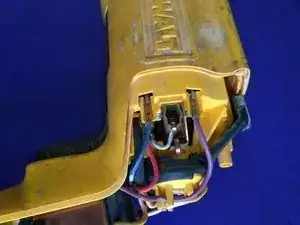
I have a broken drill , we will try to find out what the problem is, You will see how we take this drill apart en check out the components and parts.
Tools
-
-
first of all we will check the power.
-
plug your drill into a power outlet and try it.
-
If the machine wants to start but immediately shuts down , there is a chance the brushes needs to be replaced.
-
If no power comes up ( like mine) you have to check the power cord first
-
-
-
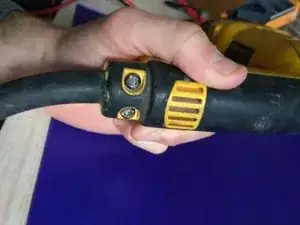
remove the 2 flathead/ torx screws holding the plastic frame at the bottom.
-
remove the flathead/torx screw at the upper side of the frame.
-
slide the frame to the right.
-
-
-
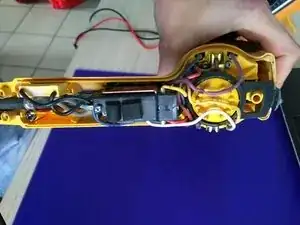
check the brown and blue wire with a multimeter.
-
put the red probe from the multimeter on the brown cable and ( copper head)and the black probe of the multimeter on the blue wire ( copper head)
-
if you measure 230 V it should be ok ( in Europe it is 230 V.. i think in the US it would be 110V ...)
-
-
-
Remove power cable by removing the 2 flathead/torx screws.
-
be gently and careful with the condensator. ( yellow "briwk" with the 2 black small wires.
-
-
-
check fot bad connections. ( in this case you will see one bad connection from the condensator )
-
-
-
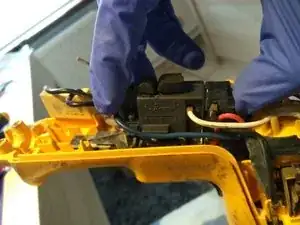
pull out the switch to check the connections and measure out the switch.
-
how more powerfull the motor , the more likely a bad switch is.
-
-
-
when replacing : push the brush in the head ; click the wire on the right place and put it back. sometimes you will need to push the brush in place.
-
To reassemble your device, follow these instructions in reverse order.
