Introduction
Use this guide to replace the clutch cable in a Honda Light Duty Tiller F220K1AT715492.
Tools
Parts
-
-
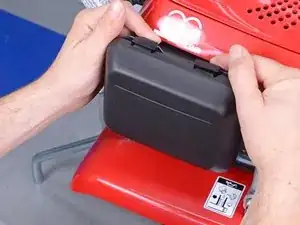
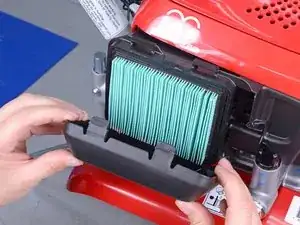
Push down on the two tabs at the top of the air filter cover.
-
With the two tabs depressed, swing the top of the cover down.
-
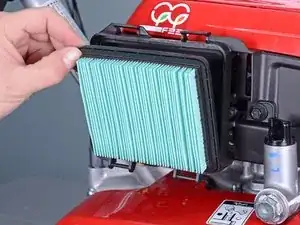
Remove the cover.
-
-
-
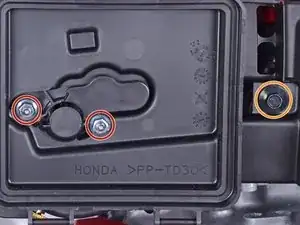
Use an 8 mm socket to remove the following fasteners securing the air cleaner housing:
-
Two silver nuts
-
One black bolt
-
-
-
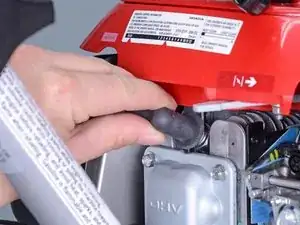
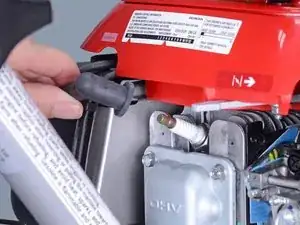
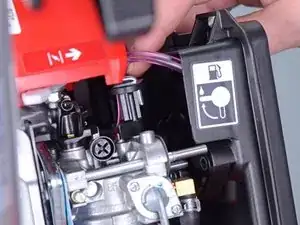
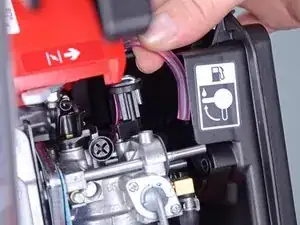
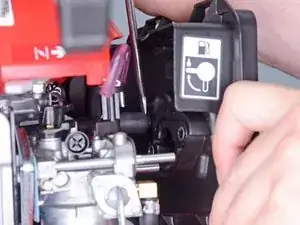
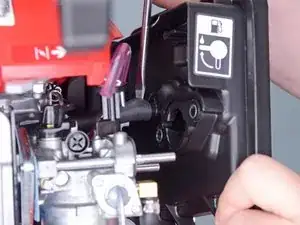
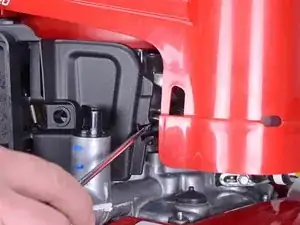
Use a flathead screwdriver to gently pry the black breather tube off of its connector on the back of the air cleaner housing.
-
-
-
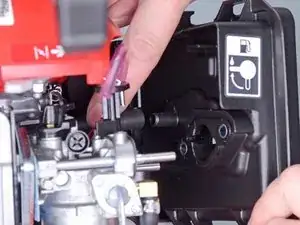
Hold the black carburetor hose in place and rotate the air cleaner housing clockwise until you can slide the hose out of its slot on the air cleaner housing.
-
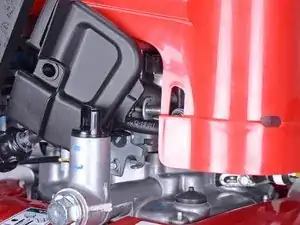
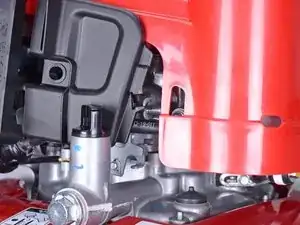
Remove the air cleaner housing.
-
-
-
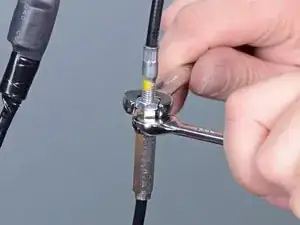
Use an 8 mm wrench to hold the clutch cable barrel adjuster in place while you use a 10 mm wrench to loosen the lock nut.
-
Continue to loosen the lock nut until it is against the end of the threads.
-
With the lock nut against the end of the threads, tighten the barrel until it is against the lock nut to add as much slack as possible to the cable.
-
-
-
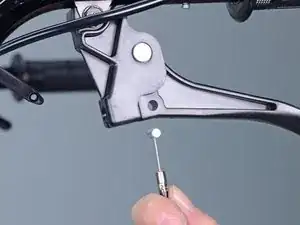
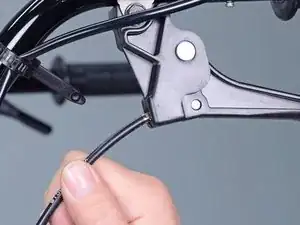
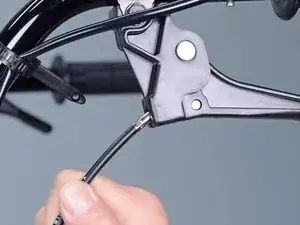
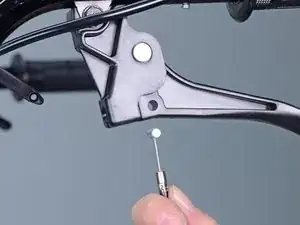
Slide the clutch cable housing straight out of its hole in the clutch lever.
-
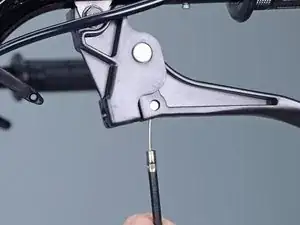
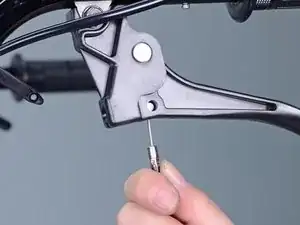
Rotate the cable and housing through the slot in the lever until the cable is perpendicular to the lever.
-
-
-
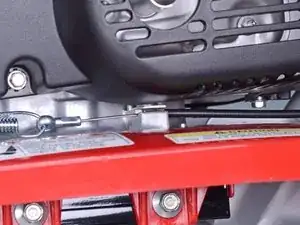
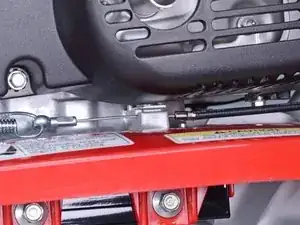
Slide the clutch cable housing out of its bracket on the tiller.
-
Slide the clutch cable through the slot in the bracket to free it.
-
To reassemble your device, follow these instructions in reverse order.
