Introduction

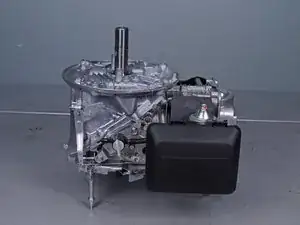
Prerequisite only! This guide shows how to remove the engine from a Honda HRS216K6 lawn mower to perform internal repairs.

Drain the fuel from the fuel tank before you begin this procedure. Any fuel remaining in the tank will spill out. Be ready to contain any spillage.

  1. KgTyDCpKdfQlSt5Y
    KgTyDCpKdfQlSt5Y
    kSEyWB54vxDqwdCw
    • Before you begin, make sure the engine is switched off and cool to the touch.

    • Grab the plastic housing at the end of the spark plug wire and pull firmly to disconnect it.

  2. ZnCqJWSd25ZH5MFt
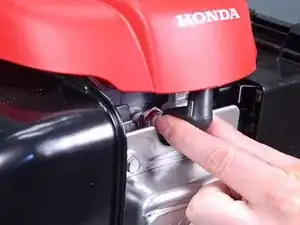
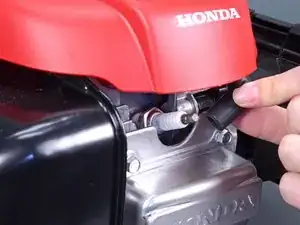
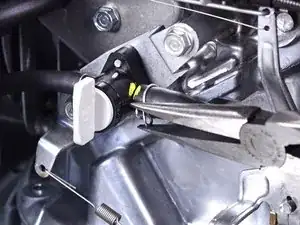
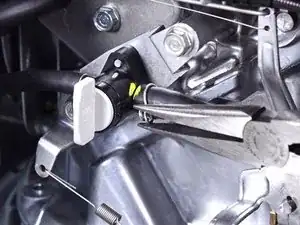
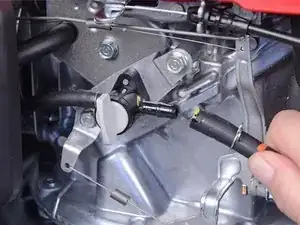
    • Turn the fuel cutoff valve to the off position to restrict fuel flow during disassembly.

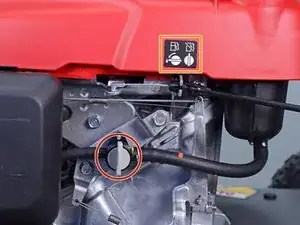
    • Turn the fuel cutoff valve clockwise so the handle becomes vertical.

  3. c6oalgBmtpCEHKT6
    c6oalgBmtpCEHKT6
    sfNmfT1sxsmM3qon
    uWCAMGaYlDWO5bkg
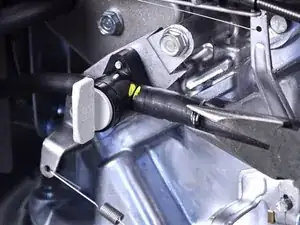
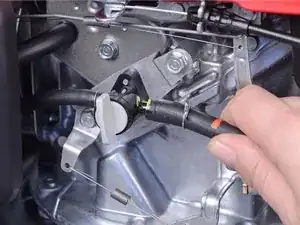
    • Use needle nose pliers to compress and slide the tube clamp away from the cutoff valve's fitting.

  4. teLaZwyqsfhu1RpE
    teLaZwyqsfhu1RpE
    LVGMcRZfWrFxLc1t
    • Residual fuel may leak out of this hose. Be ready to catch any spillage.

    • Disconnect the fuel line from the cutoff valve.

  5. ICKaCMRBhoT3nPxA
    • Use needle nose pliers to squeeze the two locking tabs on the brake cable latch.

  6. JAQAXwJlhfUDTXIh
    JAQAXwJlhfUDTXIh
    2iRYmrCWbxpSBR6G
    o1VNecieGuoKlBAI
    • Pull to unlatch the cable sheath.

    • Pull the brake cable away from the motor.

  7. 6ZND4DyOoQDuZk5B
    6ZND4DyOoQDuZk5B
    orCyecaAGmOQWYYN
    6pZfDvWvUQHOarAh
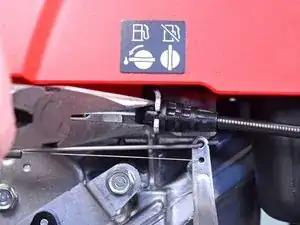
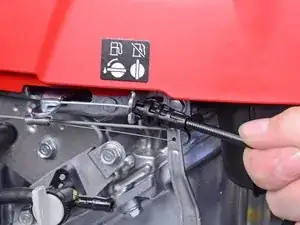
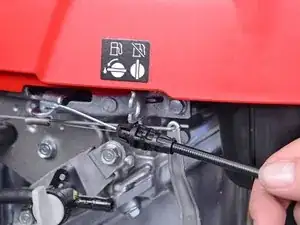
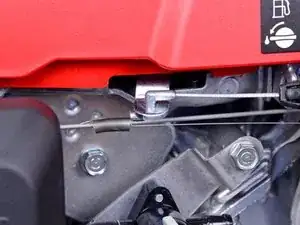
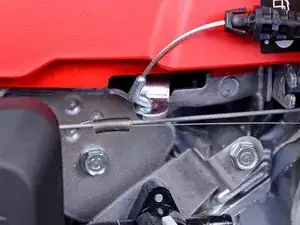
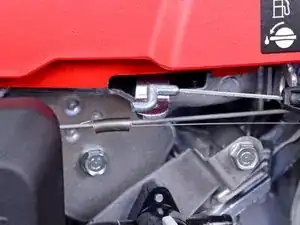
    • Push the cable towards the cable anchor to give it enough slack to be removed.

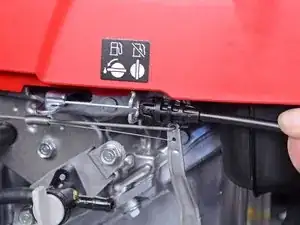
    • Remove the brake cable from the motor.

  8. ZuBiLt5GSOQFPrZJ
    ZuBiLt5GSOQFPrZJ
    3RZgnMc5xyocHo5E
    khGtRUSPUVfCIpDN
    • Pull the pull start cord out of the small opening on the handle post and remove it.

  9. vhxWtZCwHIsblXSL
    • Remove the three 10 mm nuts securing the fan cover.

  10. F2vhrrIXMNCJc4DP
    F2vhrrIXMNCJc4DP
    NHkN2uhubmJyV6mM
    • Remove the fan cover.

    • The fuel tank is connected to the fan cover. They will both come out as one unit.

  11. 5RlB1cElgOxJZvVM
    • Remove the 19 mm nut securing the flywheel and cooling fan to the motor.

  12. PsTQFKG5EwByRqui
    PsTQFKG5EwByRqui
    LPcnMCIAJUaUDHoi
    • Remove the washer on top of the cooling fan.

    • Remove the cooling fan.

  13. npYhgPsGZ1cbmNnH
    npYhgPsGZ1cbmNnH
    WvULfVhZhBgJJORf
    • Caution: The flywheel may come loose at any time during this step, potentially sending itself and the puller into the air. Before you begin this step, be sure to wear PPE.

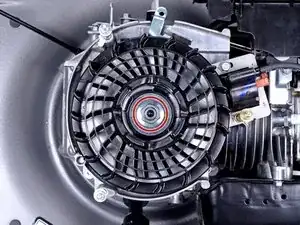
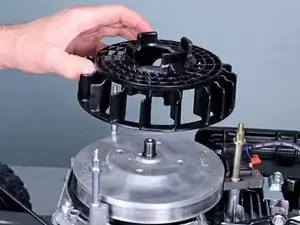
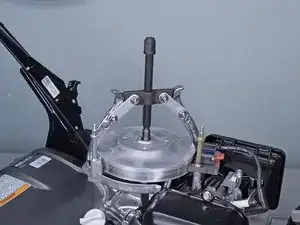
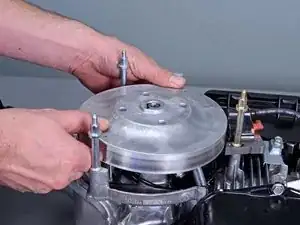
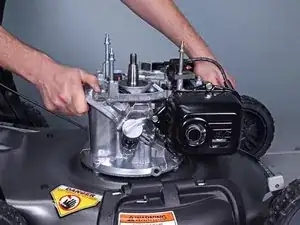
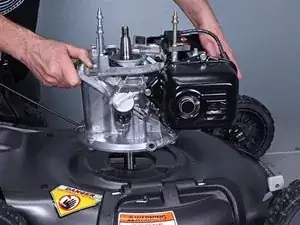
    • Use a universal puller to loosen the flywheel from the tapered pressure fit on the end of the crankshaft.

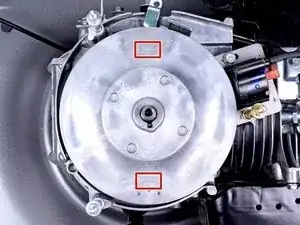
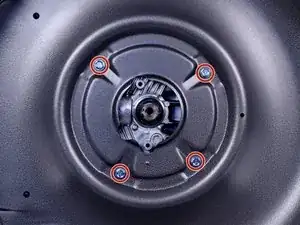
    • Attach the universal puller arms underneath the denoted "puller" sections on the flywheel.

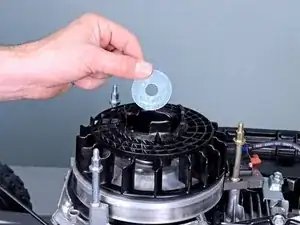
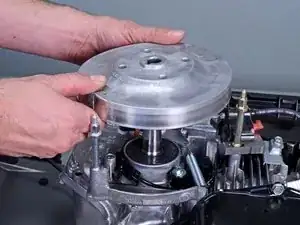
    • Use a wrench to torque down the puller to slowly loosen the flywheel.

    • This may take a lot of force.

    • If the flywheel seems to become stuck after significant pressure is applied with the universal puller, use a blowtorch to slowly apply heat where the flywheel contacts the crankshaft.

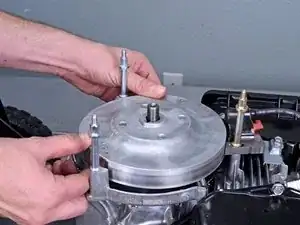
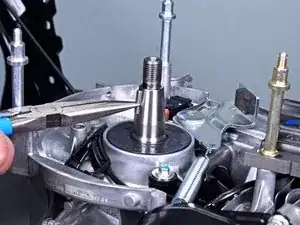
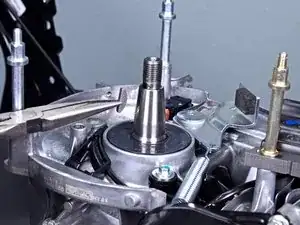
    • The flywheel will "pop" off the crankshaft once loose.

  14. ATVFJniFTaHdRMXT
    ATVFJniFTaHdRMXT
    t1JuHAJ6fmNADOOA
    JnKVEvCpUMDTuRos
    • Remove the flywheel.

    • If the flywheel became deformed at all during the last step, it will need to be replaced before reinstallation.

    • During reassembly, make sure to align the flywheel with the flywheel key.

  15. 5kDtSkJyoEWd6pMq
    5kDtSkJyoEWd6pMq
    Wp1crMv6AuCcwuva
    • Use needle nose pliers to remove the flywheel key from its slot in the crankshaft.

    • During reinstallation, make sure the key is fully seated in the slot. Otherwise the flywheel will not fit correctly.

  16. WW1cxNYJFWN2WPj5
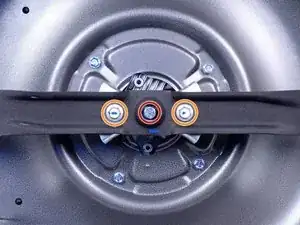
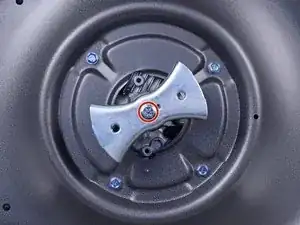
    • Loosen, but don't remove, the shiny 14 mm blade holder bolt.

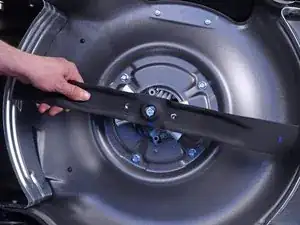
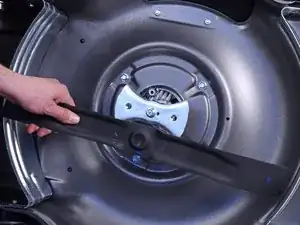
    • Remove the two matte 14 mm bolts securing the blade to the blade holder.

  17. x4A2iseDwcBD3mCp
    x4A2iseDwcBD3mCp
    IIOruQglIEeB2ewx
    • Remove the blade.

    • If the blade is heavily used, it may be sharp in some areas. If this is the case, use gloves to remove it.

  18. YlntfADoXvVWWEnl
    • Fully remove the 14 mm bolt securing the blade holder to the crankshaft.

  19. pKIviZMZhNAulDJh
    pKIviZMZhNAulDJh
    eM3UpbmGpKkPWMK5
    • Remove the blade holder.

    • If the blade holder is difficult to remove by hand, use a pry bar for more leverage.

    • The blade holder will come out with its accompanying shaft key.

  20. 1qL4aVuGSijuksah
    • Remove the four 12 mm bolts securing the motor to the frame.

    • Once these bolts are removed, the engine will be free to fall off the mower frame. If you are removing the bolts while the mower is on its side, you may need another person to steady the motor.

  21. dOIefGuCWe2DL62q
    dOIefGuCWe2DL62q
    Te4SrHVSZknEPxtM
    • Lift the engine off of the mower frame and remove it.

Conclusion

To reassemble your device, follow these instructions in reverse order.

Carsten Frauenheim

Member since: 10/03/20

110978 Reputation

0 comments