Introduction

Follow this guide to replace a worn or damaged carburetor on the Honda FC600 tiller.

  1. afWWneI6nJJNnTSX
    afWWneI6nJJNnTSX
    aS1c2GhSauaImBWG
    NhrR5ZLy6WLc61ai
    • Before you begin, it's important that you completely cut power to the tiller by disconnecting the spark plug. This will prevent the engine from accidentally starting up while you're working on the tiller.

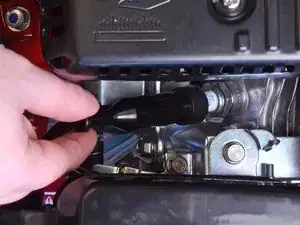
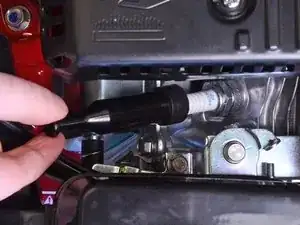
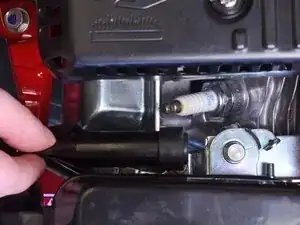
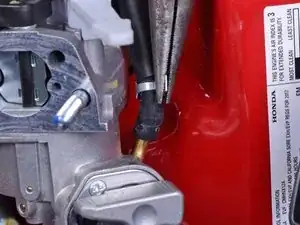
    • Grab the spark plug cap and pull it straight out to disconnect the spark plug from the engine.

  2. P1UYBKTCWwJTKOQr
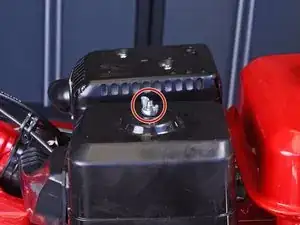
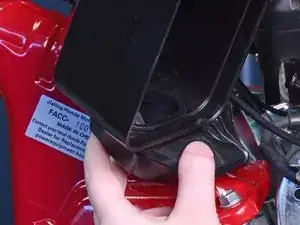
    • Use your fingers to unscrew and remove the wing nut securing the air filter cover to the air filter elbow.

  3. qAIxaFLEJvLaLMi5
    qAIxaFLEJvLaLMi5
    RAxmLOBFh5QAeeXs
    • Lift up and remove the air filter cover to reveal the air filter.

    • The air filter cover will still be attached to the tiller by a flexible hose. You can push the cover to the side while you continue to work on the tiller, or follow the next two steps to completely remove the cover.

  4. E3g5rgJjlo6URDCI
    E3g5rgJjlo6URDCI
    O2DXEP1sOEY2HayD
    • The next two steps are optional, but they will make it easier to work on the tiller from here on out.

    • Squeeze the metal clip on the inside of the air filter cover and remove it.

  5. awwj62TXZUOClaJB
    awwj62TXZUOClaJB
    gIEhprLPHA2vdfAW
    • Hold onto the air filter hose and pull on the air filter cover to remove it.

  6. AAKoZXBevEt2npI4
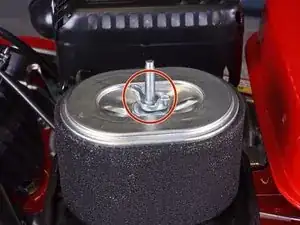
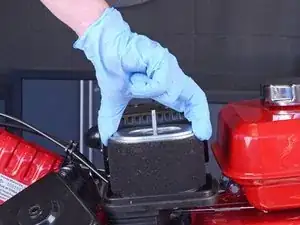
    • Use your fingers to unscrew and remove the wing nut securing the air filter to the air filter elbow.

  7. DFDSd34Ae1BMeWnq
    DFDSd34Ae1BMeWnq
    Q5rVOkCCiUj3gYdW
    • Wear gloves or use a rag during this step, as the air filter is coated with oil.

    • Lift the air filter straight up off the elbow, making sure it clears the threaded rod.

  8. vaSMThSXlIKtsSPw
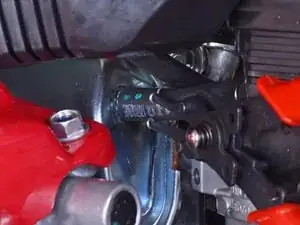
    • Use a 10 mm socket and socket wrench to remove the 25.5 mm-long bolt securing the air filter elbow to the tiller.

  9. MbPxpQVOrxEWgjxi
    • Use a 10 mm socket and socket wrench to remove the two nuts securing the air filter elbow to the carburetor's threaded rods.

  10. SY4ZvWQRmwlQ41El
    SY4ZvWQRmwlQ41El
    BuTcthOv2SKITVJq
    ZKkBUqkuFIvxBgls
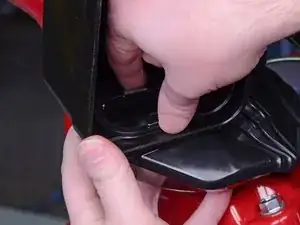
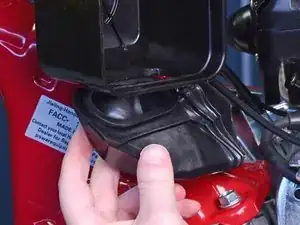
    • Use a pair of snap ring pliers to loosen the spring hose clamp on the breather tube, pulling it out 2-3 cm so it's not clamping onto the end of the tube.

  11. K1yHLZr4UHiXrKKf
    K1yHLZr4UHiXrKKf
    II5eVlguGvnOBYUS
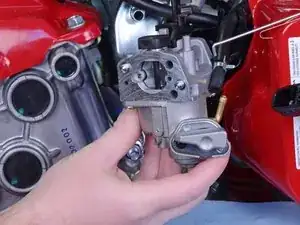
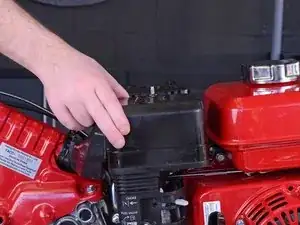
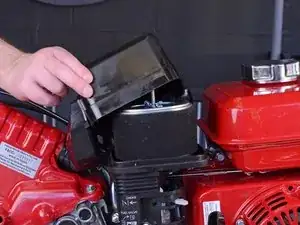
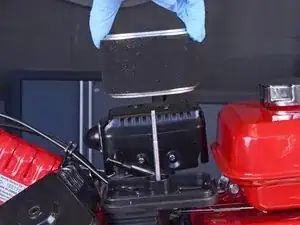
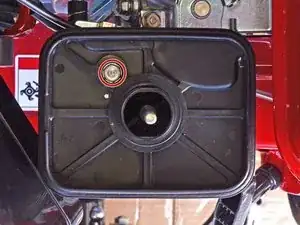
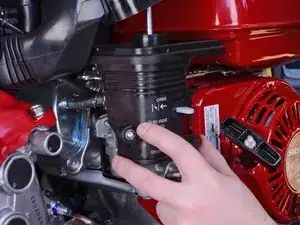
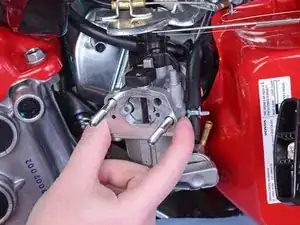
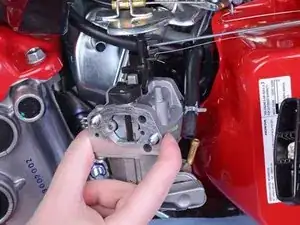
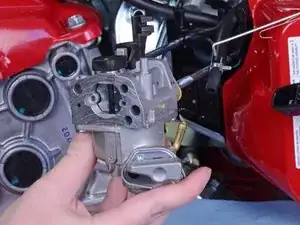
    • Pull the air filter elbow straight off, making sure it clears the carburetor's threaded rods.

    • As you remove the elbow, you may need to use your other hand to remove the breather tube from the engine's valve cover.

  12. GPy2AECpDfbMDtml
    GPy2AECpDfbMDtml
    TDVDsQHYQQbQS3Os
    • Pull the carburetor spacer straight off, making sure it clears the threaded rods.

  13. pDUJbsTnC1SZNLTc
    pDUJbsTnC1SZNLTc
    JvfLC3hfLJll6XcE
    • Pull the choke lever straight up to remove it from the carburetor.

  14. rtdNXjcaJB5RYhJd
    rtdNXjcaJB5RYhJd
    F2HJWYKZENQ55Vji
    YxWoMEH2jeZkbTYe
    • The next two steps demonstrate how to empty gasoline out of the carburetor before removal.

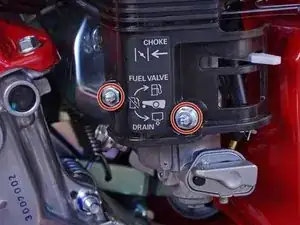
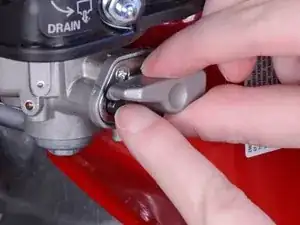
    • Press and hold down the fuel valve's safety lock button.

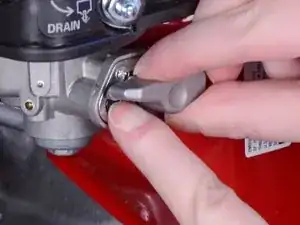
    • Begin to turn the fuel valve knob counter-clockwise, continuing to hold down the safety lock button until the knob clears the button.

  15. BefsYqK3Tsw6Zmle
    BefsYqK3Tsw6Zmle
    1mFLOgQjUUq4MuiT
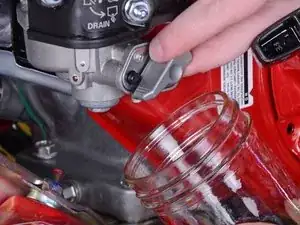
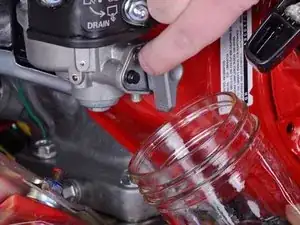
    • Place a small gasoline-safe container under the drain spout.

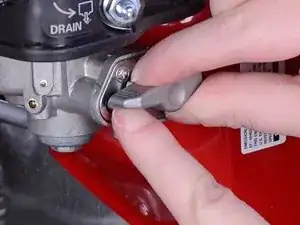
    • Turn the fuel valve knob counter-clockwise until it faces downward to drain any gasoline that may be remaining in the carburetor.

  16. UaAd1L3VZv6uaG3D
    UaAd1L3VZv6uaG3D
    T15UCxrDiUMWGOpa
    KYtwV31oyB5wIxUS
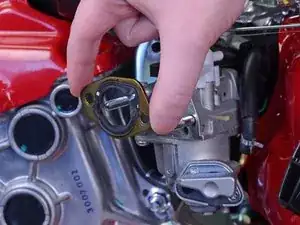
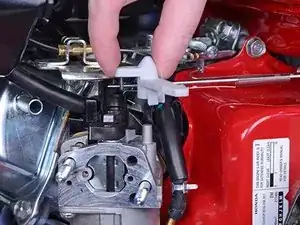
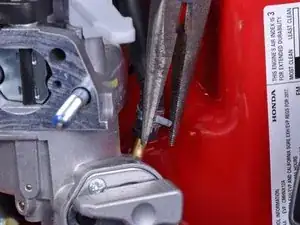
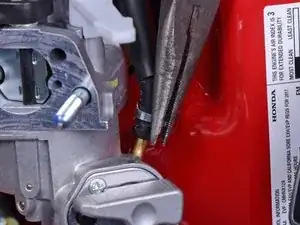
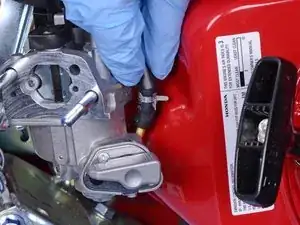
    • Use a pair of needle nose pliers to squeeze and loosen the spring hose clamp on the fuel supply hose.

    • Move the clamp up 2-3 cm so it's not clamping down onto the end of the tube.

  17. 25WXfBYeGT31Vp2b
    25WXfBYeGT31Vp2b
    qRILNZGbPRrVcyqC
    • Wear gloves or use a rag during this step, as gasoline will begin to drain out once you remove the hose.

    • If you didn't completely drain the fuel tank beforehand, have a gasoline-safe container ready to catch the gasoline as it drains out of the hose.

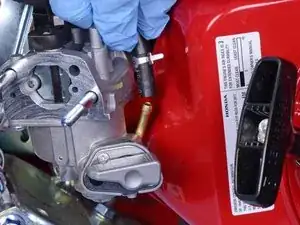
    • Grab onto the end of the fuel supply hose and pull it straight up to disconnect it from the carburetor.

  18. QU4VxgJhqWhbHtw1
    QU4VxgJhqWhbHtw1
    G36LPhK56DsHLZRk
    • Pull the carburetor halfway out, but do not completely remove it yet.

  19. GMLoyXqNbwlbtEpS
    GMLoyXqNbwlbtEpS
    KkGCdN6UGCSopkUk
    oHAXVBOlBFs5ZiOU
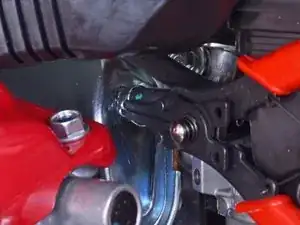
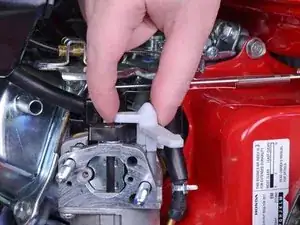
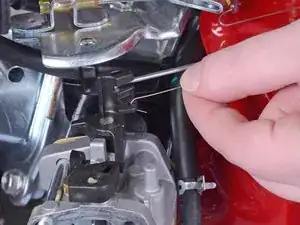
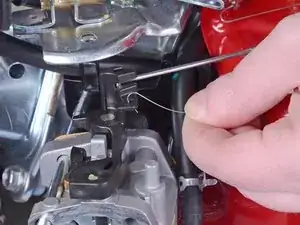
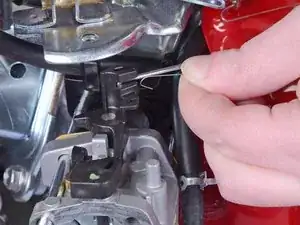
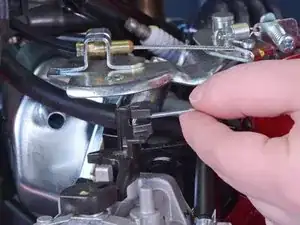
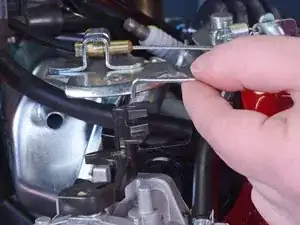
    • Grab the throttle return spring and push it down to point the tip of the hook downward.

    • Apply an upward motion to lift the tip of the hook out of its connector on the carburetor.

  20. CuS3rYEQmQIlPgsi
    CuS3rYEQmQIlPgsi
    eHeseay2bEA2Eo1f
    • Grab the governor rod and lift it straight up to remove it from the carburetor.

  21. GZyemb6kCgqZRiTM
    GZyemb6kCgqZRiTM
    PPGN5EZdMjKSQWuO
    • Pull the carburetor straight off of the threaded rods to remove it.

  22. gBSWmBwtc5VlZvZL
    • The outlet on the rear of the carburetor has a thin gasket. Inspect the gasket's condition and replace if needed.

Conclusion

To reassemble your device, follow these instructions in reverse order.

Craig Lloyd

Member since: 10/02/16

35240 Reputation

0 comments