Introduction
-
-
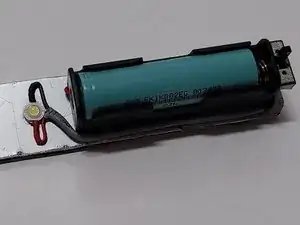
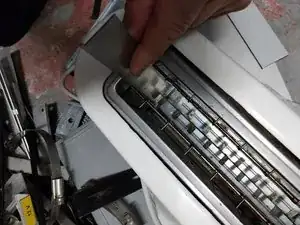
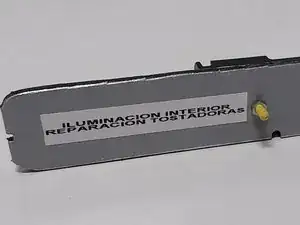
FLASHLIGHT OR PORTABLE LIGHT POINT TO ILLUMINATE THE INSIDE OF TOASTERS AND FACILITATE THE REPAIR OF BROKEN NICHROME WIRE.
-
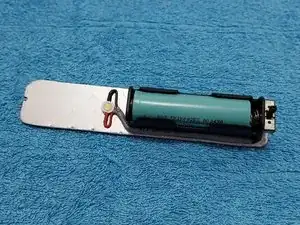
Made with a piece of alucobond, (Aluminum - plastic - Aluminum) can also be made with a piece of aluminum or sheet metal left over from what I have in the storage room for small designs and repairs.
-
What are the benefits of this tool? 1º LIGHT THE WHOLE INTERNAL HOLE of the toaster. 2º TO HOLD THE MOBILE GUIDE WHERE THE TOAST IS LAPPED ON THE TOAST, FIXING IT AT THE BOTTOM, to facilitate the introduction of the hands and tools. 3º IN SIMPLE TOASTERS WITH ONLY ONE HOLE, SEPARATION OF THE 2 LATERAL GUIDES THAT CENTER THE TOAST
-
-
-
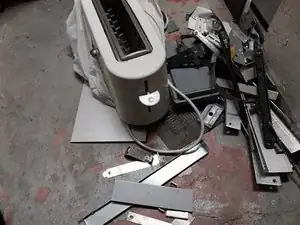
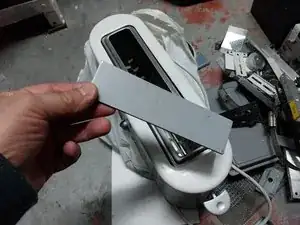
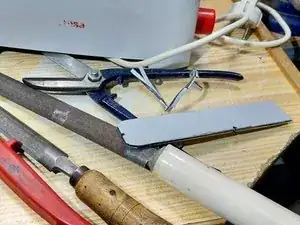
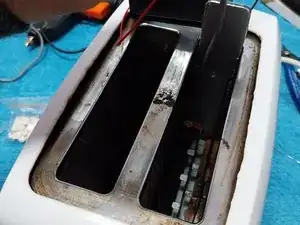
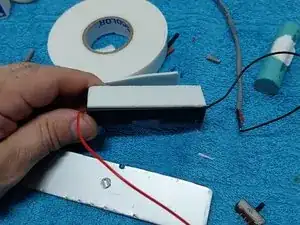
Tests with various pieces of sheet metal to determine which is best suited to the hole.
-
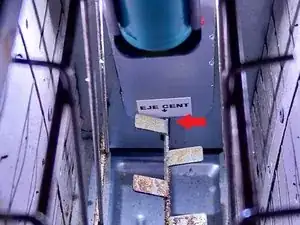
The last photo shows a metal shutter covering one of the rear holes of a domestic PC
-
-
-
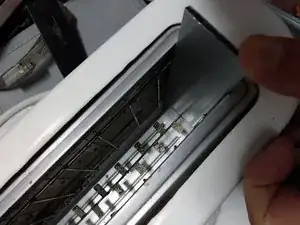
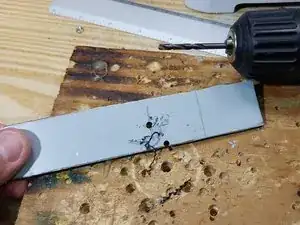
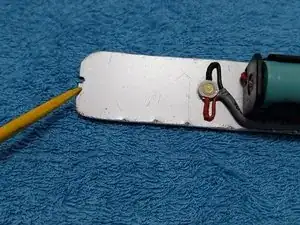
I make a small slit in the lower part, to fit in it the mobile lower part of the toaster, in order to illuminate the interior, in 2nd place, to fix the mechanism in the lower part, so that it does not bother and leaves free hollow, 3rd This piece will also separate the lateral wires that center the bread.
-
3 advantages that this homemade tool will bring us:
-
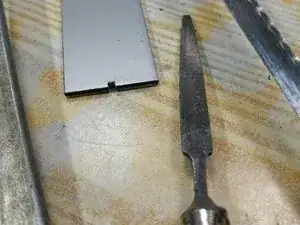
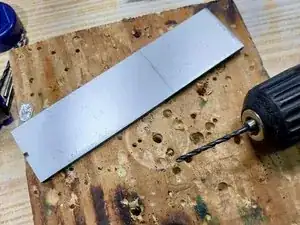
The original plate was ideal for wide toasters, but for double toasters it did not fit, so I had to cut it to fit the narrower hole.
-
-
-
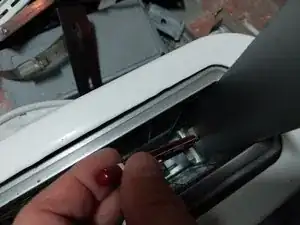
Drilling of the rear hole where an embedded screw with nut will be placed to perform the function of interlocking point, this function can also be performed by a notch on the side.
-
-
-
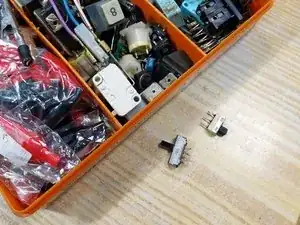
Looking in the box of scraps and miscellaneous components for a small slide switch from a scrap board.
-
-
-
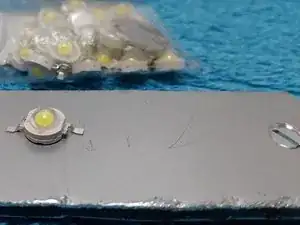
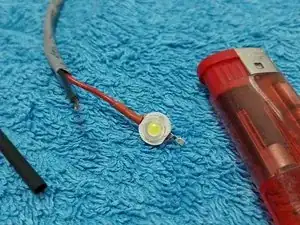
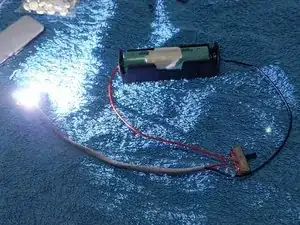
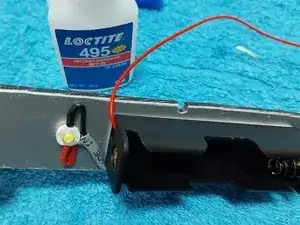
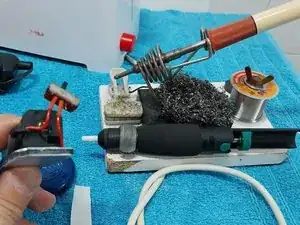
1st lighting test, temporarily connecting the battery holder and the LED, to determine at what height the LED should be placed, glued to the metal plate, which for these high luminosity LEDs acts as a heat sink.
-
-
-
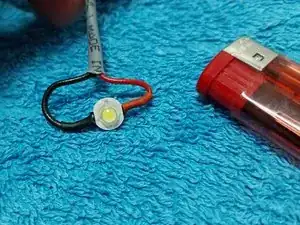
Checking different heights where to place the LED, the most suitable in the middle of the side wall.
-
-
-
Double-sided adhesive tape to place the battery holder on the metal plate, previously I have placed the screw with nut, embedded that performs the interlocking of the set.
-
The LED is glued with cyanolit to the metal sheet so that it dissipates its temperature.
-
-
-
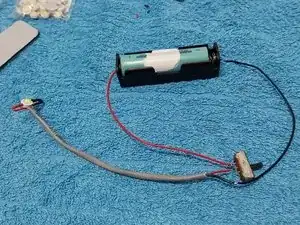
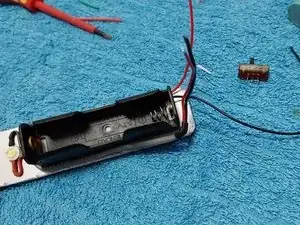
Once the LED and battery holder are attached, the wiring is placed, fastening it with cyanolit glue on the two sides of the battery holder.
-
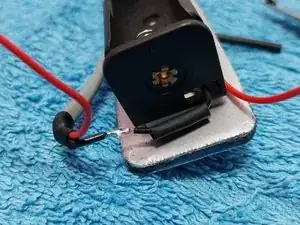
I proceed to solder the slide switch on the Red + wire.
-
-
-
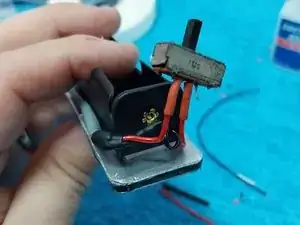
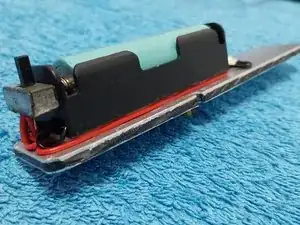
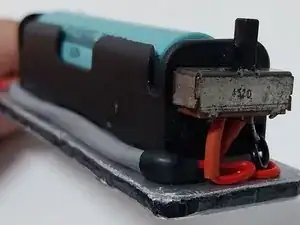
View of the welded switch, protected the 2 connections with heat shrink tubing and view of the kitchen table where I do the work. It is not necessary to have a workshop table to be able to develop a hobby.
-
-
-
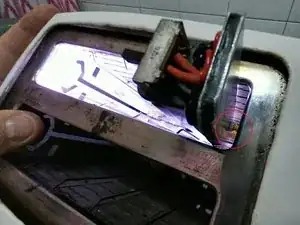
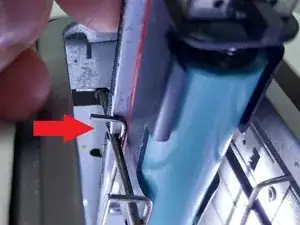
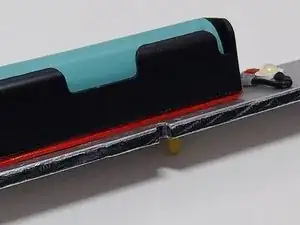
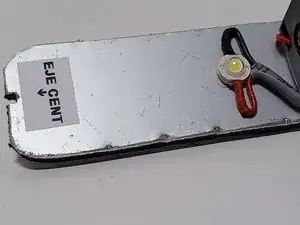
1st photo detail of the side recess used with "optional interlocking" if the rear screw does not have a suitable anchor point.
-
2º Detail of the led.
-
3º Detail of the switch.
-
-
-
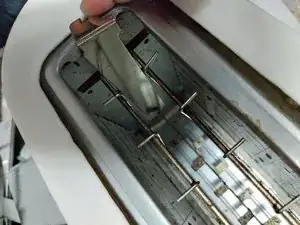
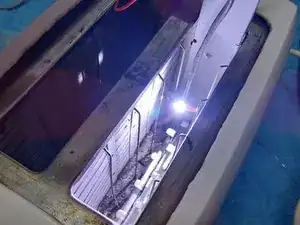
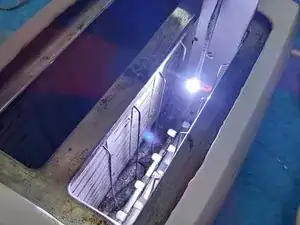
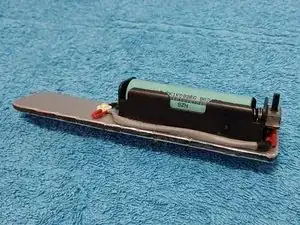
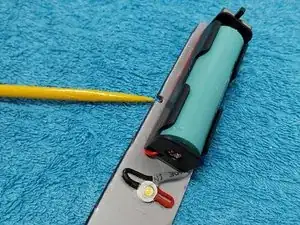
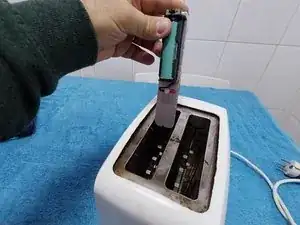
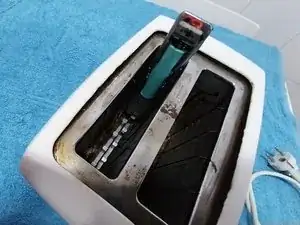
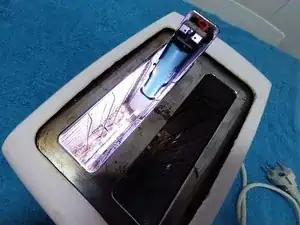
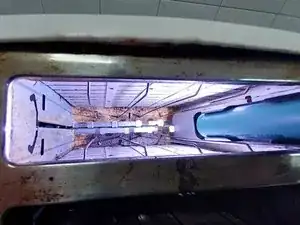
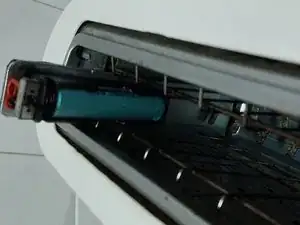
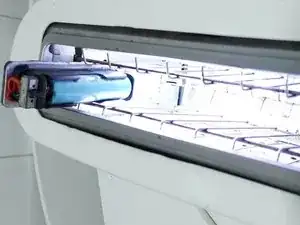
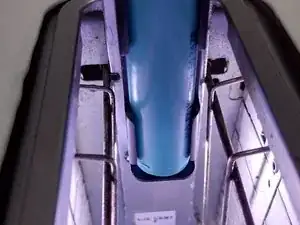
The tool is locked in place and the illumination point looks like it is working, allowing us to work with 100% illumination of the interior part, compared to the other dark hole.
-
-
-
Comparison of the use of the light point in a single hole toaster (wider and longer than in double hole toasters).
-
-
-
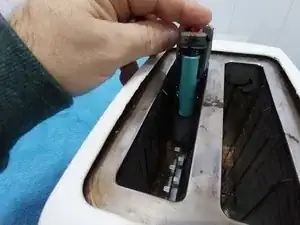
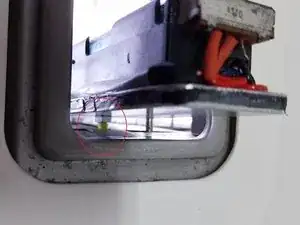
1st photo of how the indentation is coupled to the lower part, pushing the piece where the bread rests to the bottom.''
-
2nd photo of the lateral notch, which serves as an optional anchorage, in toasters with only one hole, holding the guide rods.
-
3rd photo of the lateral notch without interlocking.
-
-
-
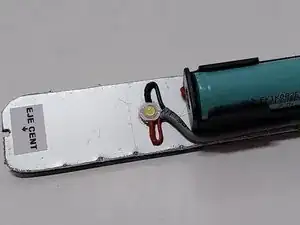
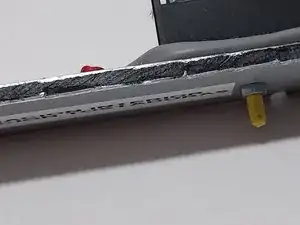
Detail of the screw + embedded head nut, so that it does not get stuck in the slot where it is inserted (it has an L-shaped edge and would get jammed), I have sheathed it in heat-shrinkable tubing.
-
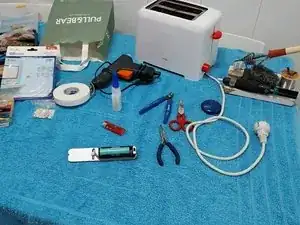
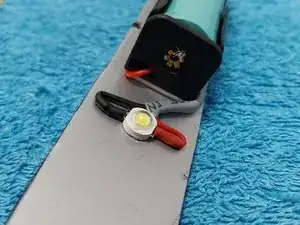
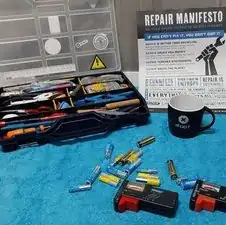
List of materials: A piece of sheet metal, 3.7V battery holder, 3.7V battery, a piece of red and black cable, a 3mm socket head screw with nut, high luminosity LED (3.7V), sliding switch, various colors of heat shrink tubing, double-sided adhesive tape, cyanolit quick-drying glue, LED and ALIEXPRESS lamp holders
-
I hope you liked this homemade design. I hope you find the same idea useful, or that it can be used to generate similar designs, adapting each one to your particular needs.
-


One comment
A parte de este punto de luz, para la reparacion de tostadoras tambien utilizo 2 herramientas de construccion casera, las muestro en la guia https://es.ifixit.com/Gu%C3%ADa/TOSTADOR...
En unos dias publicare una guia de como construir el punzon y el sujeta tornillos para la reparaciomn de tostadoras