Introduction
If you believe the battery in your device may be faulty, follow this guide to access the battery compartment. For this guide, you will need a thin Phillip's head screwdriver, tweezers, and a soldering iron once you get to the battery itself.
Tools
-
-
Make sure your device is turned off by pressing the power button and ensuring the LED lights are off.
-
Unscrew top from the container by twisting the top of the container counter clockwise and pulling up.
-
-
-
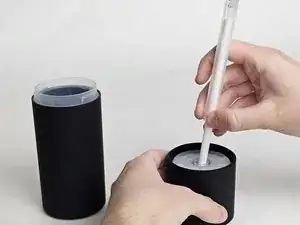
Flip the top portion upside down and remove the wick and wick holder.
-
To remove the wick pull on the wick holder and it should pop right off.
-
-
-
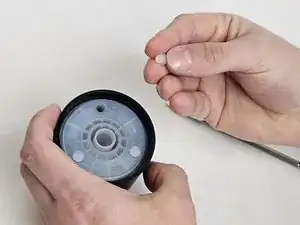
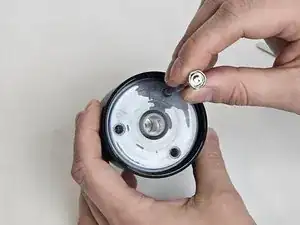
Using tweezers and or the spudging tool lift 3 small white rubber caps, pry underneath them and pull to remove them.
-
-
-
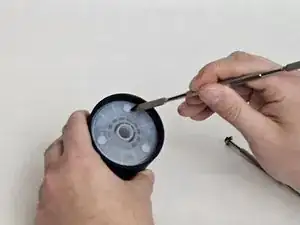
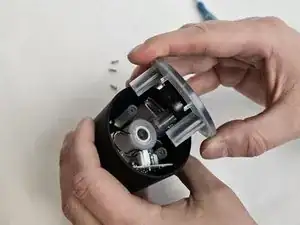
Unscrew and remove the 3 screws with a Philips head screwdriver. The screwdriver must be very long and thin.
-
Tilting the device upside down will slide the unscrewed screws out from the holes they are in after they are loosened.
-
-
-
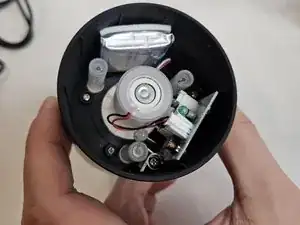
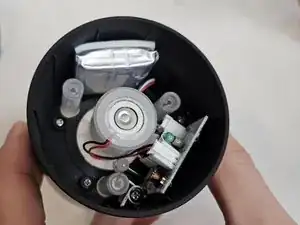
The top portion will now be able to be removed to reveal the inside of the battery compartment.
-
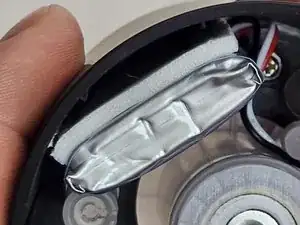
The battery is glued to the side wall with an adhesive pad.
-
This battery is hardwired in, and will require skill in soldering/wiring and the ability to find a suitable replacement.
-
To reassemble your device, follow these instructions in reverse order.
