Introduction
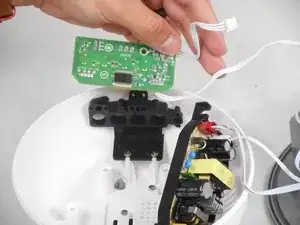
If the buttons on your humidifier aren't working, follow this guide to access the control panel. This will show a simple step-by-step process of how to remove your control panel for a replacement. For this guide, you will use a Phillips #1 screwdriver head to remove and replace the control panel.
Tools
-
-
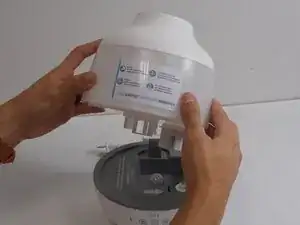
Lift up the water tank and separate it from the humidifier.
-
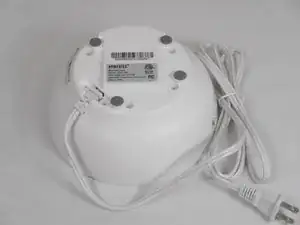
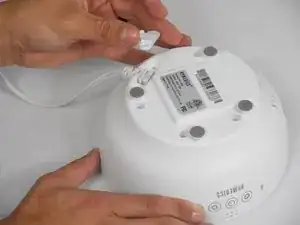
Flip the humidifier over to its underside.
-
-
-
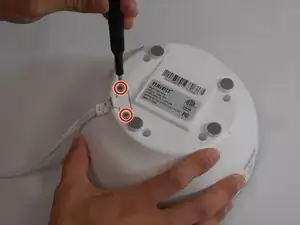
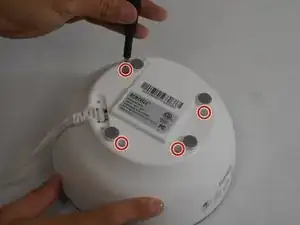
Use the Phillips #1 screwdriver to remove the two 7 mm screws that secure the AC power plug.
-
Remove the AC power plug cover.
-
-
-
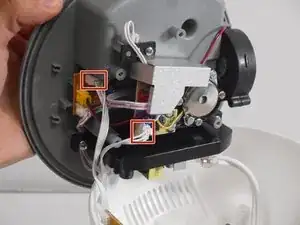
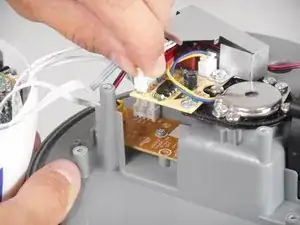
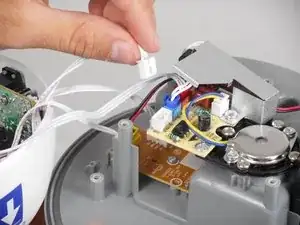
Disconnect the two white cables by pushing down the center tab at the end and pulling it out of its socket.
-
-
-
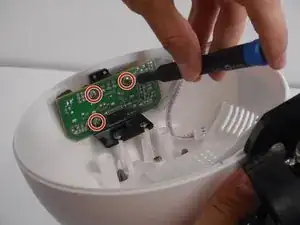
Remove the three 7mm screws that attach the control panel to the case.
-
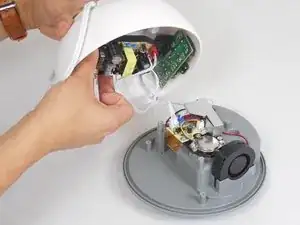
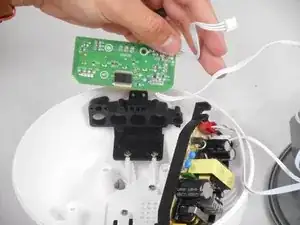
Remove the control panel from the case.
-
To reassemble your device, follow these instructions in reverse order.
