Introduction
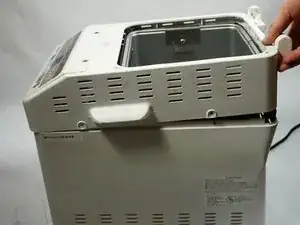
This a guide on how to disassemble the outer body of an Hitachi HB-B102 Automatic Home Bakery II. Taking off the outer casing of the machine is an important step in accessing the inner workings. Or you can take off the outer casing just to see how the magic of baking bread really happens.
-
-
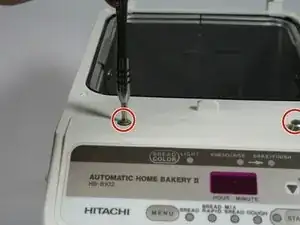
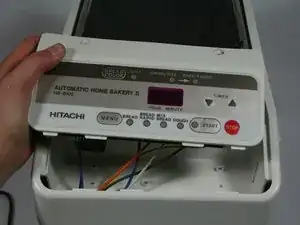
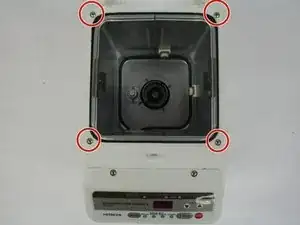
Next, remove the two 1.3cm screws that hold on the control panel with a #2 Phillips head screwdriver. These screws, and the rest of the screws in this guide can all be removed using a #2 Phillips head screwdriver.
-
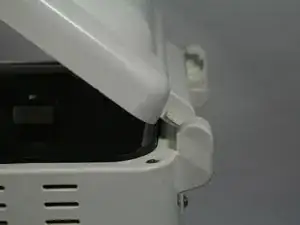
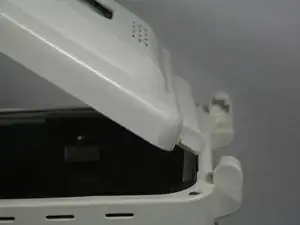
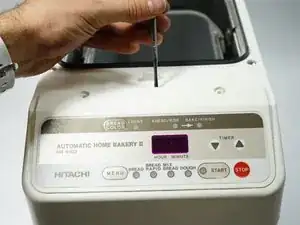
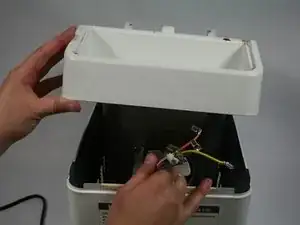
Then pull the control panel out of the device by using a metal spudger to pry it up. Flip it over and look at the back of the motherboard.
-
-
-
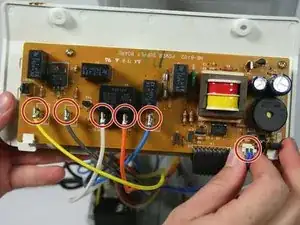
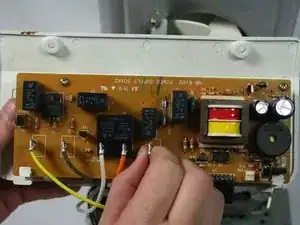
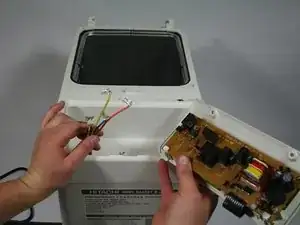
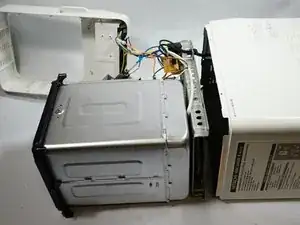
You will then have to disconnect the six wires that connect the motherboard to the device. This can be done by firmly grasping a connector and pulling straight out from the unit. Once all of the wires have been disconnected, set aside the control unit.
-
-
-
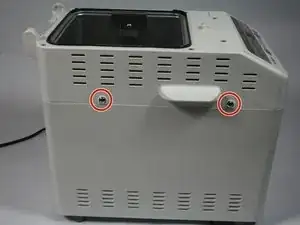
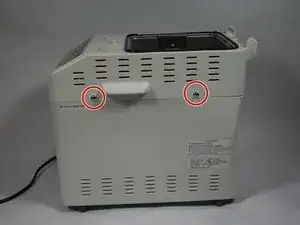
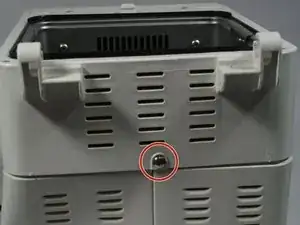
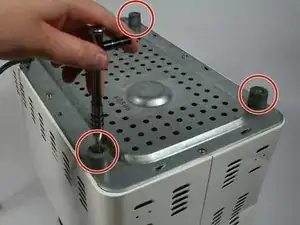
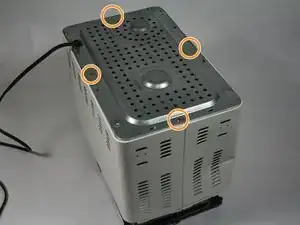
Remove the five 1cm screws that hold the the casing together. There will be two on each side, and one on the back.
-
-
-
Now you can remove the top part of the assembly off by pulling straight up. Don't forget to gently pull your wires through.
-
-
-
Flip the machine over so that the bottom is facing straight up. Then unscrew the four feet on the device with a #2 Phillips head screwdriver. The screws will stay in the rubber feet.
-
Next, remove the four 8mm screws on the four sides of the machine. You do not need to unscrew the screws on the front end corners.
-
Once the feet and screws are undone gently pull the metal plate off.
-
-
-
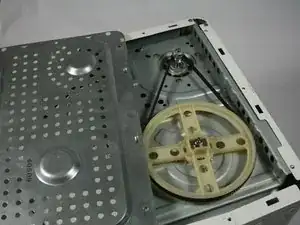
Now that the bottom plate and top housing are off, you can gently pull the inner components out of the outer metal housing . This can be done by grabbing hold of the bread pan casing and slowly lifting the entire inner assembly straight up.
-
You now have access to the belt and motor.
-
To reassemble your device, follow these instructions in reverse order.
One comment
hi! Thank you for this awesome demo. I have the BH 101, and the display doesn’t have screws. It has four little pad kind of things. Any idea how I might get those off?
This is not necessary to replace the belt. Just go to step 7.
Neil Ames -