Introduction
This guide will show you how to replace a Hitachi HB-B102 motor which turns the belt which then turns the axel and subsequently the mixing paddle. This guide does require being able to wire in a new motor, so don't cut any wires before you know you can wire a new motor back in.
Tools
Parts
-
-
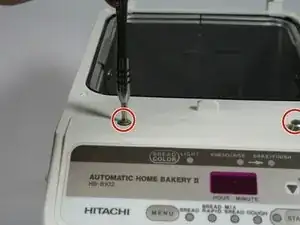
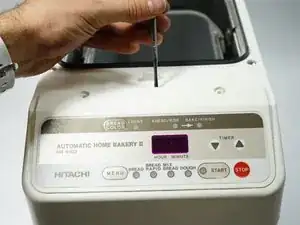
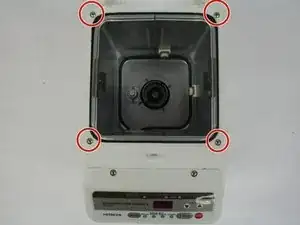
Next, remove the two 1.3cm screws that hold on the control panel with a #2 Phillips head screwdriver. These screws, and the rest of the screws in this guide can all be removed using a #2 Phillips head screwdriver.
-
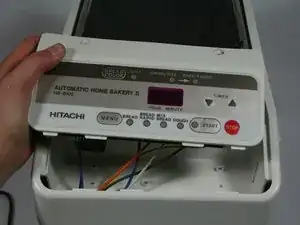
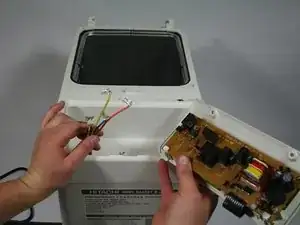
Then pull the control panel out of the device by using a metal spudger to pry it up. Flip it over and look at the back of the motherboard.
-
-
-
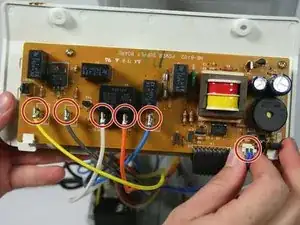
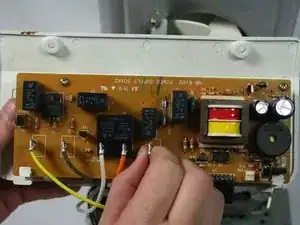
You will then have to disconnect the six wires that connect the motherboard to the device. This can be done by firmly grasping a connector and pulling straight out from the unit. Once all of the wires have been disconnected, set aside the control unit.
-
-
-
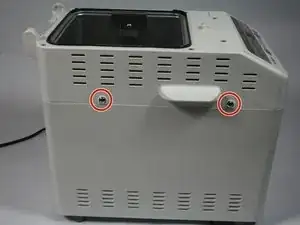
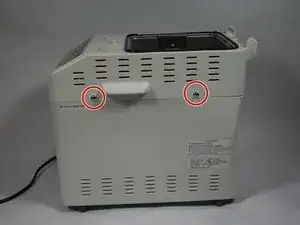
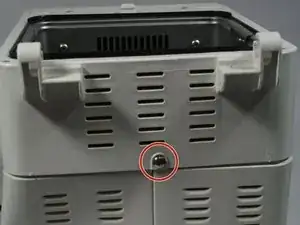
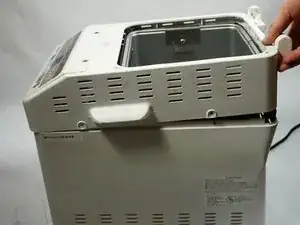
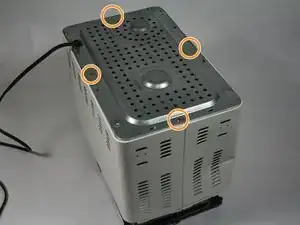
Remove the five 1cm screws that hold the the casing together. There will be two on each side, and one on the back.
-
-
-
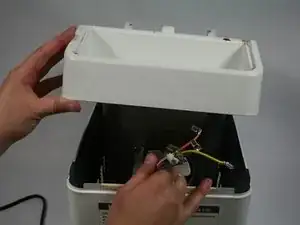
Now you can remove the top part of the assembly off by pulling straight up. Don't forget to gently pull your wires through.
-
-
-
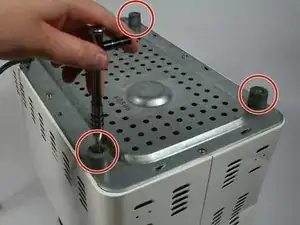
Flip the machine over so that the bottom is facing straight up. Then unscrew the four feet on the device with a #2 Phillips head screwdriver. The screws will stay in the rubber feet.
-
Next, remove the four 8mm screws on the four sides of the machine. You do not need to unscrew the screws on the front end corners.
-
Once the feet and screws are undone gently pull the metal plate off.
-
-
-
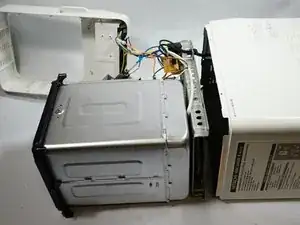
Now that the bottom plate and top housing are off, you can gently pull the inner components out of the outer metal housing . This can be done by grabbing hold of the bread pan casing and slowly lifting the entire inner assembly straight up.
-
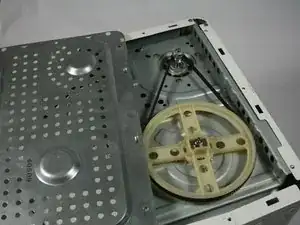
You now have access to the belt and motor.
-
-
-
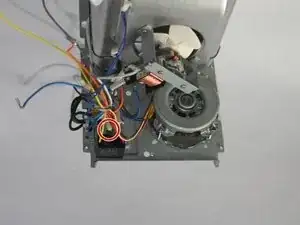
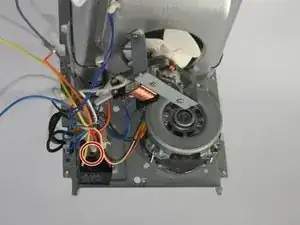
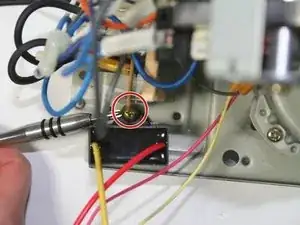
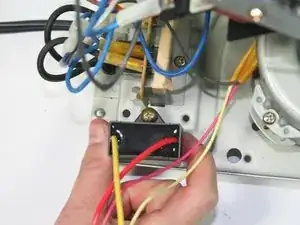
Locate the capacitor (aka the black box) to the left of the motor). Unscrew the 1cm screw holding the capacitor in place. The screw will stay with the capacitor.
-
Lift the capacitor and place to the side.
-
-
-
Flip the bread maker on its side so you can access the bottom. The belt will need to be removed. For help on that please see: Hitachi HB-B102 Automatic Home Bakery II Belt Replacement
-
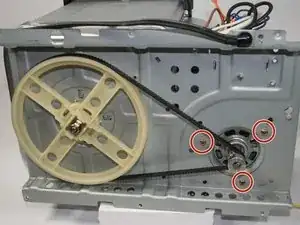
Unscrew the three 6mm screws holding the motor to the metal plate.
-
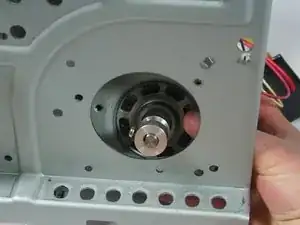
Gently pull the motor away from the metal plate.
-
-
-
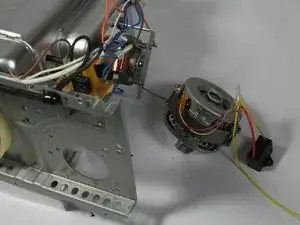
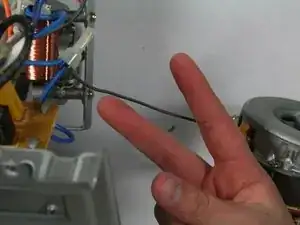
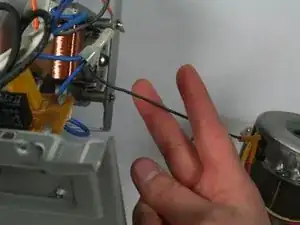
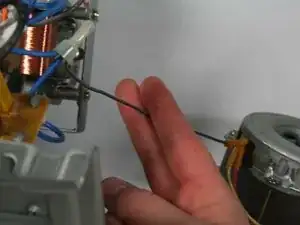
Now that you have the motor out, locate the black cable coming out of the motor and linking it to two blue cables.
-
You'll need to cut this wire with scissors or wire cutters.
-
Next, you'll need to wire in your new motor. To do this follow this handy guide: Wire Stripping and Crimping 101
-
To reassemble your device, follow these instructions in reverse order.
One comment
The motor is freely turned, though the motor pulley never moves. Could the 8 micro farad motor capacitor bu bad…how do I test it?
This is not necessary to replace the belt. Just go to step 7.
Neil Ames -