Introduction

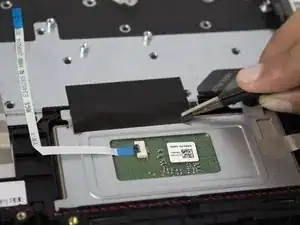
The replacement of the back panel on the Hisense Chromebook C11 may seem complex at first but with a little guidance we’ll make it look new again. It's crucial to follow the steps carefully and proceed at your own risk. The trackpad also well known as the touch pad is what allows you to move the cursor on the screen. So, be mindful and follow the Step-by-step guide because they consist of delegate parts that need to be handle with care.

  1. NmLHj1fSWBmavyJA
    • Remove the front two hub caps.

    • When finished, you should be able to remove the back cover.

  2. oY6KI1EoEFt4gYdb
    • Unscrew the screws with the Phillips #00 screwdriver.

  3. 2MWaBhKYHxCfFPFv
    • Pry the perimeter of the case open with the plastic opening tool.

    • Remove the back panel.

  4. 1fILowZNlTARONlA
    • Remove the electrical tape.

  5. qrNtIpT5F5Ig3ALH
    qrNtIpT5F5Ig3ALH
    HHhRcvkqIMhJeBUj
    Tk54Lmfbu1cGyImA
    • Flip up the bracket holding the ribbon in place.

    • Gently but firmly pull the ribbon free.

  6. Cs6ecDNjgMFKCmfv
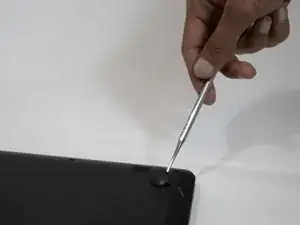
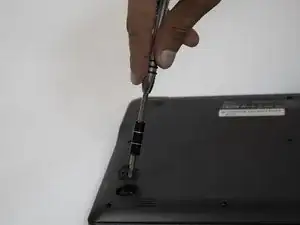
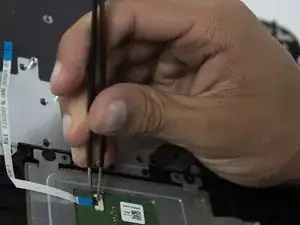
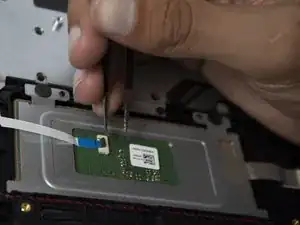
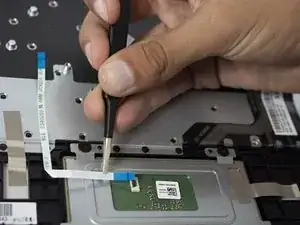
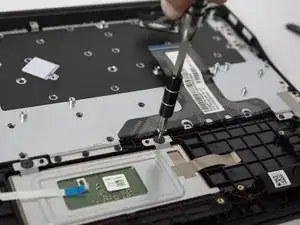
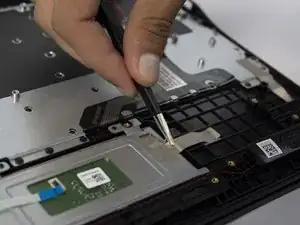
    • Using the Phillips Head Screwdriver, remove the screws at the topmost part of the panel holding the trackpad in place.

  7. soIBikiC2NkuOsjI
    • Using tweezers, remove the silver electrical tape.

  8. xSGqcCFO2trVqknG
    • Carefully remove the trackpad from the computer.

Conclusion

To reassemble your device, follow these instructions in reverse order.

Cole Welham

Member since: 09/10/18

121 Reputation

0 comments