Introduction
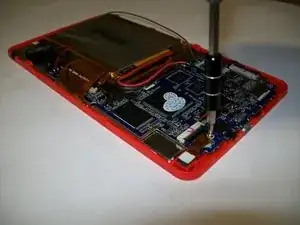
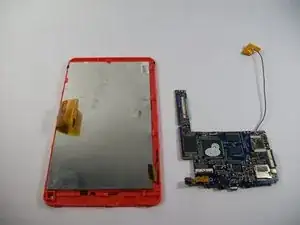
This motherboard replacement guide will walk you through the steps on how to remove necessary components in order to get to the motherboard. Replacing the motherboard is a moderate, four-step process using necessary tools, including a soldering iron.
Tools
-
-
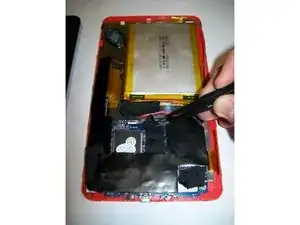
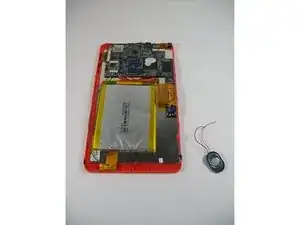
Remove the black adhesive strips from the wires using the tweezers, and set the strips aside.
-
-
-
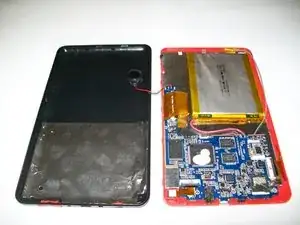
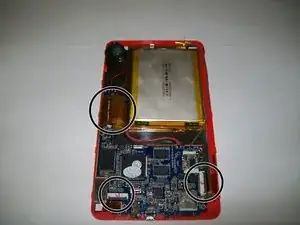
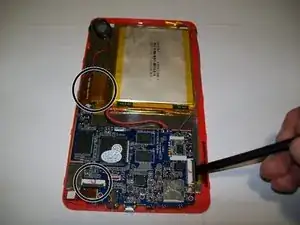
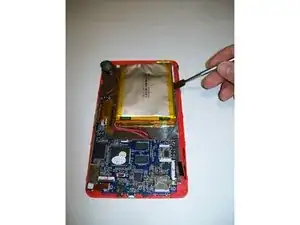
Use the spudger to release three (3) black clips connecting the components to the motherboard.
-
-
-
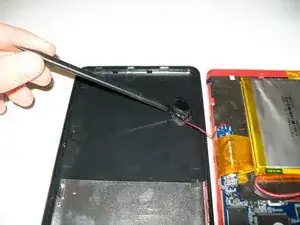
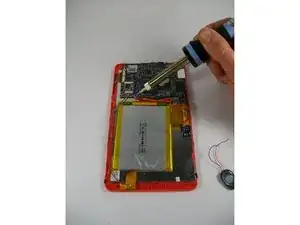
Use the soldering iron to heat the end of the wires connecting the speaker to the motherboard.
-
Apply heat until the wires are free.
-
-
-
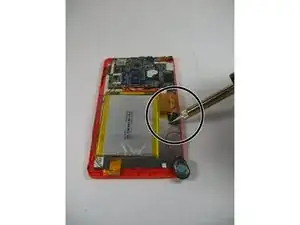
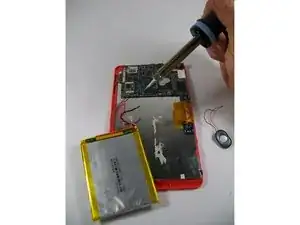
Using the soldering iron, apply heat to the end of the wires until they are free from the motherboard.
-
-
-
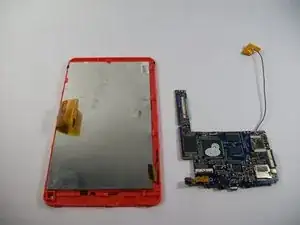
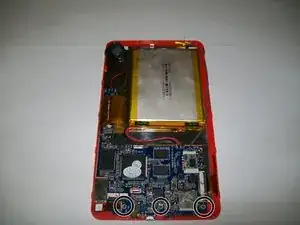
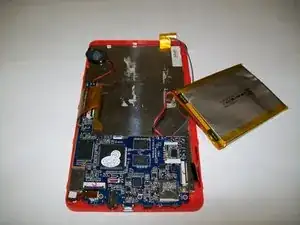
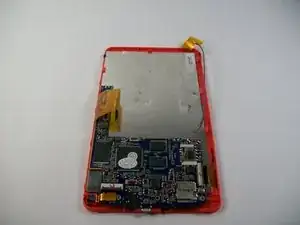
Now that the battery and speaker are removed, the black clips are undone, and the motherboard is unscrewed, remove the motherboard.
-
To reassemble your device, follow these instructions in reverse order.
