Introduction
-
-
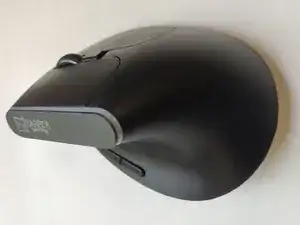
Before you start disassembling, make sure that the mouse is unplugged from the computer and turned off.
-
-
-
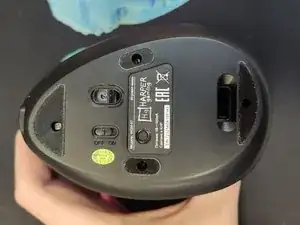
First, you have to remove the four sliding feet from the bottom and unscrew the screws behind them. If you plan to reuse the glides, heat them with a hair dryer or a heat tool before removing them, and then gently pick them up from the edge.
-
-
-
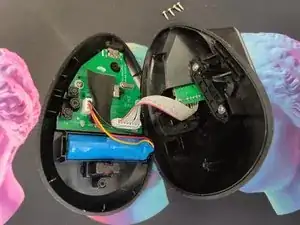
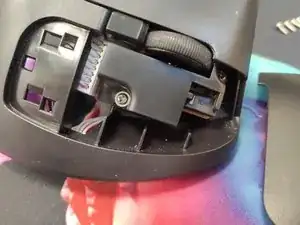
After you have removed the four screws from the bottom, the mouse will be freely divided into two parts. After that, you need to carefully disconnect the cable that connects the two halves (you can use a special tool for this or gently pry with a flat screwdriver).
-
-
-
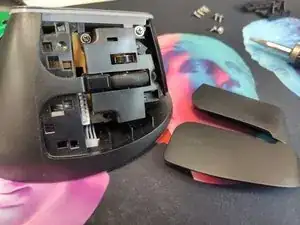
After releasing the upper part, you need to detach the plastic key panels. Each of them is held by two latches inside the case.
-
To disconnect them gently, you can pry the key from the outside with a plastic card or a disassembly tool and use your fingers to gently press the latches from the inside. It is easier to do this with the right key than with the left key, because the latches of the left key are located deep inside the case.
-
-
-
Once you have removed the plastic keys, you need to unscrew the 4 screws located underneath them.
-
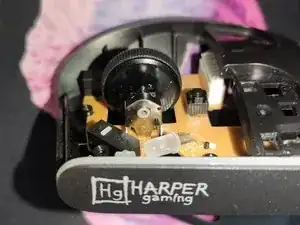
Without screws, the plastic cover covering the scroll wheel and its encoder can be freely removed. Note - the scroll wheel is simply inserted into the hexagonal slot in the encoder and is not held in place by anything else.
-
-
-
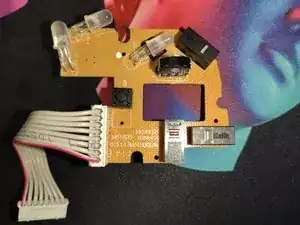
To get the circuit board with the scroll wheel, you need to carefully pull out the cable from the case, the lower part of which you disconnected in step 3. After that, the board is removed from the thin plastic supports and pulled out of the body by hand.
-
Note - the scroll wheel is simply inserted into the hexagonal slot in the encoder and is not held in place by anything else.
-
-
-
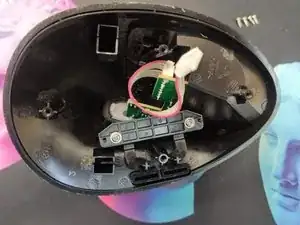
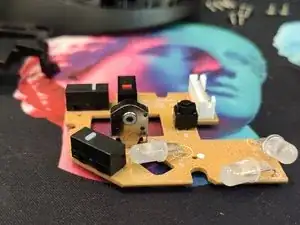
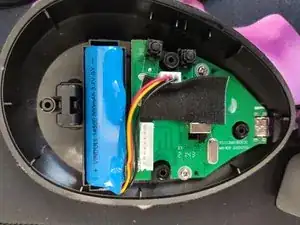
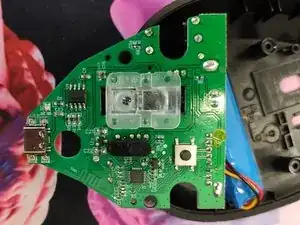
Another board is attached to the bottom half of the case with screws. To remove it, carefully disconnect the battery connector and unscrew the two screws. Note that the opaque layer covers the optical part. If this layer gets damaged during disassembly, it can be replaced with duct tape.
-
Under the board will be a plastic lens and a power switch cover.
-

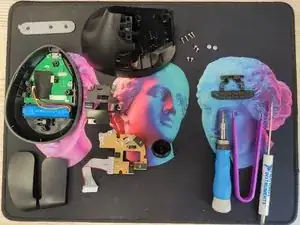
Чтобы собрать устройство, выполните пункты инструкции в обратном порядке.