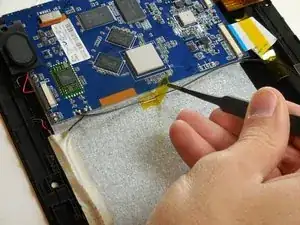
Introduction
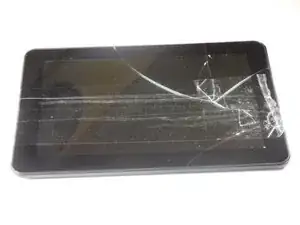
The Wi-Fi card provides a wireless connection to a network. If it fails, you may be left with no other option to connect the tablet to the internet.
Tools
-
-
Use the metal spudger to press an opening between the screen and back cover.
-
The plastic tabs are located on each corner of the back cover.
-
-
-
Wedge the plastic opening tool between the screen and the back panel to prevent re-engagement
-
-
-
Flip the tablet over so the screen side is down after all the tabs are separated.
-
Remove the back panel by delicately lifting it straight up.
-
-
-
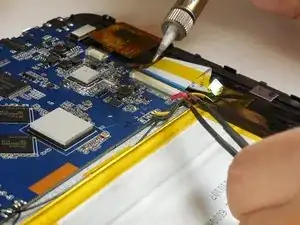
Grab hold of the red wire using the tweezers.
-
Desolder the red wire connection from the motherboard using the tip of the soldering iron.
-
Move the wire connection away from the motherboard.
-
-
-
Desolder the black and yellow wire connection from the motherboard by following the previous step.
-
-
-
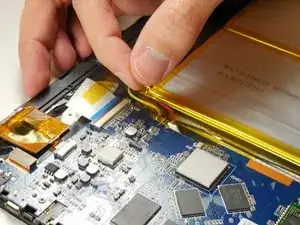
Insert the flat end of the nylon spudger between the battery and the case.
-
The battery is connected to the tablet with an adhesive tape and will come free slowly.
-
-
-
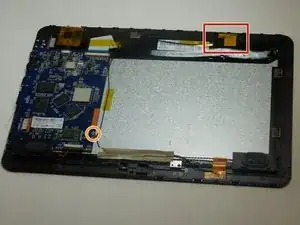
Identify the card and its connection to the motherboard.
-
The card itself.
-
The area where the card connects to the motherboard.
-
To reassemble your device, follow these instructions in reverse order.
