Introduction
This replacement requires you to be confident with simple wiring as well as basic soldering skills. If you are unfamiliar with soldering and de-soldering, make sure to check out iFixit's Soldering Skills page before attempting this replacement!
Tools
-
-
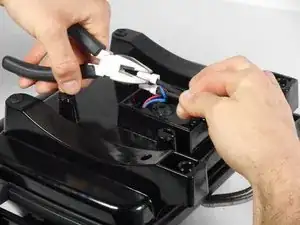
Use the pliers to pinch the widest point of the cap. This should be done opposite of the already existing crimps.
-
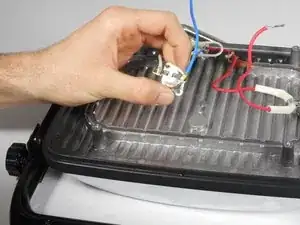
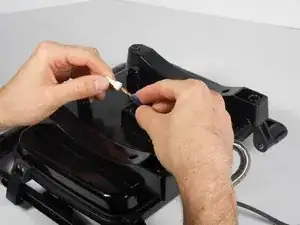
Slide off the white cap.
-
Repeat these steps for the second white cap.
-
-
-
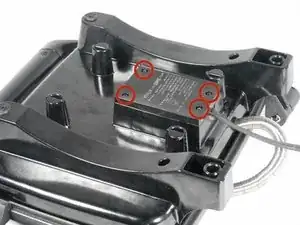
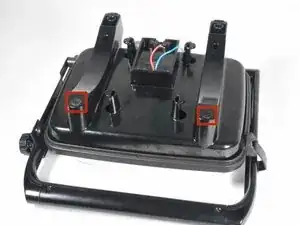
Remove the two rubber screw covers from the bottom of the Panini Press.
-
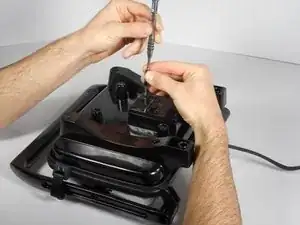
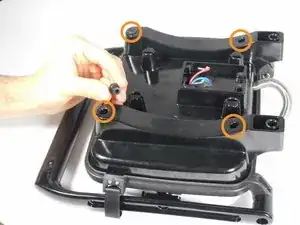
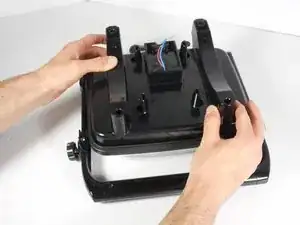
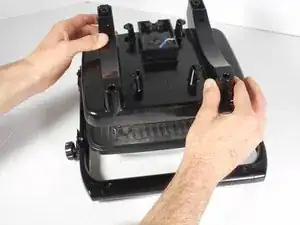
Remove the four uncovered 10mm screws with the PH2 Screwdriver.
-
-
-
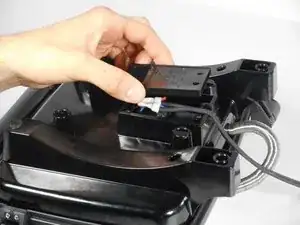
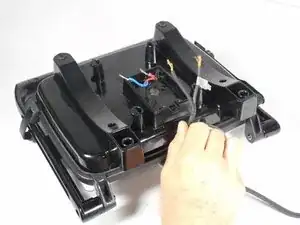
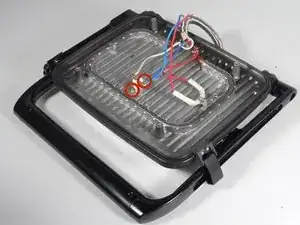
Lift the plastic lower heating element up and place to the side for reassembly. You have now disconnected the plug wiring completely.
-
-
-
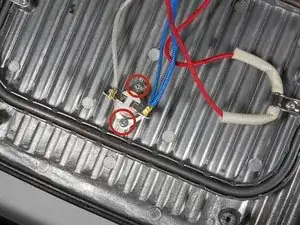
Remove the two 10mm screws connecting the thermal switch with the PH2 Screwdriver and a bit of force.
-
-
-
De-solder the connection between the wires and the thermal switch.
-
Replace the thermal switch.
-
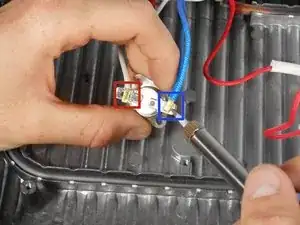
The lead on the red (with the small hole), marked in red, connects to the white wire.
-
The lead on the right, marked in blue, connects to the blue wire.
-
To reassemble your device, follow these instructions in reverse order.

it doesn't matter red or blue it's just AC power
Qatra -