Introduction

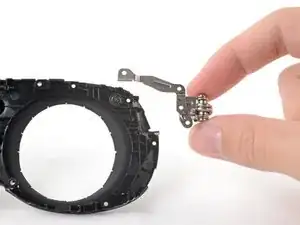
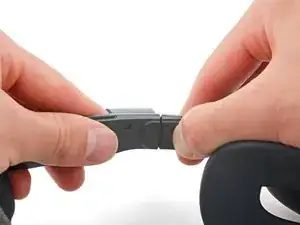
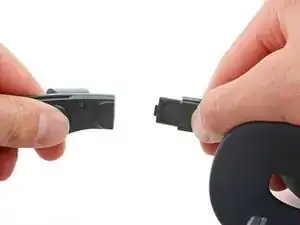
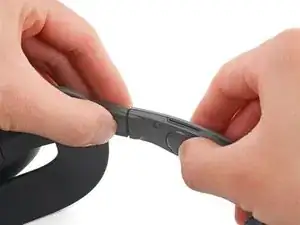
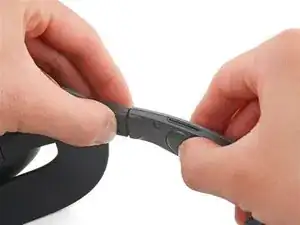
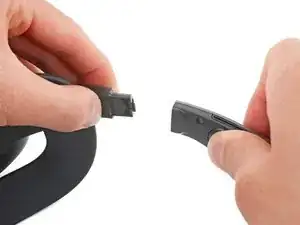
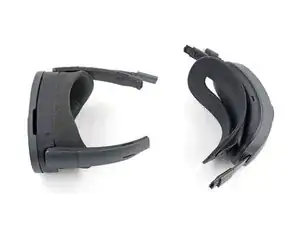
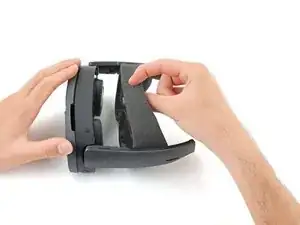
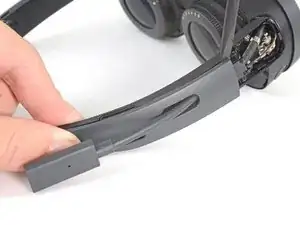
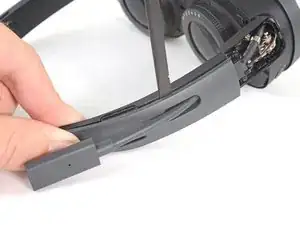
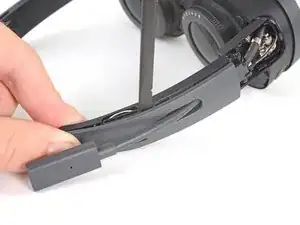
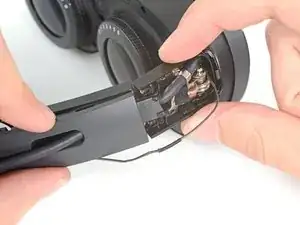
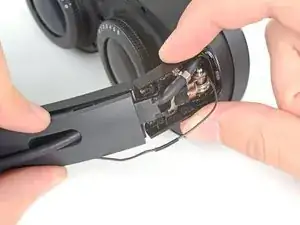
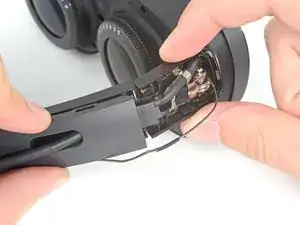
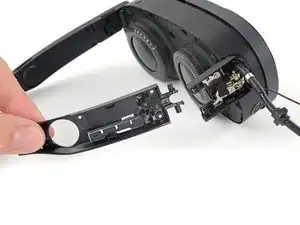
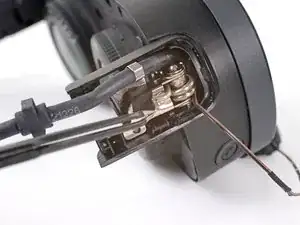
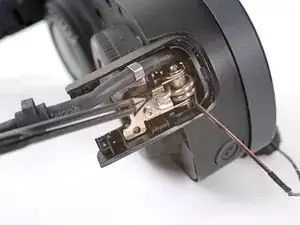
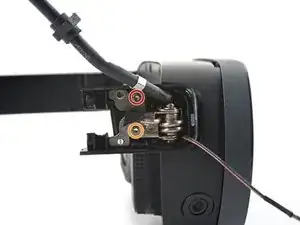
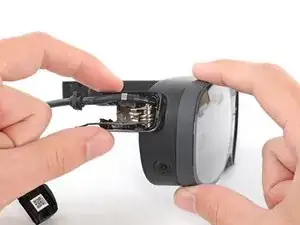
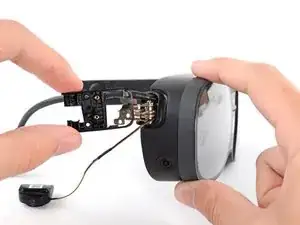
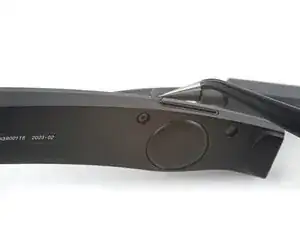
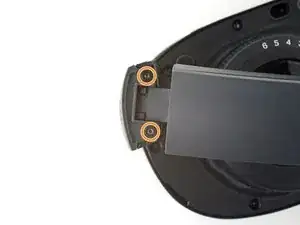
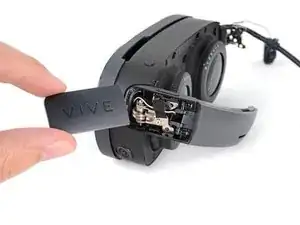
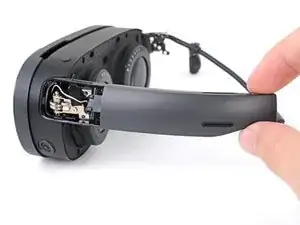
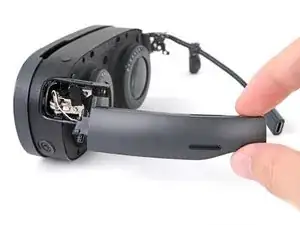
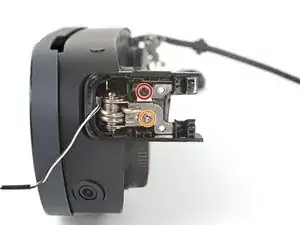
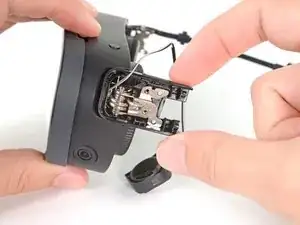
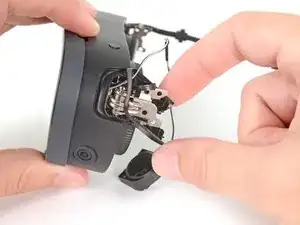
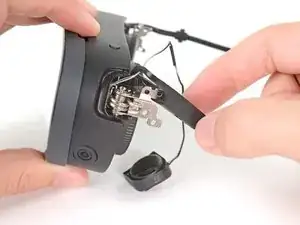
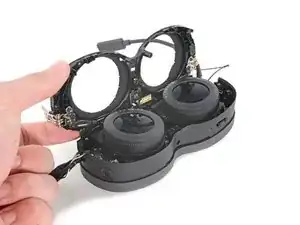
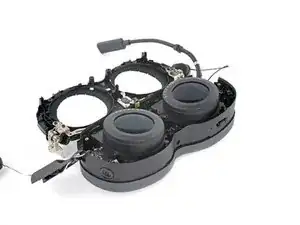
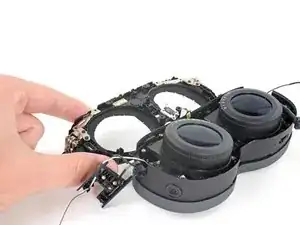
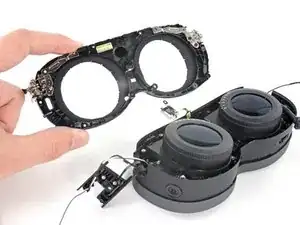
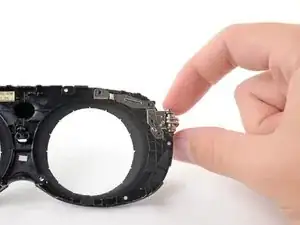
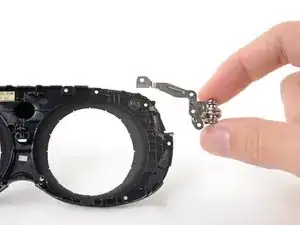
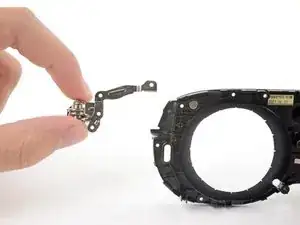
Use this guide to replace one or both hinges in your HTC Vive XR Elite.

  1. hnuvnhyLbDuUMlEV
    • Before starting this repair, discharge the batteries in your headset below 25%. A charged battery may leak dangerous chemicals or catch fire if damaged.

    • Playing Half Life: Alyx will do the trick!

    • The Vive XR Elite has a proximity sensor that puts the headset in standby mode to save battery when it isn't in use. To drain the battery faster you'll need to use the headset.

  2. bjdKIqZEAJNajlep
    bjdKIqZEAJNajlep
    3VjJPLXEBPp4fbyY
    • Disconnect the USB-C power cable.

  3. djQJRxo1UMDJPChO
    djQJRxo1UMDJPChO
    KnkAiqJqPWDQIDkm
    nbcyDDyYAo5yjbfW
    • Press the release button on the right battery cradle temple slot.

    • Pull the battery cradle away from the right temple slot to disconnect it.

  4. bIiBBtIfTRCUuMrA
    bIiBBtIfTRCUuMrA
    QxUyfeDH6mhxPkIj
    6Q3eGtEXZUOciDtU
    • Repeat the previous step for the left temple slot.

  5. VUFb3hOjRuSUD3ZX
    • Separate the headset and battery cradle.

  6. pSTPNKEBlSi21oNY
    pSTPNKEBlSi21oNY
    UxPQGecZf5uMexVE
    jwj1Uv1MiFemERPO
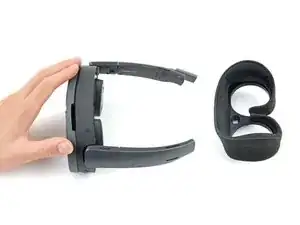
    • The face cushion is attached to the headset with two magnets. You'll feel the pull of the magnets as you remove it.

    • Grip the middle of the face cushion with your fingers and pull back to remove it.

  7. XaIvStoZ6iTiIZYn
    XaIvStoZ6iTiIZYn
    IGqKRXwDolpVo1Wy
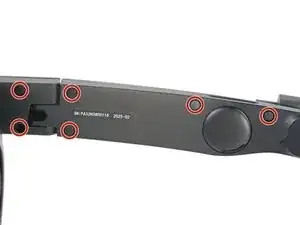
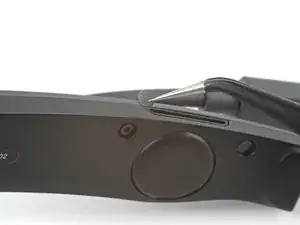
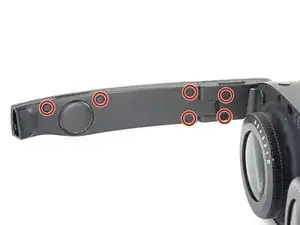
    • Use tweezers to remove the six screw covers from the right temple.

  8. WQonU2SLP4DgyUCP
    WQonU2SLP4DgyUCP
    qnUUxjjJ2oa3GGEb
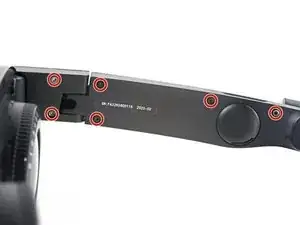
    • Use a T5 Torx screwdriver to remove the six 4.9 mm‑long screws securing the two right temple halves.

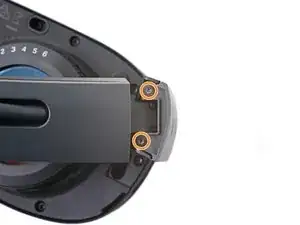
    • Use a T5 Torx screwdriver to remove the two 3.5 mm‑long screws securing the right hinge cover.

  9. thQGsLqVDCK12RtP
    thQGsLqVDCK12RtP
    iWxhQpskxFDRJrYB
    gjoZMZeZ1SDVOKvH
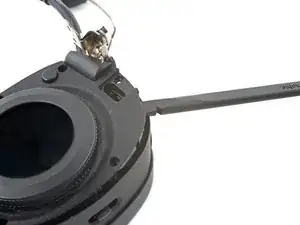
    • Insert the flat end of a spudger in the gap between the right outer and inner hinge covers.

    • Slide the spudger along the gap to separate the clips securing the outer hinge cover.

    • Remove the outer hinge cover.

  10. YcAIPhneuy6pVN5F
    YcAIPhneuy6pVN5F
    SrMMgGWUHEPWDhZB
    liEeWFnVPOySItt1
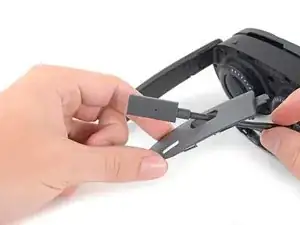
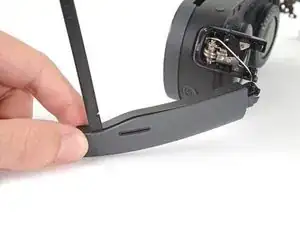
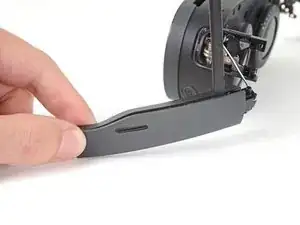
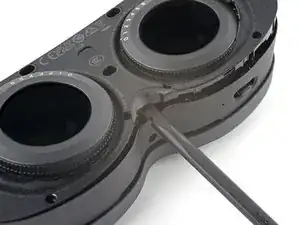
    • Insert the flat end of a spudger in the gap between the outer and inner temple.

    • Slide the spudger along the gap to separate the clips securing the outer temple.

  11. R4ZN35Z3AvkPFyWB
    R4ZN35Z3AvkPFyWB
    pQPILeKl2RE5bfpr
    cKkeTUals2qO3kS3
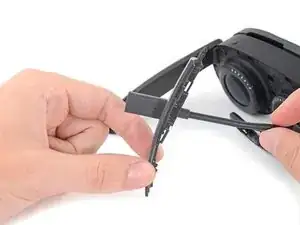
    • Slide the top of the outer temple out of its slot in the hinge.

  12. XqUjJg1wis2RKipy
    XqUjJg1wis2RKipy
    It1BdRsNOBPFnDQd
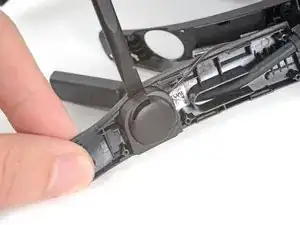
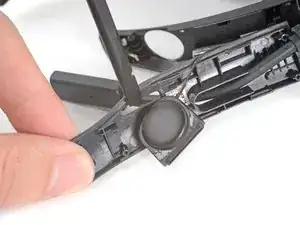
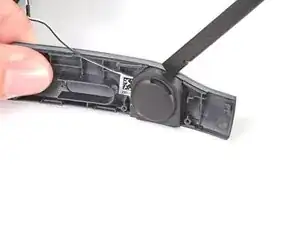
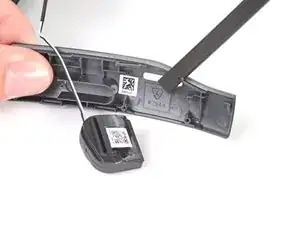
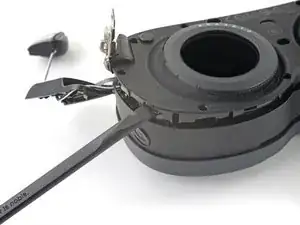
    • The speaker is lightly adhered to the outer temple.

    • Rotate the outer temple towards you to access the speaker.

    • Slide the flat end of a spudger under the speaker to separate its adhesive.

    • During reassembly, if your speaker adhesive isn't sticky, use double-sided tape to re-adhere the speaker to the outer temple.

  13. FSLxGOCRPvwHyADk
    FSLxGOCRPvwHyADk
    bj5OhNOiUgWyB5dL
    A54TE4a2pRbv4DTY
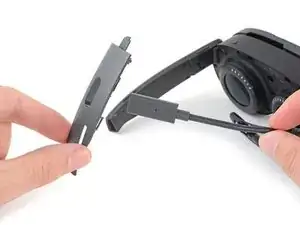
    • Thread the outer temple off of the USB‑C cable and remove it.

  14. RmDxLoG2QJDoQVYJ
    RmDxLoG2QJDoQVYJ
    NdecrhcjhrtJTLrp
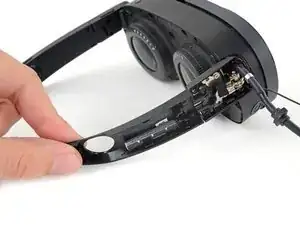
    • Pull the inner temple out of its slot in the hinge and remove it.

  15. nGuDCfVY3oQeXVmP
    nGuDCfVY3oQeXVmP
    xFTX3pPYn4tqFWrq
    • Use tweezers to peel back the black tape covering one of the inner hinge cover screws.

  16. nDpdvJM5ykwXgCkd
    • Use a T5 Torx screwdriver to remove the two screws securing the inner hinge cover:

    • One 3.1 mm‑long screw

    • One 4.9 mm‑long screw

  17. jJRbau1wCBxo4WkE
    jJRbau1wCBxo4WkE
    GBUj2UOeuLoj6Jox
    d1KnxWG6GRCESKUq
    • Rotate the inner hinge cover off its groove in the frame.

    • Thread the inner hinge cover off of the USB-C and speaker cables and remove it.

  18. RGyK43ATZeXochK3
    RGyK43ATZeXochK3
    ZIXIys4ohMnuvQJs
    • Use tweezers to remove the six screw covers from the left temple.

  19. hfDkILsJ2NpLbFtf
    hfDkILsJ2NpLbFtf
    5HvRELCVEFX1JGje
    • Use a T5 Torx screwdriver to remove the six 4.9 mm‑long screws securing the two left temple halves.

    • Use a T5 Torx screwdriver to remove the two 3.5 mm‑long screws securing the left hinge cover.

  20. SEnSBqM4p4alrC3o
    SEnSBqM4p4alrC3o
    lMERK5H3WAxoxpby
    oG2cYdUhbbGavKNL
    • Insert the flat end of a spudger in the gap between the left outer and inner hinge covers.

    • Slide the spudger along the gap to separate the clips securing the outer hinge cover.

    • Remove the outer hinge cover.

  21. yn44LGpZrHFFNqZM
    yn44LGpZrHFFNqZM
    YDWOjcCvyoj63MPE
    • Pull the left temple out of its slot in the hinge.

    • Don't try to fully remove it yet, as it's still connected by a cable.

  22. MANC1WLyxK4Dp4Gs
    MANC1WLyxK4Dp4Gs
    1YickegjUShM2i5X
    • Insert the flat end of a spudger in the gap between the outer and inner temple.

    • Slide the spudger along the gap to separate the plastic clips securing the outer temple.

  23. rkfXbOSSnCwkfp3c
    rkfXbOSSnCwkfp3c
    2bfLc5yIFUDXoxYY
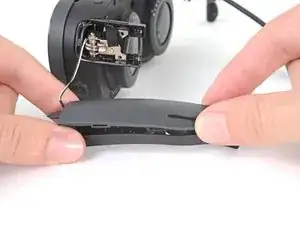
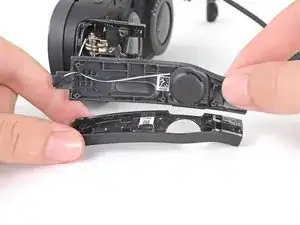
    • Pull the outer temple off of its inner half to completely release its plastic clips.

  24. MGoNTGqW2cDZVpmT
    MGoNTGqW2cDZVpmT
    lHPH1AEbY6IWY5VF
    • The speaker is lightly adhered to the outer temple.

    • Slide the flat end of a spudger under the speaker to separate its adhesive.

    • Let the speaker rest next to the headset before continuing.

    • During reassembly, if your speaker adhesive isn't sticky, use Tesa 61395 Tape to re-adhere the speaker to the outer temple.

  25. sD4nwNEfUOnyy4t4
    sD4nwNEfUOnyy4t4
    H61puTtk2Z14OxNV
    • Use tweezers to peel back the black tape covering one of the inner hinge cover screws.

  26. x4UZQhEZOCKh3XVQ
    • Use a T5 Torx screwdriver to remove the two screws securing the inner hinge cover:

    • One 3.5 mm‑long screw

    • One 4.9 mm‑long screw

  27. ZL6O62smkwUfWnMF
    ZL6O62smkwUfWnMF
    2YTQ55qsUGUnBoM3
    ADNMq14ACsxHXXZT
    • Don't fully remove the inner hinge cover, as it's connected by the volume button cable.

    • Rotate the inner hinge cover off its groove in the frame.

    • Let the cover hang off its volume button cable for now.

  28. lh5AvyXjKSmMDZhO
    lh5AvyXjKSmMDZhO
    EyXQiq1hRG3UkI6T
    • Use a T5 Torx screwdriver to remove the 12 screws securing the face plate:

    • Six 3.5 mm‑long screws

    • Four 4.9 mm‑long screws

    • Two 6.5 mm‑long screws

    • There are two magnets at the top corners of the face plate. As you remove nearby screws, they might stick to them.

  29. bBpb1RbWOlk3kUbo
    bBpb1RbWOlk3kUbo
    FJPcd5qs5XALi3ZJ
    • Insert the flat end of the spudger in the gap between the frame and the bottom right corner of the face cover.

    • Pry up with the spudger to release the clips securing the face cover.

  30. YgtYhMRgqIO1Y6R1
    YgtYhMRgqIO1Y6R1
    1ST3iHi2xjXMxvPH
    • Repeat the prying process for the middle and bottom left portions of the face cover.

  31. AP1bLUNyxnHpyfkI
    AP1bLUNyxnHpyfkI
    hMRJaFlwmF4PBjUJ
    ZwsRGgGTwDcosI2N
    • Don't fully remove the face cover completely, as it's connected by the proximity sensor cable.

    • Lift the face cover and rotate it over the top of the frame.

    • Lay the face cover face up before continuing.

  32. AgInJiRDj1PJGFNp
    • Use a T5 Torx screwdriver to remove the two 3.3 mm‑long screws securing the proximity sensor cable.

  33. BTWQTX3NXPhZjFs2
    BTWQTX3NXPhZjFs2
    xnApYyuiHuBciGHY
    • Remove the face cover.

  34. tAVHEIPImnuD6XC1
    • Use a T5 Torx screwdriver to remove the four 4.7 mm‑long screws securing the hinges.

  35. rhnEcoFOW3hYeRXN
    rhnEcoFOW3hYeRXN
    fB2BsnirABuZVssD
    PJlYdXjtn2VffWOk
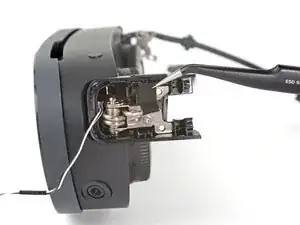
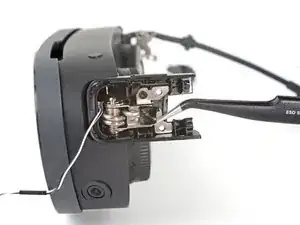
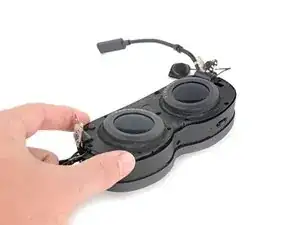
    • Pull the hinges of their slots in the frame.

    • You might feel some resistance, as there's a magnet sitting underneath it.

Conclusion

Compare your new replacement part to the original part—you may need to transfer remaining components or remove adhesive backings from the new part before installing.

To reassemble your device, follow these instructions in reverse order.

Take your e-waste to an R2 or e-Stewards certified recycler.

Repair didn’t go as planned? Try some basic troubleshooting, or ask our Answers Community for help.

Alex Diaz-Kokaisl

Member since: 16/01/22

117875 Reputation

One comment

I like how you give us pretty great detailed instructions on how to replace it but dont really give us a place on how to get them....

Apple -