Introduction

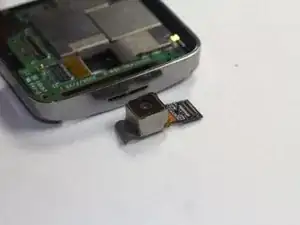
Building upon basic teardown guides, this guide will allow you to replace the camera inside your phone in about 20 minutes.

  1. dhd4W5V6TWQbIlGE
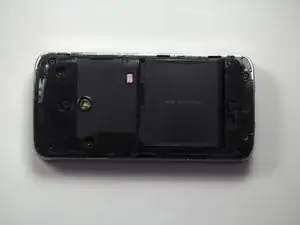
    • Remove the back cover (not pictured) to your phone.

  2. Sei6QxrT3GInDDUa
    Sei6QxrT3GInDDUa
    HUw2LfK1uCOruPWI
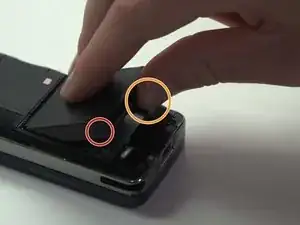
    • To remove the battery, place your thumb beneath the tab and begin to lift.

    • Pinching the battery, lift up at an angle from the bottom of the phone.

  3. mHgFlvYXKFhP2U4A
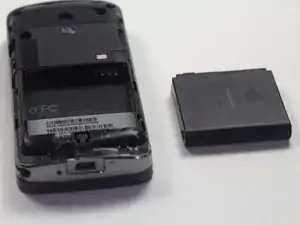
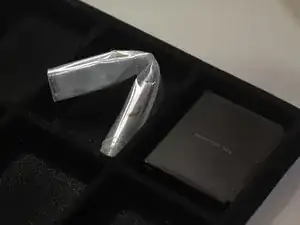
    • Place the battery in a container off to the side. If you do this for every step beyond this point, you will keep better track of your parts and make reassembling the device far easier when you get around to it.

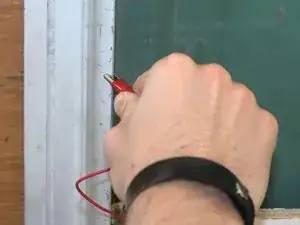
    • It might not be necessary, but we recommend using an anti-static bracelet or anti-static mat from this point on. Any charge on your finger tips may cause harm to the device.

  4. 5yYlmsM5yNDUI1tx
    5yYlmsM5yNDUI1tx
    1aHapHKNAIFdDUKa
    S4toqiGTGbKkpGSX
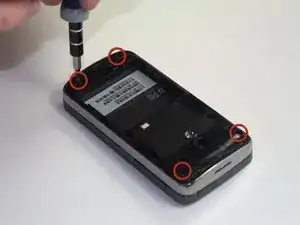
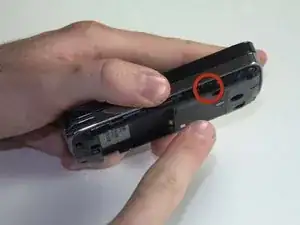
    • Use a T6 screwdriver to remove the four screws on the rear plate of the HTC Touch Pro.

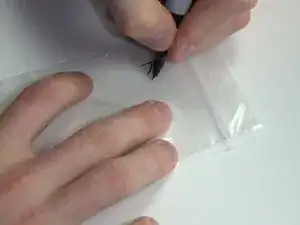
    • Place your screws in a bag labeled with where they came from, what screwdriver you used, and the order in which you removed them. For example, this bag would say "Rear casing. T6. #1."

  5. WBHVqXE3Th3BVLED
    WBHVqXE3Th3BVLED
    ei2do5oFuJbxxCfK
    y2oiTJEjgMvPFdVr
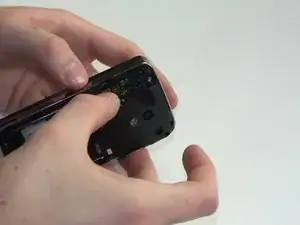
    • Next, remove the casing that covers the camera and motherboard.

    • To do this, place your thumbnail in any of the grooves along either side and pry it open.

  6. ARoSwnQv6TyAWQsF
    ARoSwnQv6TyAWQsF
    VaZPtsWY5Kqlmn1S
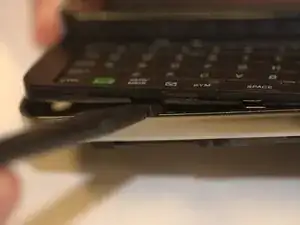
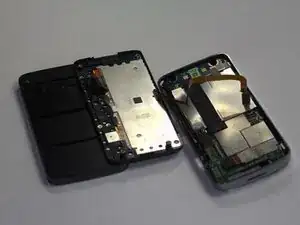
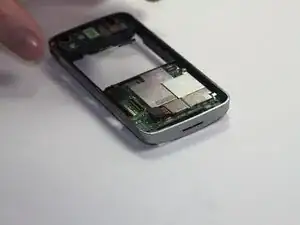
    • Insert your spudger along the slit between the keyboard and the external casing. Pry open as shown.

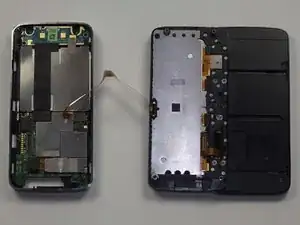
    • Careful! The ribbon connecting the keyboard to the motherboard will still connect the two halves of the phone when you separate them. Be sure to take your time and move slowly to avoid damage to the cable.

  7. JXUBY26eDuVUUkFH
    JXUBY26eDuVUUkFH
    eWmqZEMGxCxBhhgL
    bxbFyQIb4pvRieGp
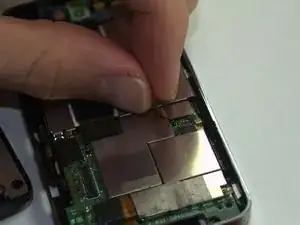
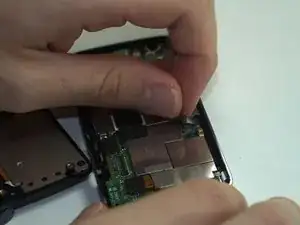
    • Remove the keyboard ribbon from the motherboard. To do this, simply grasp the ribbon at its base and pry it up at an angle. The ribbon has a metal end that is easily removed from the motherboard.

  8. Cpx6Q4dEUdXECEPK
    Cpx6Q4dEUdXECEPK
    cGeuqIVgdxSUTITt
    OnGpg12cyRJvBKPQ
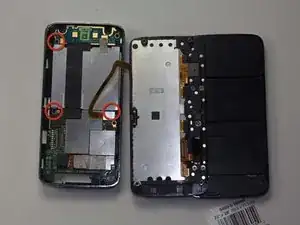
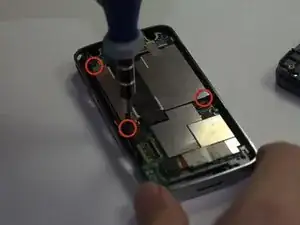
    • Using a Phillips Head size 0 screwdriver, remove the 3 screws holding in the battery compartment.

    • Remove the ribbon covering the battery compartment by pinching it at the base and lifting.

  9. 1T3DqVHFpCC4sORq
    1T3DqVHFpCC4sORq
    pCrprOmRpjoR4HYJ
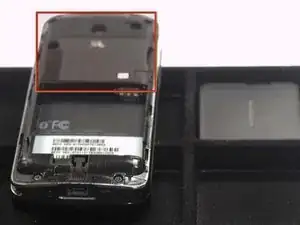
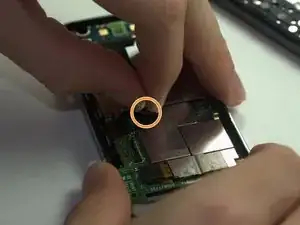
    • The camera is only held in by one connection to the motherboard and some tape.

    • Remove its connection to motherboard in the same way that you've removed such connections in the past.

  10. Z6jDbauYO2BvyIQS
    Z6jDbauYO2BvyIQS
    JZ22CVGPs6VkNWHt
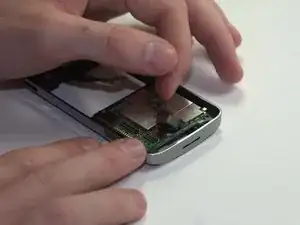
    • Peel the tape holding it in place.

    • After that it will be free to remove and replace as necessary.

Conclusion

To reassemble your device, follow these instructions in reverse order.
Jack Bowen

Member since: 10/04/11

79 Reputation

0 comments