Introduction
Tools
-
-
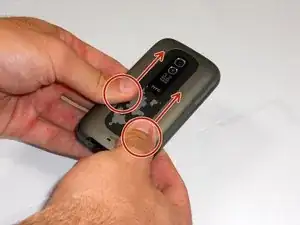
Apply pressure and slide upward to remove back cover.
-
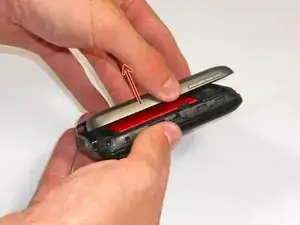
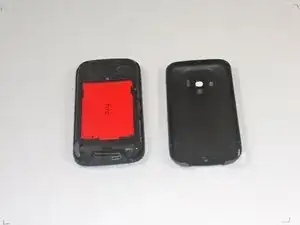
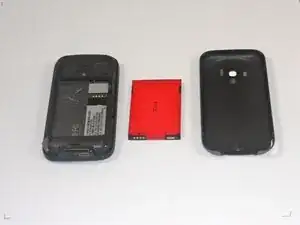
Lift the back cover up away from the phone.
-
-
-
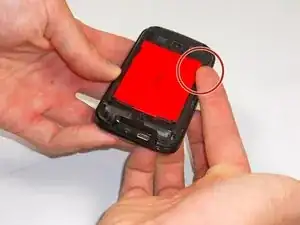
Lift battery upward on the upper right-hand side to remove it.
-
Check the battery to make sure there's no bent corners
-
-
-
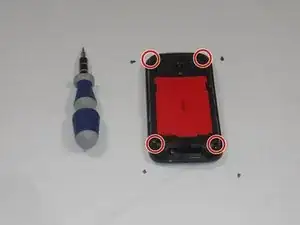
Using a T5 screwdriver, remove the four screws in corners as shown.
-
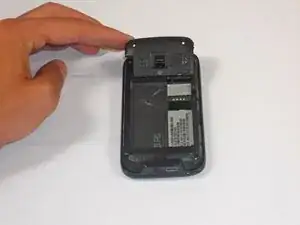
Lift the top portion of the rear case.
-
-
-
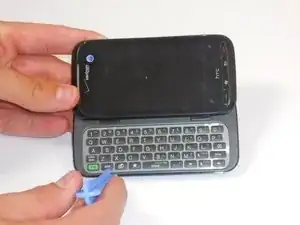
Using an IfixIt Plastic Tool, detach the plastic casing from the keyboard. This may require some force.
-
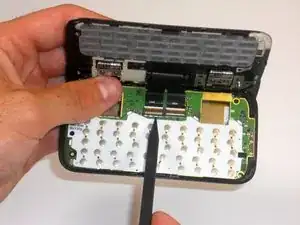
Using a spudger or other thin tool, carefully pry up ZIF connectors as shown. This will allow the black ribbons to detach from the keyboard.
-
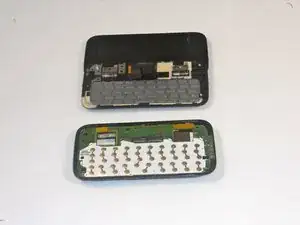
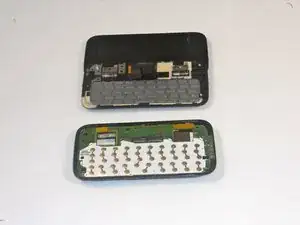
Slide the two parts away from each other so that the black ribbons slide through the slots and you will now have housing into two parts.
-
To reassemble your device, follow these instructions in reverse order.
