Introduction

Warning: Always be sure you are grounded whenever handling any of the circuit or logic boards.

  1. OgFImauWfYvJYgyA
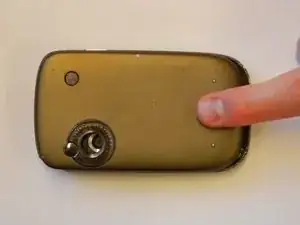
    • Remove the back panel by sliding it up.

  2. SwPJI2kZNmPhtCTq
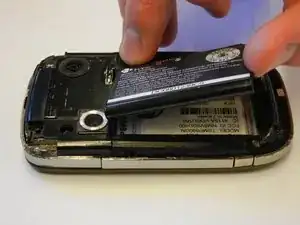
    • Remove the battery.

  3. UFP1tKD2tRfYTMwE
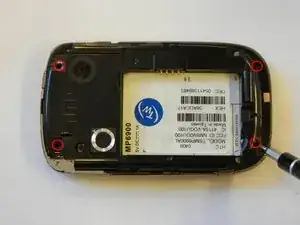
    • Remove the 4 torx-head screws in the corners of the phone using the T5 Torx Screwdriver.

  4. qVQtNWJAQPBng1QY
    qVQtNWJAQPBng1QY
    YosONYCCEPP2I1CJ
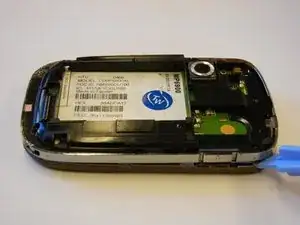
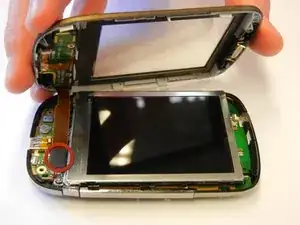
    • Use the plastic opening tool to remove the front panel from the phone.

    • Be sure to unplug the front button cable from the inside of the phone.

  5. cvuprbdc5sgxPjjf
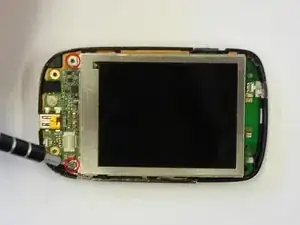
    • Unscrew the 2 torx-head screws at the base of the LCD screen using the T5 Torx Screwdriver.

  6. 6gZdmdN6snTiLTKN
    6gZdmdN6snTiLTKN
    QK6RXksVMfOuFQjS
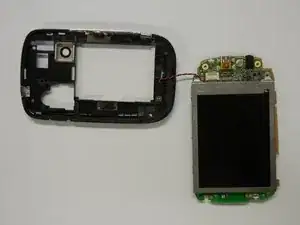
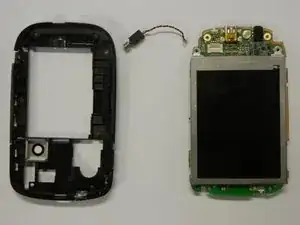
    • Separate the motherboard from the black plastic casing.

    • Unplug the black and red wire from the motherboard.

    • Unplug the black and red wire from the black plastic casing.

  7. FJJFCDWyYIyDs5WN
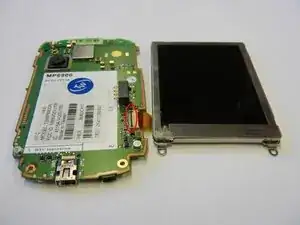
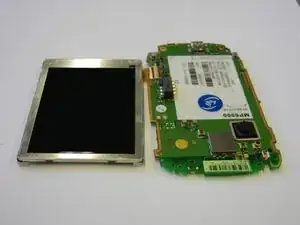
    • Lift the black lever next to the orange ribbon cable to remove the LCD screen.

Conclusion

To reassemble your device, follow these instructions in reverse order.
callum rowland

Member since: 19/04/11

247 Reputation

0 comments