Introduction
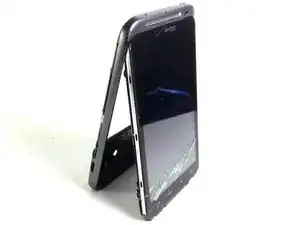
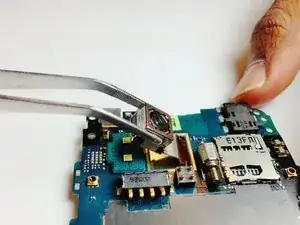
Use this guide to replace a broken or damaged camera.
Tools
-
-
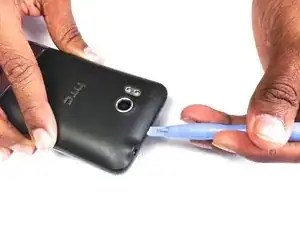
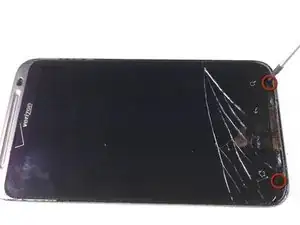
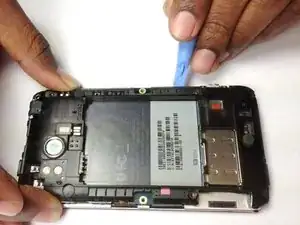
Insert the plastic opening tool into the top of the Thunderbolt near the power button.
-
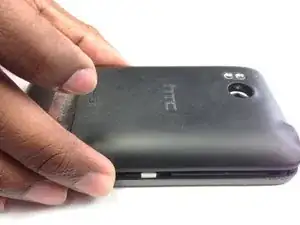
Gently pry up on the rear panel around the edges until it is loose.
-
-
-
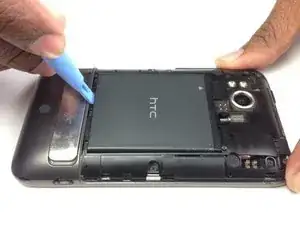
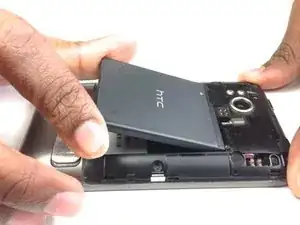
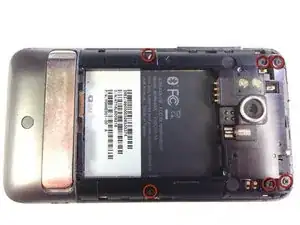
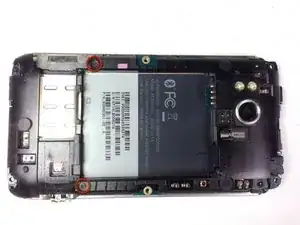
Using the plastic opening tool, lift up the battery from the bottom near the kickstand.
-
Remove the battery from the inner frame.
-
-
-
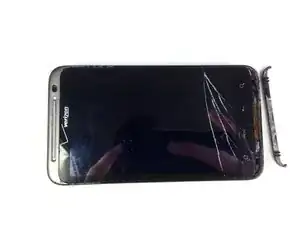
Insert the plastic opening tool into the bottom of the phone underneath the soft keys.
-
Gently pry up on the plastic cover by sliding the plastic opening tool across the bottom of the phone.
-
Remove the plastic cover.
-
-
-
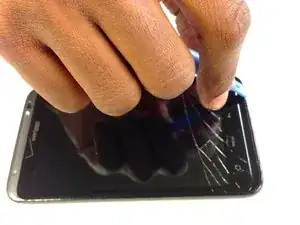
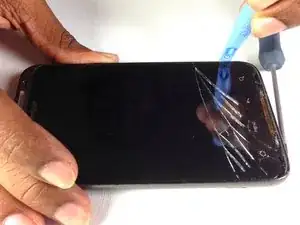
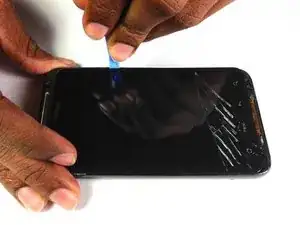
Insert the plastic opening tool in between the screen and the frame on the side of the phone.
-
Slowly slide the the plastic opening tool along the side of the phone until the screen begins to separate from the frame.
-
Do the same for the opposite side of the phone.
-
-
-
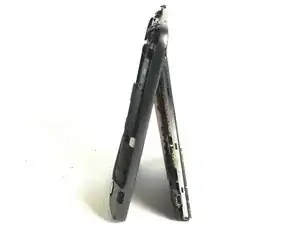
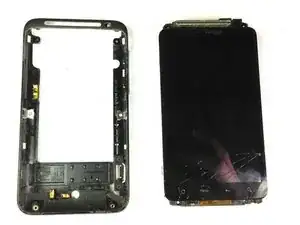
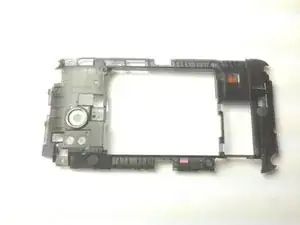
Carefully separate the screen and phone from the rear frame, starting from the bottom.
-
Gently pull down on the phone and screen to fully separate it from the rear frame.
-
-
-
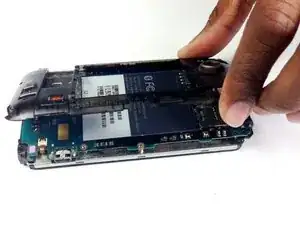
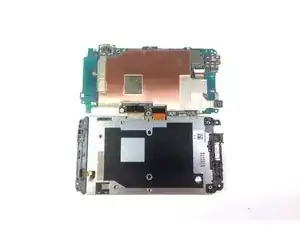
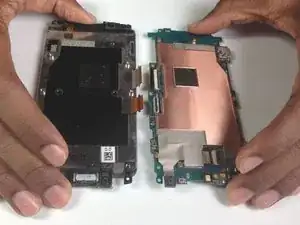
Insert the plastic opening tool between the rear inner frame and the motherboard and slowly work your way around the device.
-
-
-
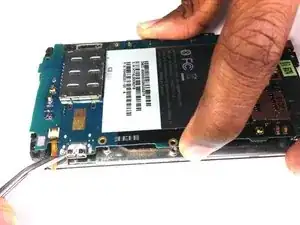
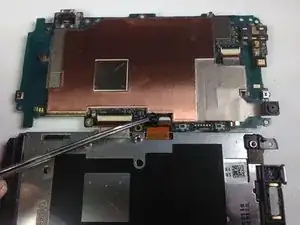
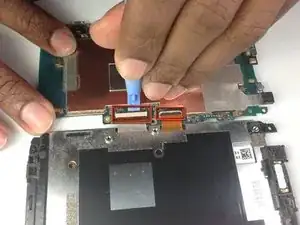
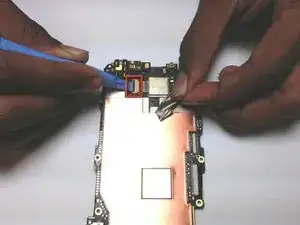
Using the tip of an plastic opening tool flip up the tab holding the capacitive button ribbon cable.
-
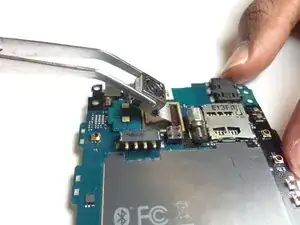
Use a pair of tweezers to pull the capacitive button cable out of its socket.
-
-
-
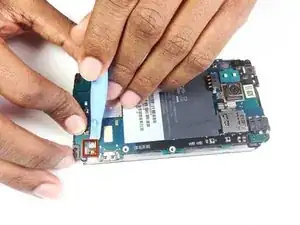
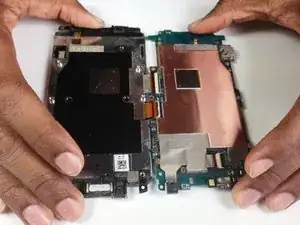
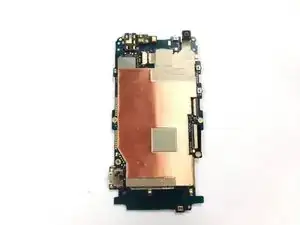
Lifting from the side where the ribbon was disconnected, flip over the motherboard.
-
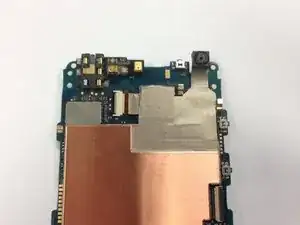
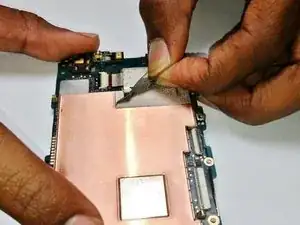
Remove the black tape covering the tabs connecting the motherboard and LCD.
-
To reassemble your device, follow these instructions in reverse order.
