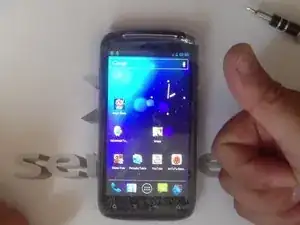
Introduction
The procedure is difficult. You must have experience to do this !!!
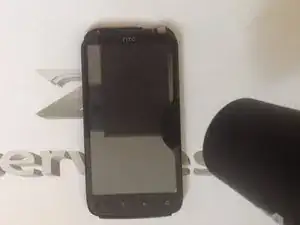
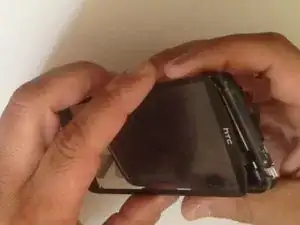
How to disassemble / make apart and change broken or not working touch screen. Video tutorial:
Tools
-
-
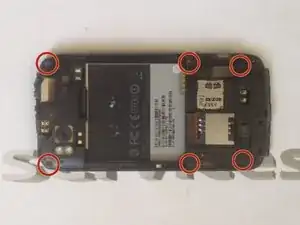
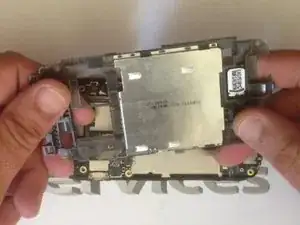
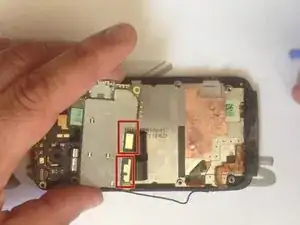
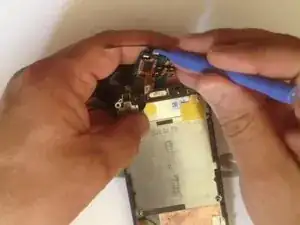
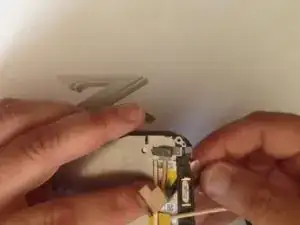
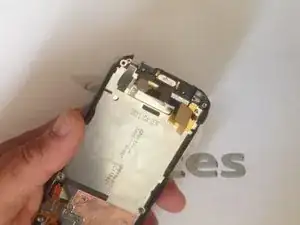
Disconnect the LCD display cable and the menu buttons cable.
-
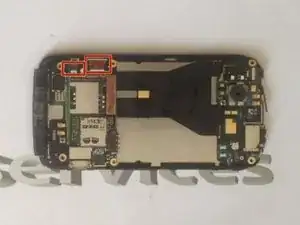
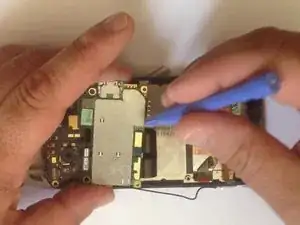
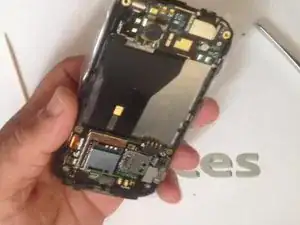
There are another two cable connector between the main board and the additional upper board.
-
-
-
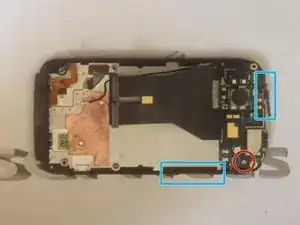
In case to remove the upper board, unscrew the screw and release the power button flex cable and the volume up/down flex cable.
-
In another side of the board is the touchscreen flex cable connector.
-
-
-
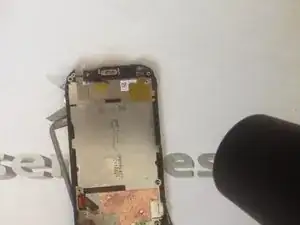
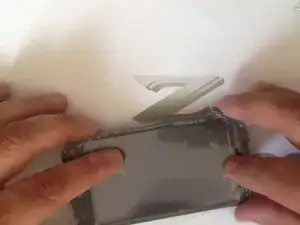
Use hot air to warm the touchscreen.
-
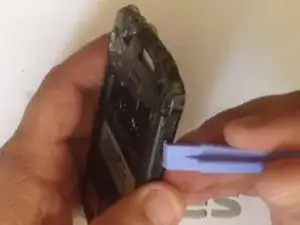
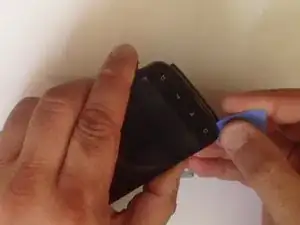
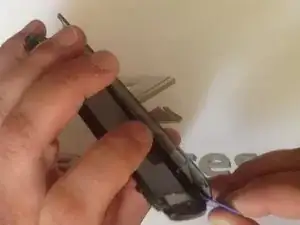
With a plastic tool start to separate the touchscreen.
-
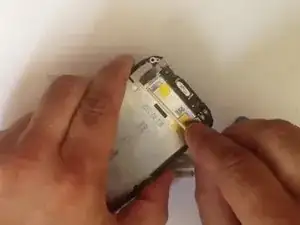
Gently release the menu flex cable from the touch screen.
-
-
-
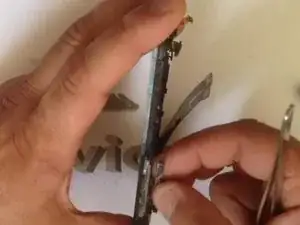
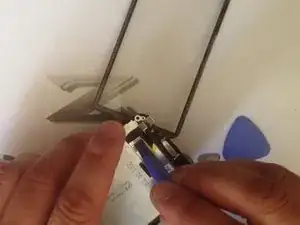
The touchscreen flex cable go between the LCD display and the upper case / housing.
-
Again use a plastic tool and hot air to free up the cable.
-
Work carefully to avoid breaking the display.
-
To reassemble your device, follow these instructions in reverse order.

