Introduction
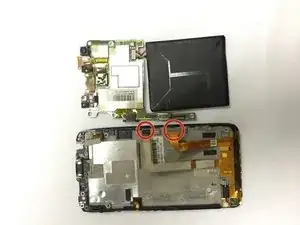
As the HTC One X is not a very user-friendly phone to repair, this guide will take you through the specific steps to disassemble your phone and will branch off into a specific repair guide for whatever problem you're experiencing.
Tools
-
-
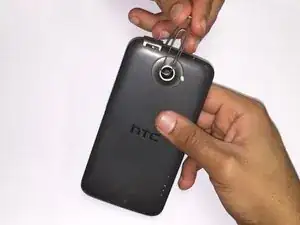
Insert a safety pin, or other small object in the small opening next to the Sim card slot to remove the SIM card.
-
-
-
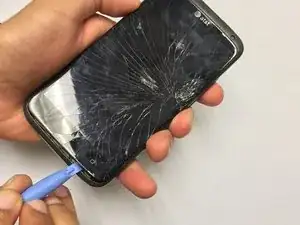
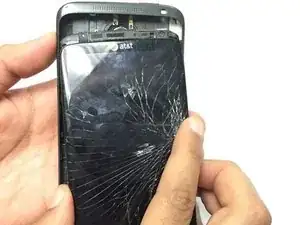
Using a plastic opening tool, carefully separate the display screen from the rear panel.
-
Set aside the rear panel.
-
-
-
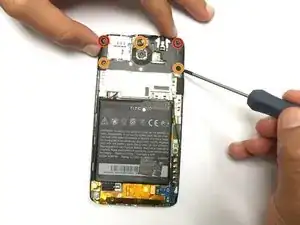
Remove the five screws at the top of the panel using a Phillips head screwdriver.
-
Two 2.05mm Philips head screws
-
Three 2.44mm Philips head screws
-
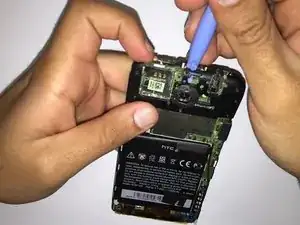
Once the screws are removed, gently remove the plastic cover using a plastic opening tool to detach the edges from the front panel.
-
-
-
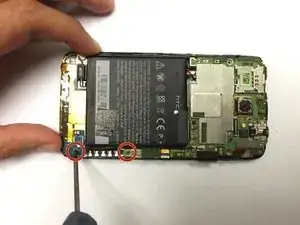
Remove the two screws at the bottom right corner of the front panel using a Phillips head screwdriver, as shown in the image.
-
Two 3.35mm Philips head screws
-
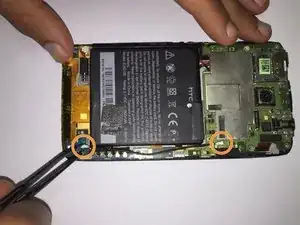
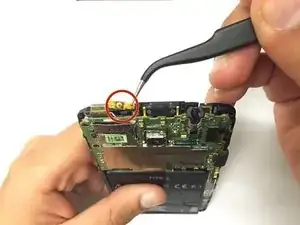
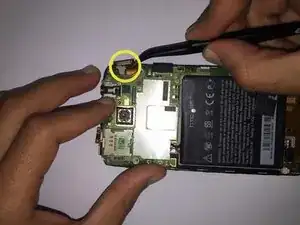
Use tweezers to disconnect the antenna from the logic board to the PCB board.
-
Remove the tape connected to the motherboard.
-
-
-
Remove the tape holding the battery in place.
-
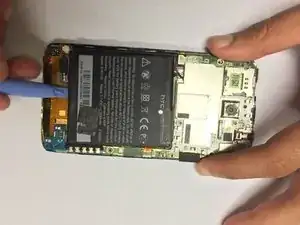
Gently lift the battery from the bottom using a plastic opening tool.
-
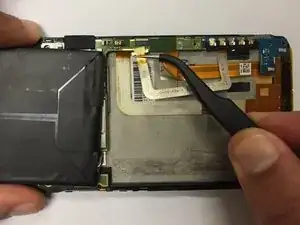
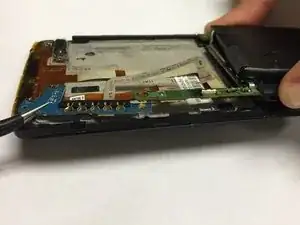
You can now disconnect the flex cable holding the PCB board place. Gently open the gates using tweezers or a plastic opening tool and use tweezers to slide the flex cable out.
-
Now that it's separated, remove and set aside the PCB board.
-
-
-
Place the battery back into its original position once the PCB board has been removed
-
Use tweezers to disconnect the power button flex cables.
-
Disconnect the volume flex cable by opening the gate and then sliding the cable out using tweezers.
-
Disconnect the touchscreen flex cable
-
-
-
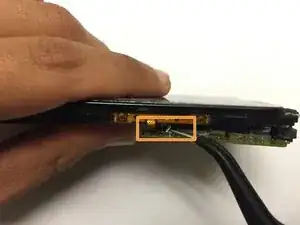
Disconnect the remaining two flex cables in a similar manner before completely removing the logic board.
-
You may now remove the board safely
-
To reassemble your device, follow these instructions in reverse order.
One comment
can we replace the mother board of htc one x with the one of htc one x + ??????

