Introduction

If your phone is taking distorted pictures or your pictures appear with lines, a cracked or faulty camera could be to blame.

  1. MQcjYMC6BnKBoYJt
    MQcjYMC6BnKBoYJt
    Je5rXV1Adi2DhA3x
    ntTTFlKZdWoVP25E
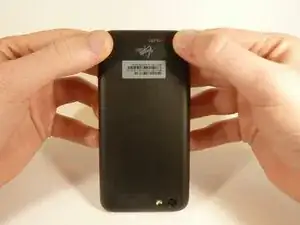
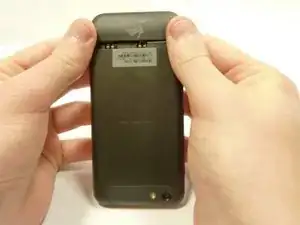
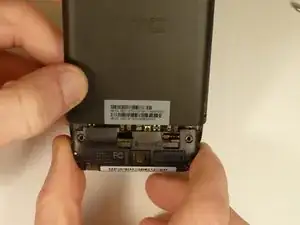
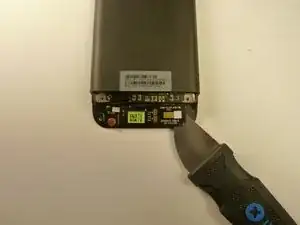
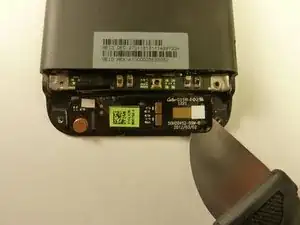
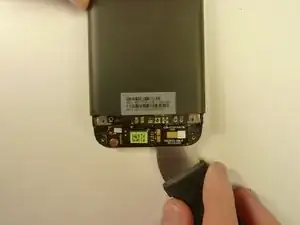
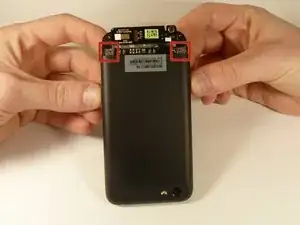
    • Power off your device.

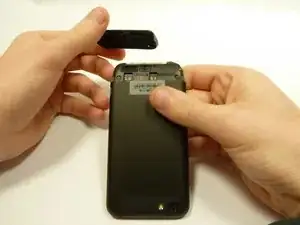
    • Remove the bottom cover by sliding it off.

  2. kJDBcsdtUC2GEqOH
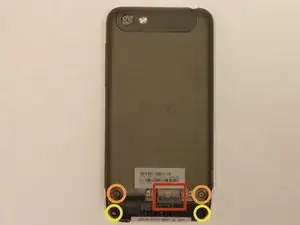
    • Remove the SIM card.

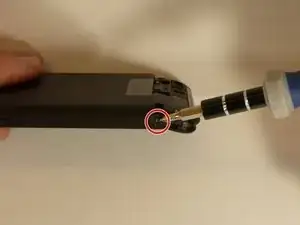
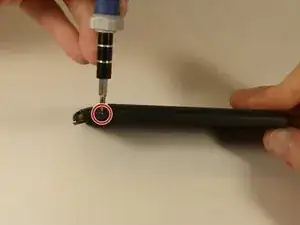
    • Remove the four screws securing the bottom casing.

    • Two 3.0 mm Phillips #0 screws in the top left and right corners.

    • Two 2.0 mm Phillips #0 screws in the bottom left and right corners.

  3. aSeFyHbjrXBMfKQH
    aSeFyHbjrXBMfKQH
    tQDmkjC4yOjsn1ZJ
    • Remove the 2.0 mm Phillips #0 screws on either side of the phone.

  4. HlnZGN56qE63SXKS
    HlnZGN56qE63SXKS
    HBDceTc5AMKMnHqn
    GohLHKBevSHkOWHx
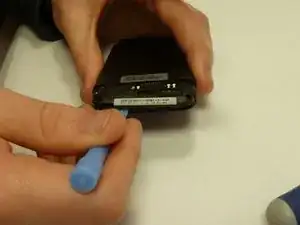
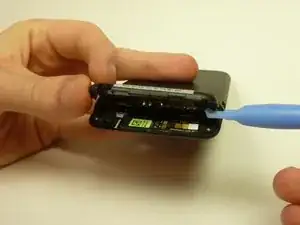
    • Use a plastic opening tool to pry open the bottom casing.

    • Remove the bottom casing by pulling it towards you.

  5. BCBtgQ3PeHYVN3lU
    BCBtgQ3PeHYVN3lU
    strOZm3ORoIJdYOP
    xpOnG4oSLFQNLD5h
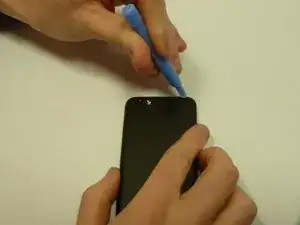
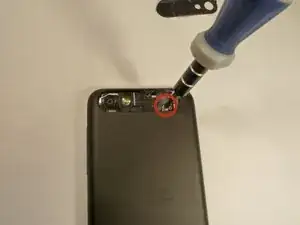
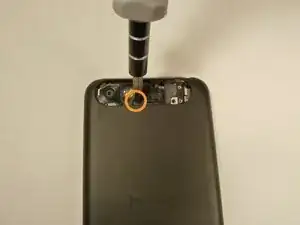
    • Use the plastic opening tool to pry open the rear camera panel.

    • Remove both screws that are securing the back case.

    • One 4.0 mm Phillips #0 screw.

    • One 3.0 mm Phillips #0 screw.

  6. ps4lSXAv5MLAFcTe
    ps4lSXAv5MLAFcTe
    5m2gUGiKKVfWtnyK
    AYHAOP4VhZSbEcPm
    • Use a Jimmy to pry up the OEM SIM and SD card reader contact.

    • Pry from right to left to avoid potential damages to the ribbon.

  7. sCDyFjtG5pSLaSCx
    sCDyFjtG5pSLaSCx
    dsNPQlBpvCXJfUH4
    2PFGLLvetMPLQEac
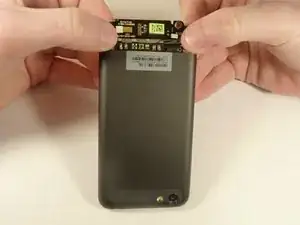
    • Using both thumbs, gently push on the two bottom rear corners of the motherboard.

    • Gently and slowly pull the screen out from the front of the phone, while feeding the OEM reader contact through the opening.

  8. NRACgCMDbwx5gO6o
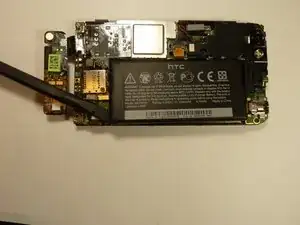
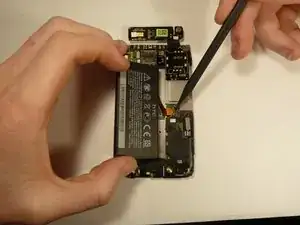
    • Pry up the battery with the flat end of the spudger.

  9. dQoOUQpOlvvfnp5P
    dQoOUQpOlvvfnp5P
    xaaQby2xE1bZP3vE
    lQFjPYM2WAuR6322
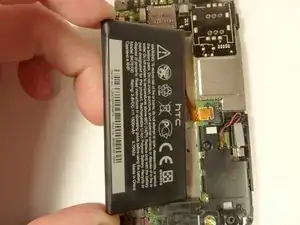
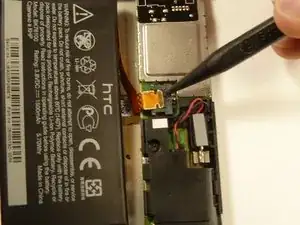
    • Gently lift up the battery away from the edge of its housing.

    • Use the point end of the spudger to push the connection out of its housing.

  10. 425sZZUIARFp3JXU
    425sZZUIARFp3JXU
    F3XI2wP2Kf63tVZF
    nLUrBFXWTyytaoHc
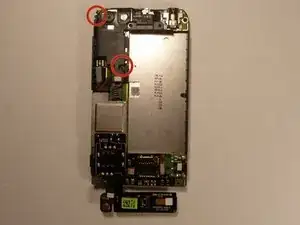
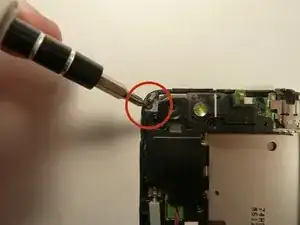
    • Remove the two 3.0 mm Phillips #0 screws, that are securing the camera lens.

  11. Qb2Z4CZGJC5UARqW
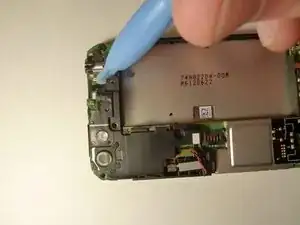
    • Pry off the camera lens using a plastic opening tool.

  12. w5bMFmITUFYjwIls
    w5bMFmITUFYjwIls
    YXpsMTQQqycqsZaJ
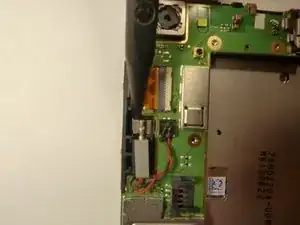
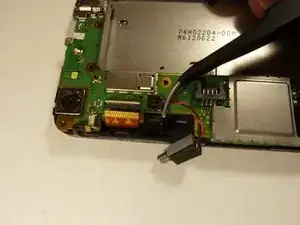
    • Pry the vibrator out of the housing with a spudger.

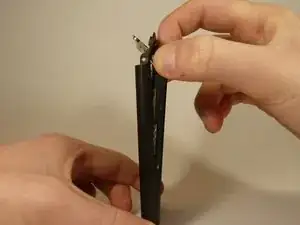
    • Using the tweezers, pull up on the connecting wires detaching the vibrator from the motherboard.

  13. FWdehyMhrKEmK2rd
    FWdehyMhrKEmK2rd
    4g3eZrBwd2OuEcUI
    MktUFe6bPXnMfk3J
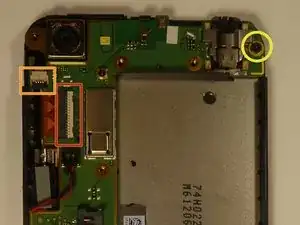
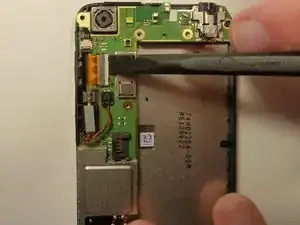
    • Using the spudger lift the tabs on the highlighted, red and orange, ribbon connectors. Gently pull out the ribbons from their connectors.

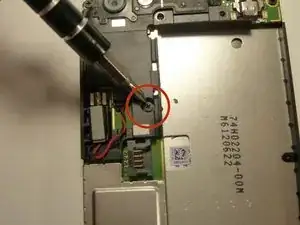
    • Remove the 3.0 mm Phillips #0 screw.

  14. gCMQBGNeSnaCS4r5
    gCMQBGNeSnaCS4r5
    qUt4jyG2ZkJCBweQ
    ronotG6rhhnWOMET
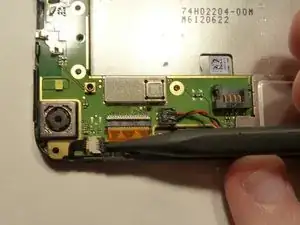
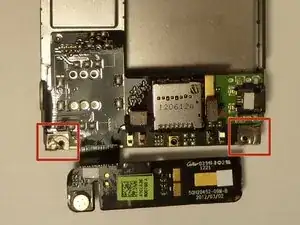
    • Using tweezers, pull back on the tape located on the bottom corners of the motherboard.

  15. 51P4xURkfhs3wZOV
    51P4xURkfhs3wZOV
    XTDSZ2lxFQmJYOO4
    • Use the spudger to push back the latch holding on the motherboard. While the latch is pushed back use the plastic opening tool to pry up the motherboard.

  16. gWPHE5LExmpqq52C
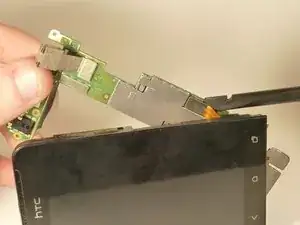
    • Place your phone on its side so that you can gently pull up on the motherboard to expose its last connector.

    • Using the flat end of the spudger, pop of the connector.

  17. AoMPiIHwGMUeCG2R
    AoMPiIHwGMUeCG2R
    KlwSSMStxvvaTN5h
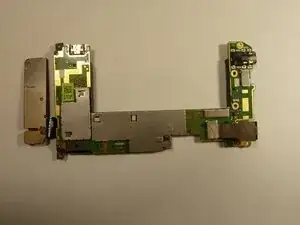
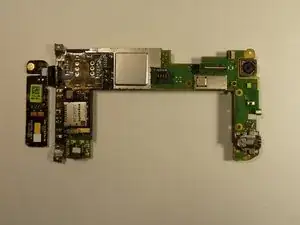
    • Flip motherboard over so the backside is up.

  18. LBMvfCLk5tHkGlsS
    LBMvfCLk5tHkGlsS
    tGKVNQ5bA1BuU3PU
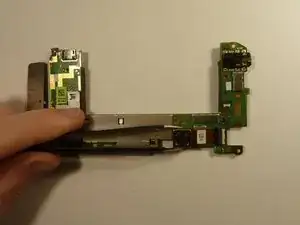
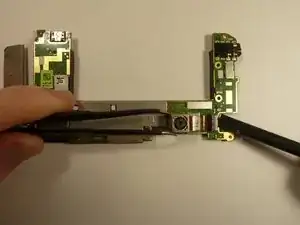
    • Pull the camera back using the tweezers, and hold it.

    • Use the spudger to unlock the camera's ribbon from its connector.

    • Using the tweezers, pull up on the ribbon and release the camera form the motherboard.

    • The ribbon is connected to the back of the LCD display by tape. Slowly pull the ribbon back and the tape will follow.

Conclusion

To reassemble your device, follow these instructions in reverse order.
Michael Lucido

Member since: 20/01/15

852 Reputation

0 comments