Introduction

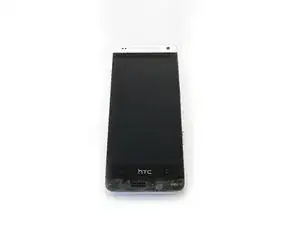
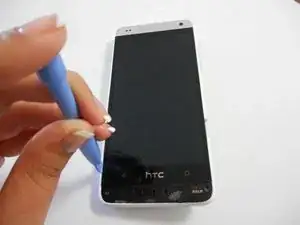
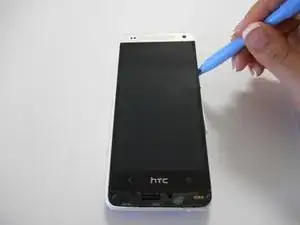
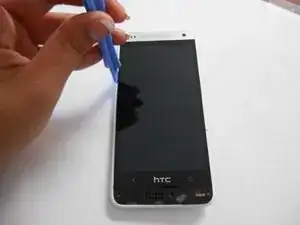
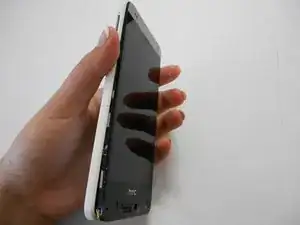
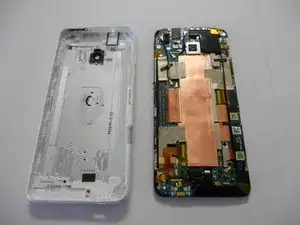
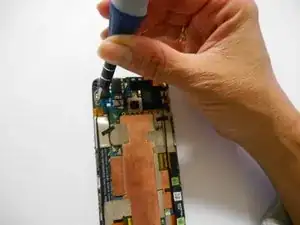
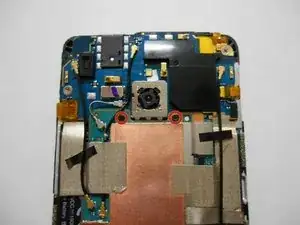
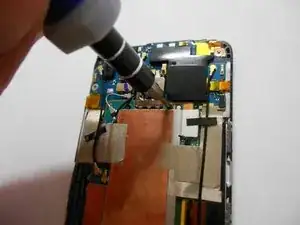
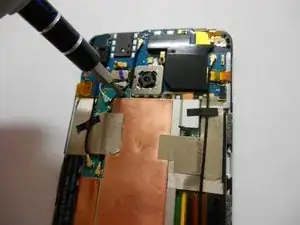
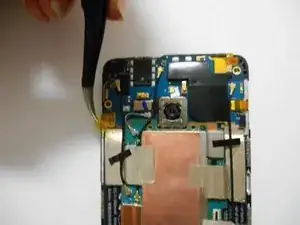
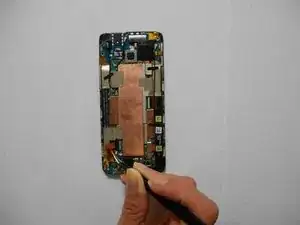
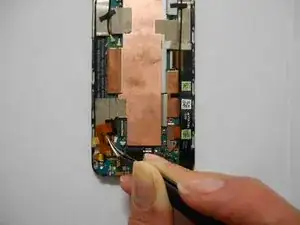
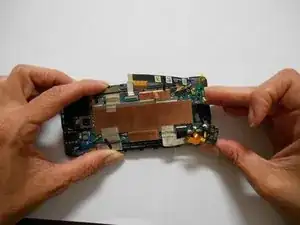
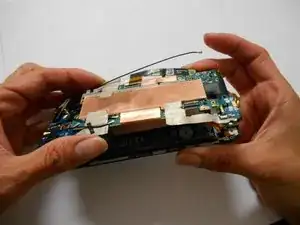
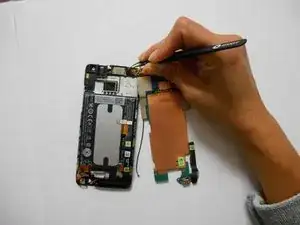
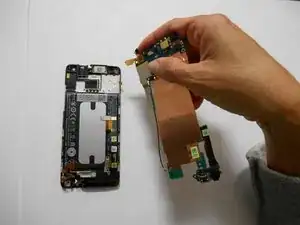
Follow the instructions in this guide to remove your HTC One Mini's rear case and detach your motherboard from the rest of the phone so that it may be replaced.

  1. TRD2sAXsYRqFuKdf
    • Use an iOpener or hair dryer to apply heat to the lower speaker grille, in order to soften the adhesive underneath.

  2. 4x2WmB6XigJJLfXe
    • Slide a thin pry tool underneath the lower speaker cover and slide it across to separate the adhesive underneath.

    • Remove the lower speaker cover.

  3. Z6hpKFmYd2POm6XU
    Z6hpKFmYd2POm6XU
    mlL6snIQMjbxOUMs
    L6OUqKyRwk2JFXsT
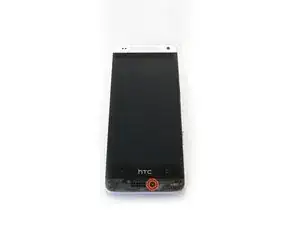
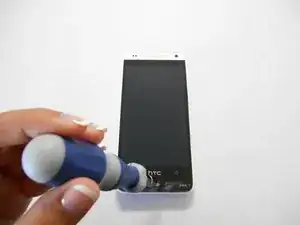
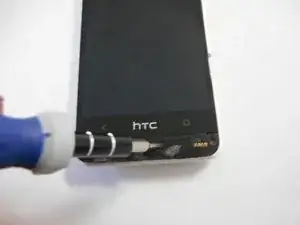
    • Remove the screw under the speaker cover using a T6 Torx screwdriver.

  4. mVYvPOdAWAETgnIF
    mVYvPOdAWAETgnIF
    WKZNCGlxUTULWWaI
    sPjTFyQNVeJAC4FN
    • Slide a thin guitar pick or pry tool between the edge of the display and the rear case, near the bottom of the phone.

    • Carefully work your way up each side of the display and separate the rear case. There are three clips on each side.

  5. LtMInDKJYBs6j3u6
    LtMInDKJYBs6j3u6
    TOk4KNVXowXcQWDK
    • Remove the rear case from the phone.

  6. ygC1QEtiwqlCg4Kn
    ygC1QEtiwqlCg4Kn
    pAteLNos23JwCtGq
    BeXiEGts2BpdKHUS
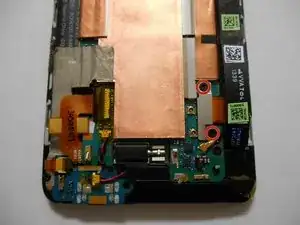
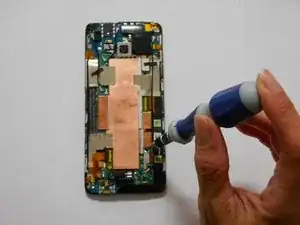
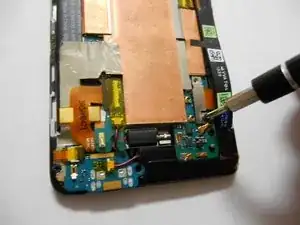
    • Remove the two Phillips screws securing the battery connector.

  7. vHF5TCUPlwlJBBPh
    vHF5TCUPlwlJBBPh
    rHvHKvVNAYakMMKZ
    • Disconnect the battery by prying the metal cover straight up.

  8. 1RwZE2OnDIQIaUoj
    1RwZE2OnDIQIaUoj
    BdtGFCm5OibW4CCp
    RoMfeDnBVCfVxfOP
    • Remove two Phillips screws.

    • The screw on the upper right corner secures a tiny golden washer. Remove this washer.

    That's actually PH00 Phillips head

    Michael Kimmel -

  9. 3EMnNFWsGZhb4ZuU
    3EMnNFWsGZhb4ZuU
    TtKyW4s6VMCsINGU
    46nAdNfvC4xOOfyo
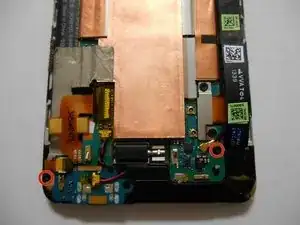
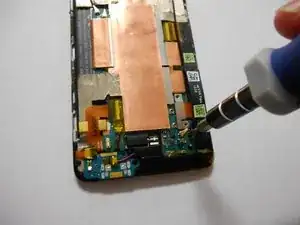
    • Remove the two small black Phillips screws.

  10. EIr6ATPFrsdHGMio
    EIr6ATPFrsdHGMio
    ZqQS3rOVEi5hBdK6
    tfAPOSpeYhmUIgCj
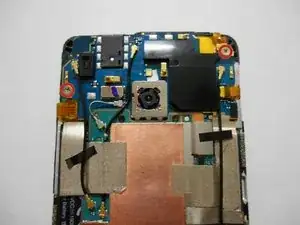
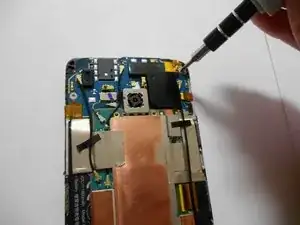
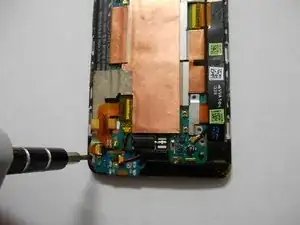
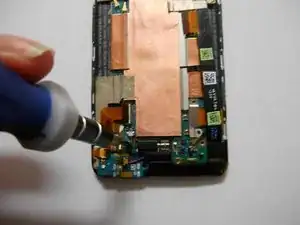
    • Remove two more Phillips screws.

  11. WYFUsICyStfUF644
    WYFUsICyStfUF644
    IxZRbPRMuRIIxUaR
    IF1EwdqoixEMQVxT
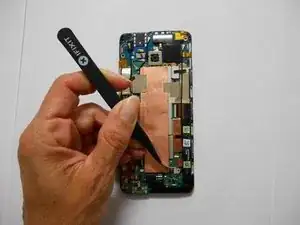
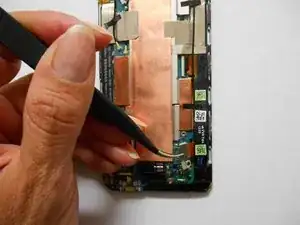
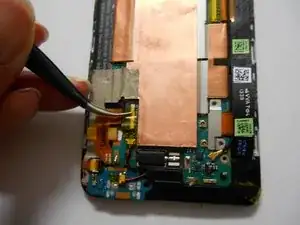
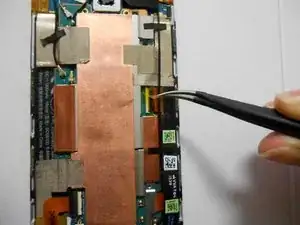
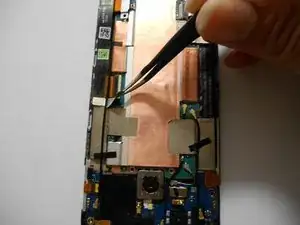
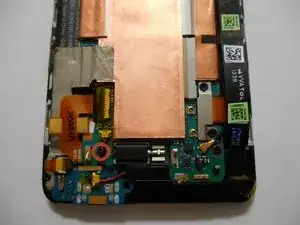
    • Use tweezers to remove the yellow tape covering the flex cable connectors (total of five).

  12. oyffi4BmNUlGohCM
    oyffi4BmNUlGohCM
    TNw2fZVK1CpnvkDr
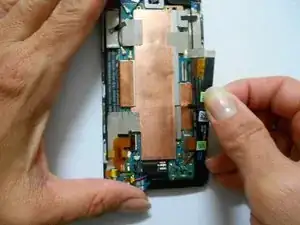
    • Carefully disconnect the flex cables at the points where you removed the yellow tape in the previous steps.

    • To disconnect, flip up the small latch on each connector, opposite its cable, and then gently pull the cable free.

  13. qRlGYBPgyMLtGVXX
    qRlGYBPgyMLtGVXX
    nfE4HgFQBSXCP5b4
    jMhbhVDULmP6s4Fy
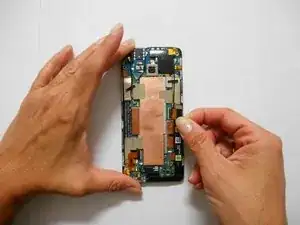
    • Peel off the silver strip with your tweezers.

    • Using your hands, detach the black strip from the board without removing it.

  14. QdML2lVvCZbPPN3C
    QdML2lVvCZbPPN3C
    g2cKQVL3nDeLqEnM
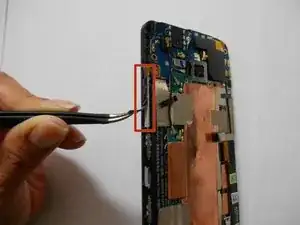
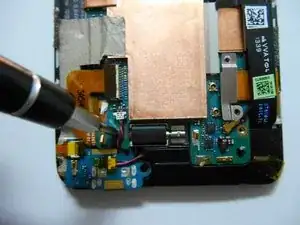
    • Detach carefully with your tweezers the volume buttons.

    • Detach the power button with your tweezers.

  15. MgihU1fLdpeJSMCA
    MgihU1fLdpeJSMCA
    pmR6IsRA2mF2sDgs
    nTXWLvJnUiQwMyML
    • Identify the screw behind the cable.

    • Remove the screw using a Phillips screwdriver.

  16. ZRIOLZOjNKpfW3uT
    ZRIOLZOjNKpfW3uT
    ND1bRdLyuEqxSDWJ
    • Lift the motherboard, but don't try to remove it completely yet.

    • Handle the board only by the edges.

  17. ZAvTJLu3XMvaFEZE
    ZAvTJLu3XMvaFEZE
    tUXxhuwPXDjFtZOE
    dtRf5H5OYH2CIWLL
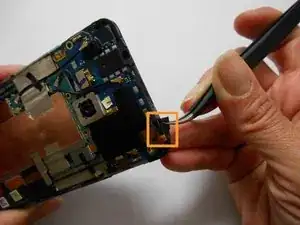
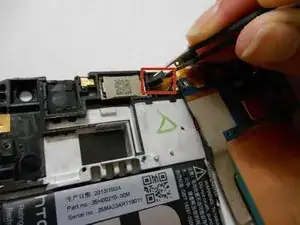
    • Using your tweezers, remove the black square located in the power button.

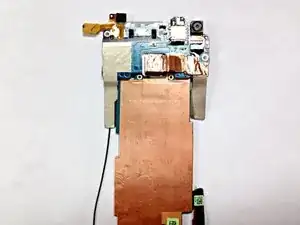
    • Remove the motherboard completely.

Conclusion

To reassemble your device, follow these instructions in reverse order.
Daniela Delgado

Member since: 22/09/14

577 Reputation

0 comments