Tools
Parts
-
-
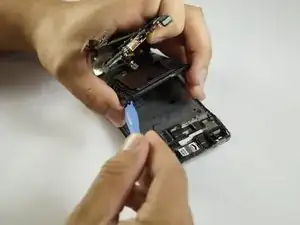
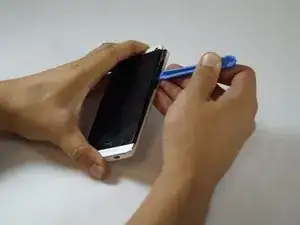
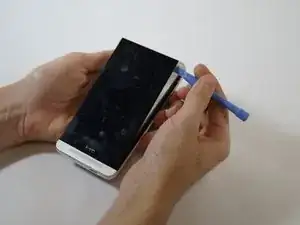
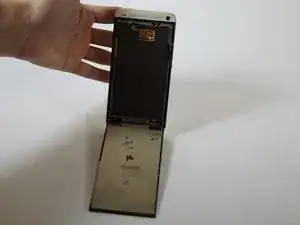
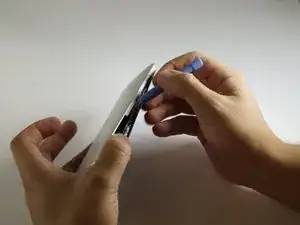
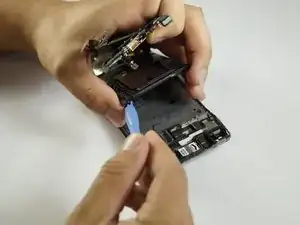
In this step you'll lift the screen. Be VERY gentle else you will break it. Insert the plastic opening tool in between the black plastic bezel and the glass screen edge along the sides and the top, gently loosening the adhesive. The screen will remain attached at the bottom edge, as if on a hinge.
-
-
-
Wedge the plastic opening tool into the crack around the screen on the top, left and right sides.
-
-
-
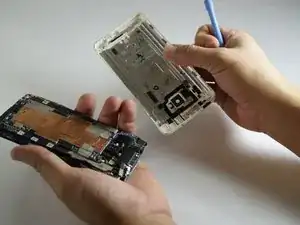
The rear case is held on by glue and eight tabs on the screen bezel. On the volume side there is one above the rocker and three below; on the SIM side all are below the slot. Insert the plastic opening tool between the case edge and the screen bezel, aiming to prise the rear case edge outwards to loosen the glue and free the tabs, one at a time.
-
-
-
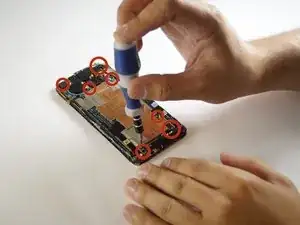
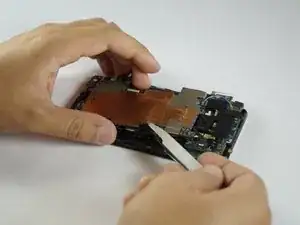
Lift the motherboard completely out of the phone with the tweezers. (may stay attached at the bottom by tape)
-
To reassemble your device, follow these instructions in reverse order.
9 comments
Removing the screen first may make it easier to insert the plastic tool between the bezel and the case, however in my instance despite being as careful as I was able I still damaged the screen whilst doing this.
Furthermore, since both the bezel and the case edge are plastic I found that they were not strong enough to withstand damage whilst I loosened the glue that held them together. Whilst I was able to access and replace the battery, cosmetically speaking the phone is a ruin.
Hardest device disassembly I have _ever_ attempted.
Why do you need to remove the screen? Step 3 says the screen will stay hinged until the final step, but after step 3 there is no more mention of the screen.
Leo Taro -
I got away without prying the LCD off (omitting step 2+3). I was lucky and the back coverpopped off rather easily. All in all it took me about an hour.

It is not required to remove the display!!! Skip this step!
Christian Stangier -