Introduction
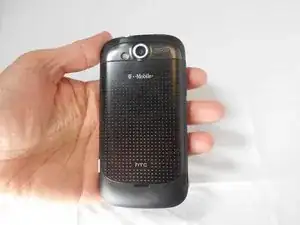
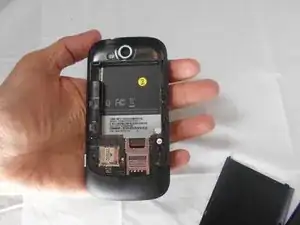
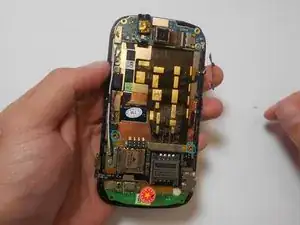
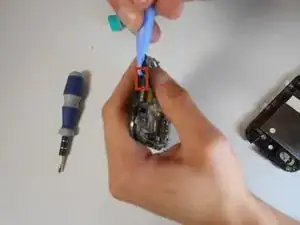
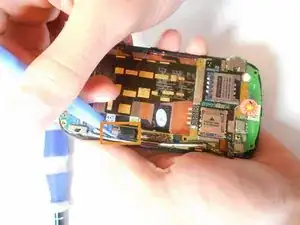
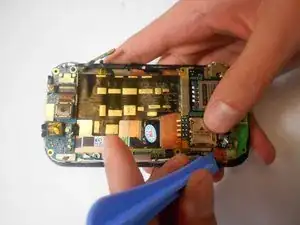
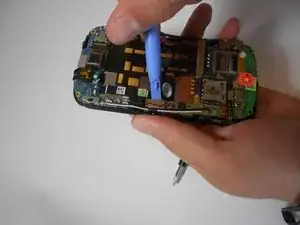
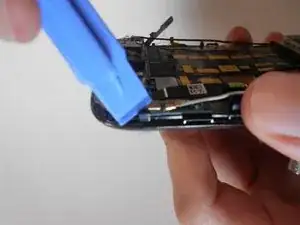
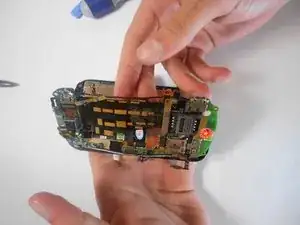
In this guide we will go through various steps in taking apart the HTC phone in order to replace the LCD.
Tools
Parts
-
-
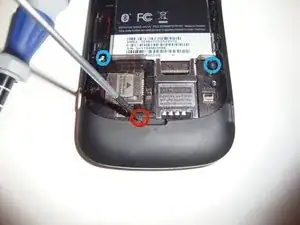
Remove the two T5x5mm Screws with the T5 Torx Screw driver.
-
Remove the one Phillips screw with the Phillips #00 Screwdriver.
-
-
-
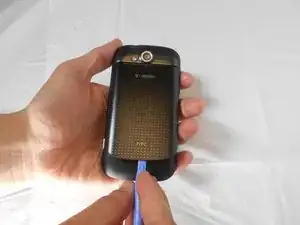
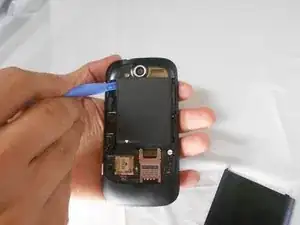
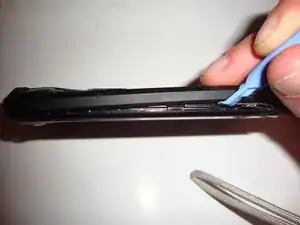
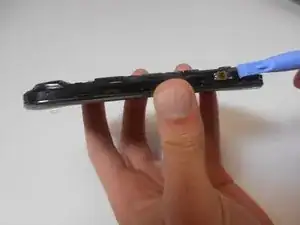
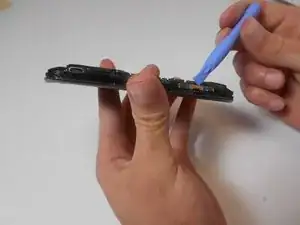
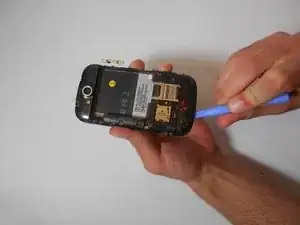
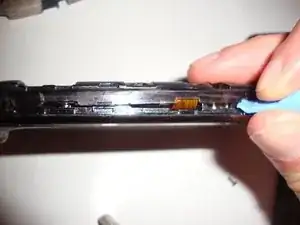
Use the plastic opening tools to remove the back case.
-
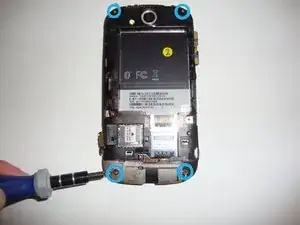
There are four T5x5mm screws. Use the T5 Torx Screwdriver to remove them.
-
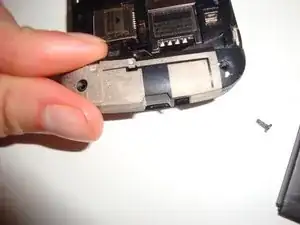
Using the plastic opening tools, remove the Wifi antenna.
-
-
-
There are three button ribbons on the phone that need to be pulled down off of the case.
-
With the plastic opening tools, pull the button ribbons down away from the frame without completely removing them.
-
-
-
After making sure the button ribbons are away from the frame, insert the plastic opening tool into the frame and remove it.
-
Remove two Philips screws holding the Motherboard in place.
-
-
-
Three ribbon cables and the vibration motor need to be disconnected from the Motherboard.
-
Using the plastic opening tools, pull up on the power button ribbon to gently detach it.
-
Remove the vibration motor by gently pulling it off of the Motherboard.
-
-
-
Remove the digitizer ribbon cable with the plastic opening tools.
-
Remove the LCD ribon cable from its connector.
-
It is now safe to release the Motherboard from the clips holding it in place. Start at the top clip of the phone and move your way around gently releasing each clip.
-
-
-
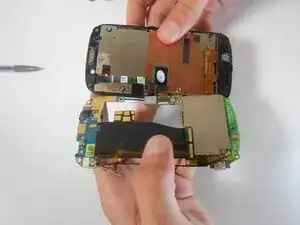
Do not lift the Motherboard off the phone. The LCD Ribbon is still connected to it.
-
Lift the Motherboard towards the left to expose the LCD clamp connector.
-
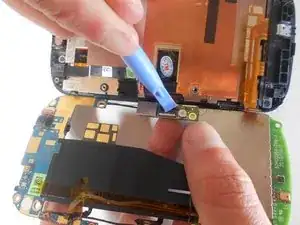
Open the clamp connector of the LCD ribbon by carefully pulling it up with the plastic opening tools.
-
-
-
Put the LCD side of the phone facing upward.
-
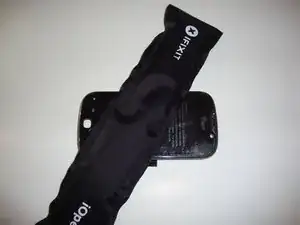
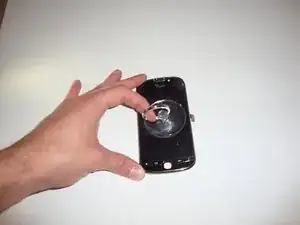
Use the iOpener to heat and loosen the adhesive up that is holding the digitizer in place.
-
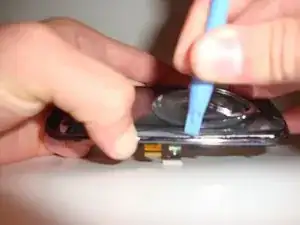
Move the plastic opening tools along the outside edge of the digitizer to loosen it more and remove.
-
-
-
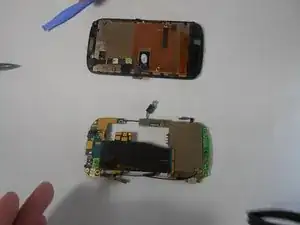
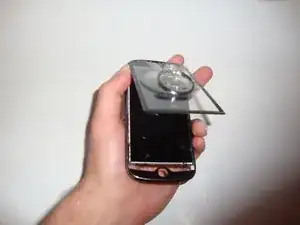
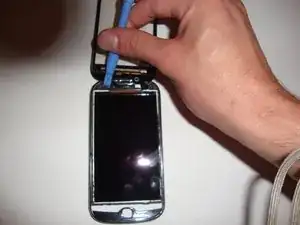
Do not take the digitizer fully off as it is still connected by the ribbon.
-
Use the iOpener tool to heat up the LCD adhesive.
-
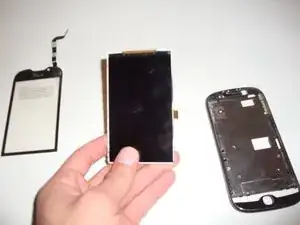
Using the iOpener kit and the plastic opening tools again, remove the LCD. The LCD is now ready to be replaced. Make sure to have more adhesive that usually comes with the replacement to make sure the LCD and digitizer will be secure.
-
To reassemble your device, follow these instructions in reverse order.
