Introduction

  1. VfBhKcVa1EAmcWpC
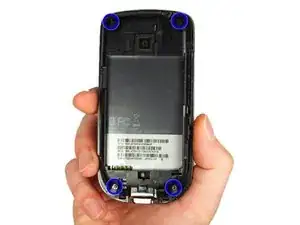
    • Remove the back of the phone by pushing firmly with your thumbs up towards the camera.

    • Remove both the battery and the SD card (Press SD card in to release)

    • Locate and remove the four Torx screws highlighted in the photo, with the phone laying face down on your work space.

  2. yjSfwlcbGGT2lhQy
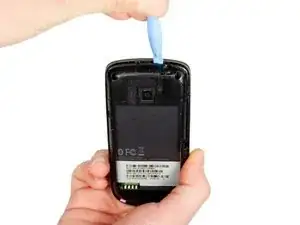
    • Carefully pry the inside back cover from the device using an appropriate size plastic opening tool or small flathead screwdriver.

    • Insert the flat end between the back and front enclosure, working your way around the rim.

  3. 4UdEVI4X3HdorqPs
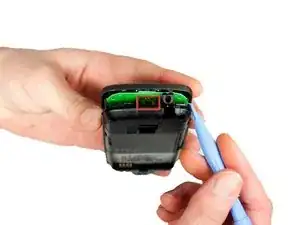
    • Gently depress and release the small plastic tabs around the rim in the front enclosure, highlighted here.

    • It is best to start with the tab found on the top center of the phone, as it is easiest to locate.

  4. qM1b3GyZ5DI43RSG
    qM1b3GyZ5DI43RSG
    enP2cNawgkHmgDak
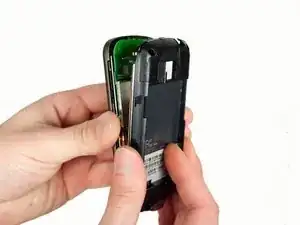
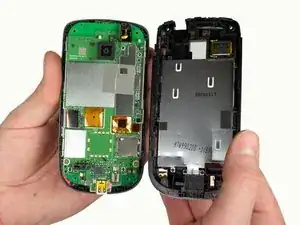
    • Carefully separate the front and back enclosures once all of the clips have been disengaged.

    • Be sure to not separate too quickly or you risk breaking an attached tab.

  5. XIgvlFGRgbHg4D5O
    XIgvlFGRgbHg4D5O
    HBAVbMhOTcTLJGke
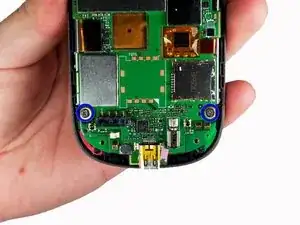
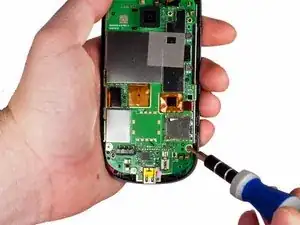
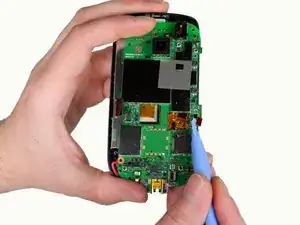
    • Remove the two screws near the bottom of the motherboard with a Phillips head screwdriver.

  6. gMSrJSTVuE3QxPoS
    gMSrJSTVuE3QxPoS
    qKwTOqrW6voQAAY5
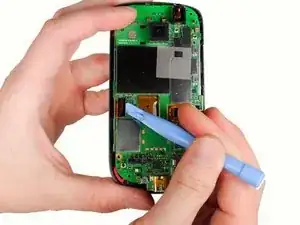
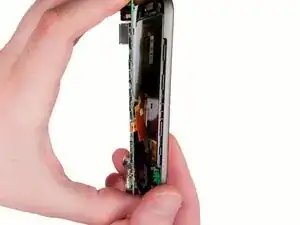
    • Gently pull off the ribbons holding the sides of the motherboard to the front enclosure.

  7. JKsEIT5HyXgOAbHS
    JKsEIT5HyXgOAbHS
    QRnBBQI5HoudaOXB
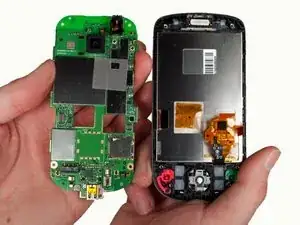
    • Remove the motherboard from within the front enclosure.

    • Be careful when pulling the ribbons off the motherboard as they may rip or break.

  8. KQstYrUbtLdjh152
    KQstYrUbtLdjh152
    3XHYIBlNHBL1WCiF
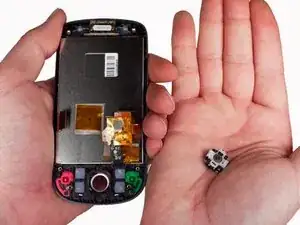
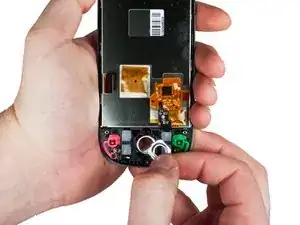
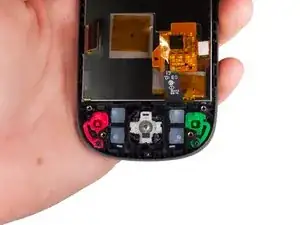
    • Tilt the inside of the front enclosure towards your cupped palm to remove the trackball and it's enclosure will fall out.

  9. v1uxS1lJdXKUEine
    v1uxS1lJdXKUEine
    L2xm3vZUMLYPVEaH
    UuOCTNoWVfmDZGOm
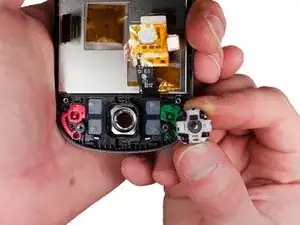
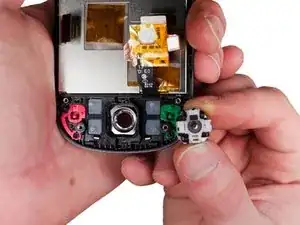
    • Position the phone off of the edge of the table and insert the replacement part by inserting the bevel then the trackball into the hole.

    • Make sure the two plastic pins on the trackball bevel are oriented horizontally.

Conclusion

To reassemble your device, follow these instructions in reverse order.
Max Brown

Member since: 23/01/12

139 Reputation

0 comments