Introduction
Tools
-
-
Remove the back of the phone by pushing firmly with your thumbs up towards the camera.
-
Remove both the battery and the SD card (Press SD card in to release)
-
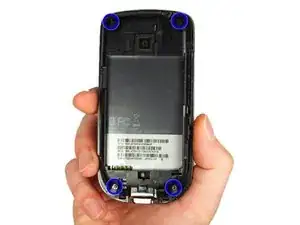
Locate and remove the four Torx screws highlighted in the photo, with the phone laying face down on your work space.
-
-
-
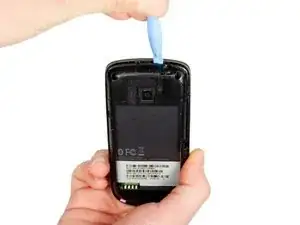
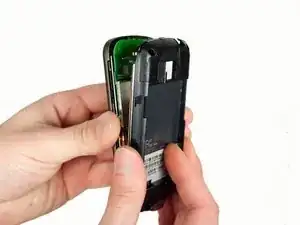
Carefully pry the inside back cover from the device using an appropriate size plastic opening tool or small flathead screwdriver.
-
Insert the flat end between the back and front enclosure, working your way around the rim.
-
-
-
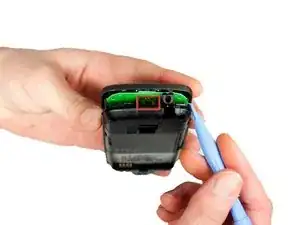
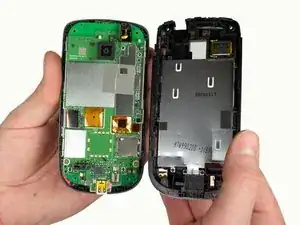
Gently depress and release the small plastic tabs around the rim in the front enclosure, highlighted here.
-
-
-
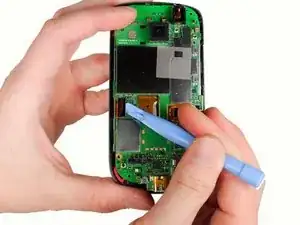
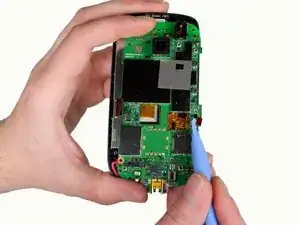
Release the two ribbon cables using a plastic opening tool.
-
Gently pry up the pop connectors used to attach the ribbon cables to the motherboard.
-
-
-
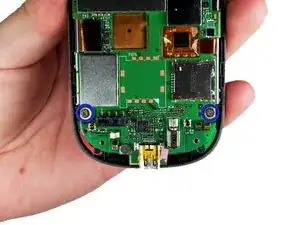
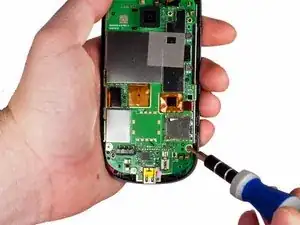
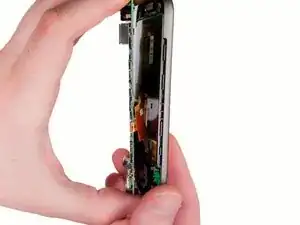
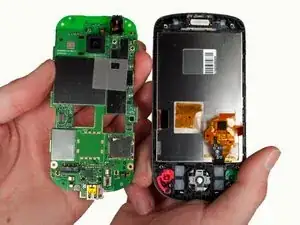
Remove the two screws located at the bottom left and right of the motherboard using a small Phillips screwdriver.
-
-
-
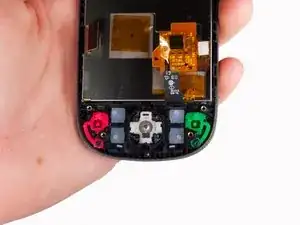
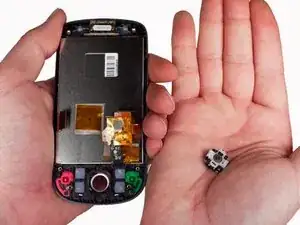
At this point it is a good idea to remove the track ball and enclosure to prevent accidental loss.
-
To remove the trackball, turn the phone over into your cupped hand and the trackball will fall out.
-
-
-
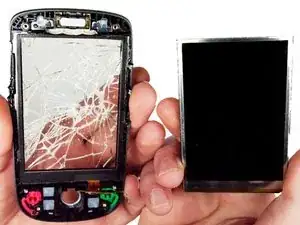
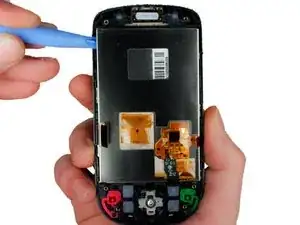
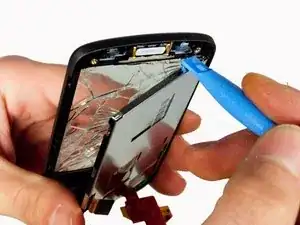
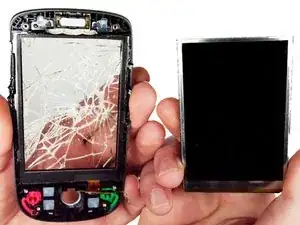
Using an plastic opening tool, gently pry out the LCD screen from the left side of the enclosure as illustrated.
-
To reassemble your device, follow these instructions in reverse order.
