Introduction
Tools
-
-
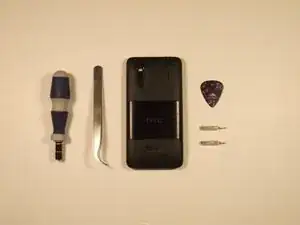
Tools: Phillips #000 Screwdriver, T4 Torx Screwdriver, Safety Pry Tool (Guitar pick), Tweezers
-
-
-
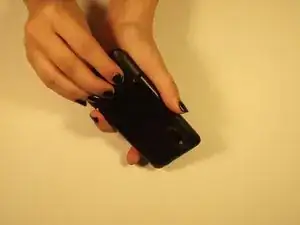
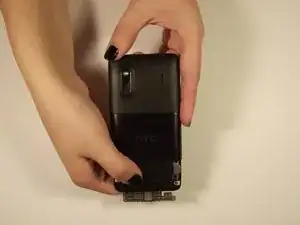
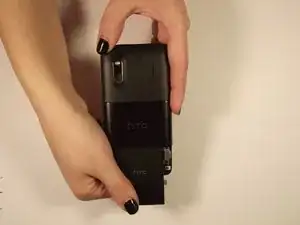
Use fingers on either end of the button edges of the phone to pull back cover off. It should slide off.
-
-
-
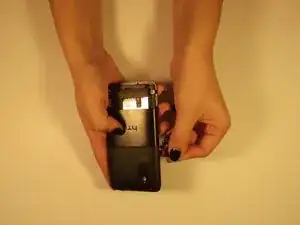
When open, pull on “Open” tab and it should rotate towards you
-
Grab the bottom edge of the battery and pull it toward you
-
-
-
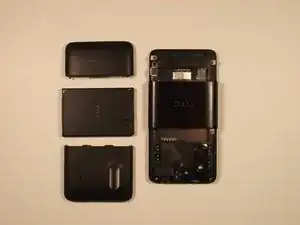
On the side of the top casing on the phone there should be a slot. Use your safety pry tool (guitar pick) pry around the perimeter of the casing to remove it
-
Info*: The adhesive tape that you may find will not be necessary for replacement later
-
-
-
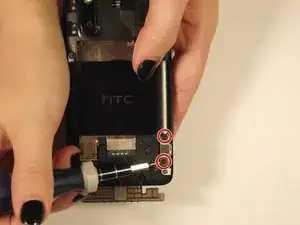
Remove the two Phillips screws to release the casing above the port
-
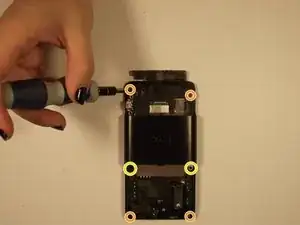
Remove the top and bottom pairs of Torx screws.
-
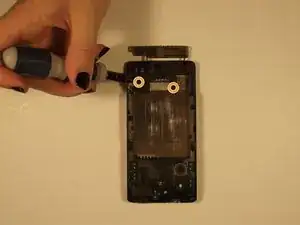
Remove the middle pair of two Phillips screws.
-
-
-
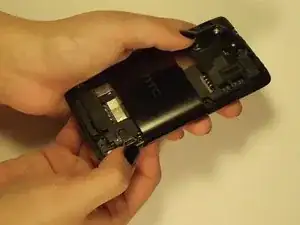
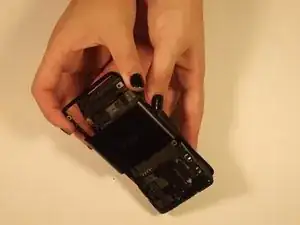
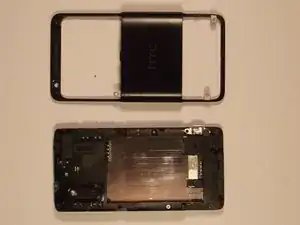
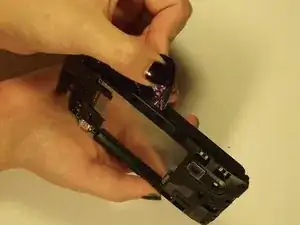
To remove the remaining cover, lift the side port, which was previously uncovered, then lift the outer shell from the bottom of the phone and slide it forward
-
-
-
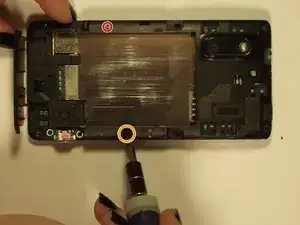
Remove the two revealed screws on the outside (Torx = red, Phillips = orange), and then remove the two phillips on the bottom of the phone
-
-
-
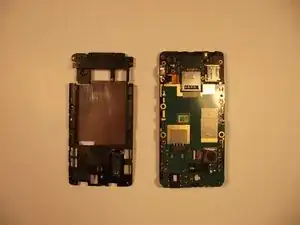
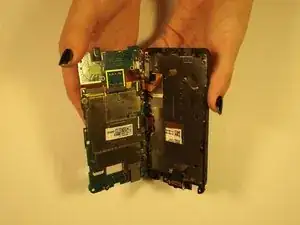
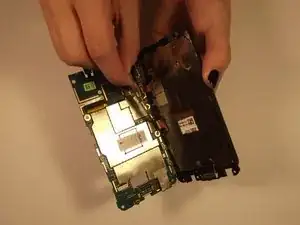
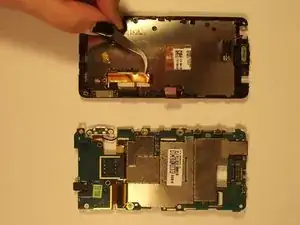
The flex cables should be the only binding and after being removed should leave you with the separate screen
-
-
-
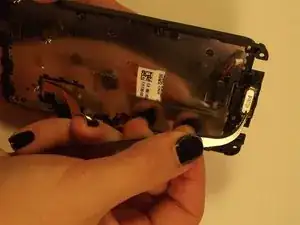
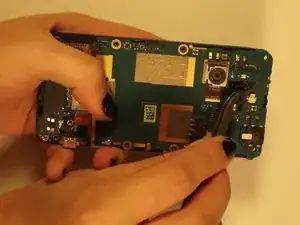
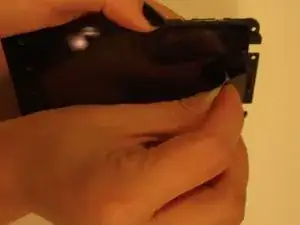
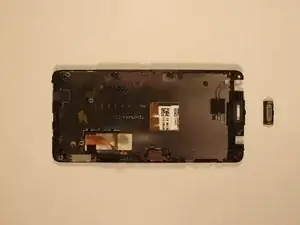
Carefully dislodge the earpiece using the tweezers as shown in the first image
-
After loosening the piece (if it will not come out from the back) carefully push from the front side with the safety pry tool (guitar pick)
-
To reassemble your device, follow these instructions in reverse order.
