Introduction
There are two cameras on this phone, so be sure you know which camera you are replacing before starting this guide.
Tools
-
-
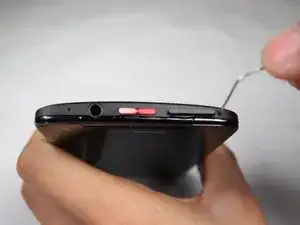
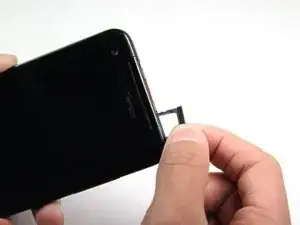
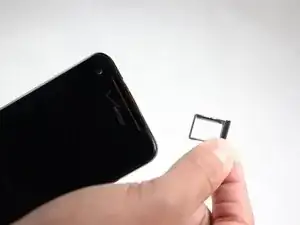
Poke a paperclip into the hole to the right of the SIM Card Tray. The SIM Card Tray will automatically pop out.
-
-
-
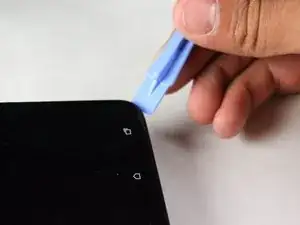
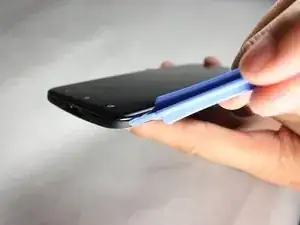
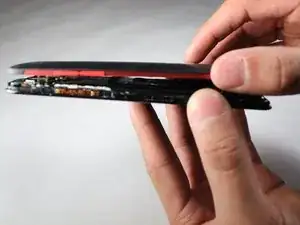
Starting at a corner, slowly work your way around the edge of the sides with your prying tool to loosen the front panel.
-
-
-
Set the device down so that the bottom of the phone is facing to the right.
-
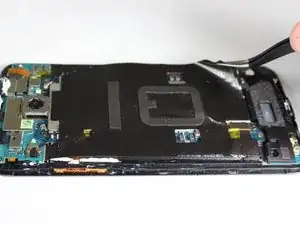
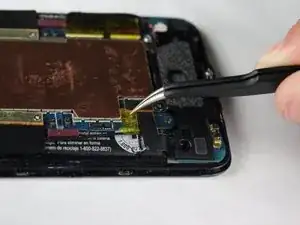
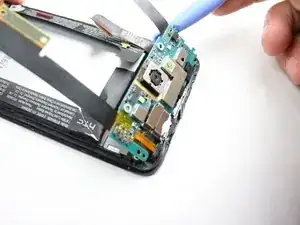
Gently take off the piece of black tape surrounding the motherboard.
-
-
-
Rotate your phone 90 degrees clockwise so the bottom of the phone is facing you.
-
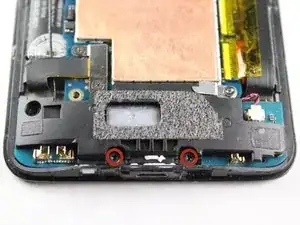
Use the T5 Torx screwdriver to remove the two 4mm screws located at the bottom of the phone.
-
-
-
Rotate your phone back 90 Degrees counter-clockwise.
-
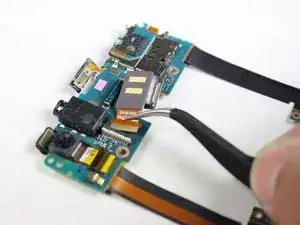
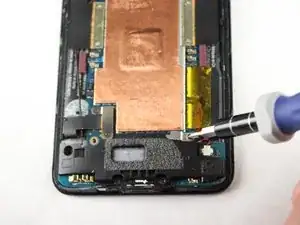
Use your tweezers to take off the small metal retaining bracket on the bottom right of the phone.
-
-
-
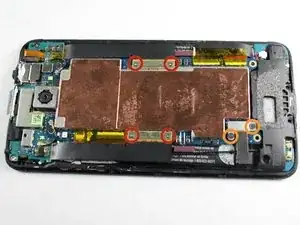
Remove the following Phillips #000 screws from the motherboard:
-
Four 1.6 mm screws
-
Two 1.5 mm screws
-
-
-
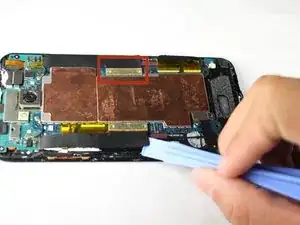
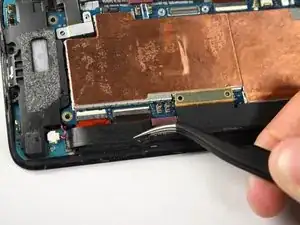
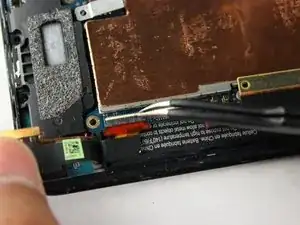
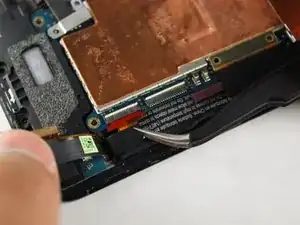
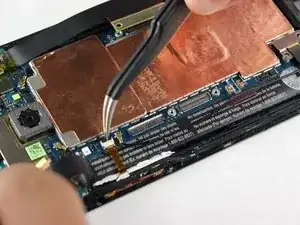
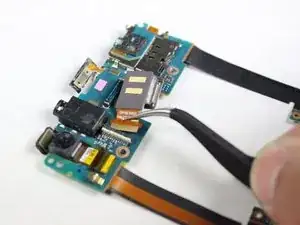
Use your tweezers to gently snap the other white board on the bottom right of the motherboard up.
-
-
-
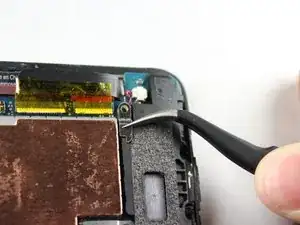
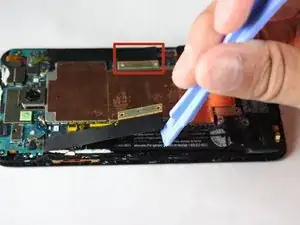
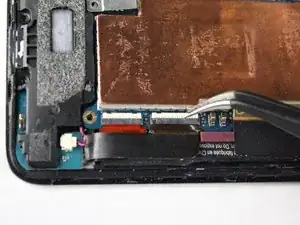
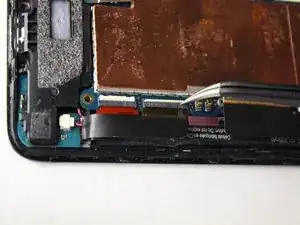
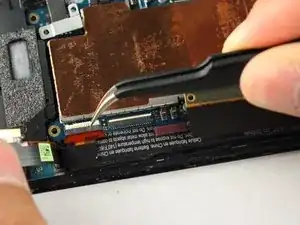
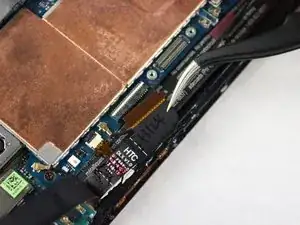
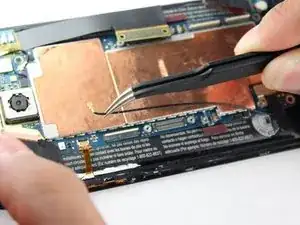
Use your tweezers to disconnect the other small connector on the bottom right of the motherboard.
-
-
-
Rotate the phone 180 degrees.
-
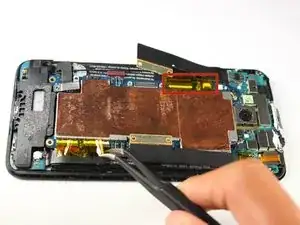
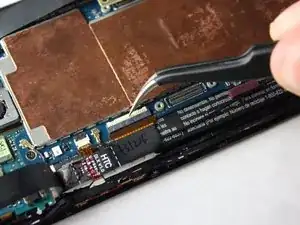
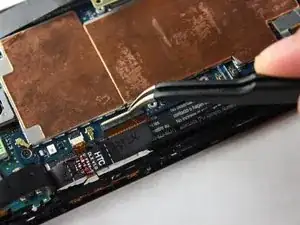
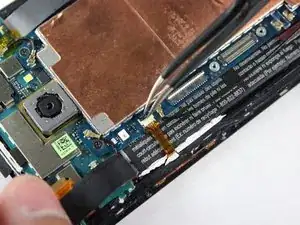
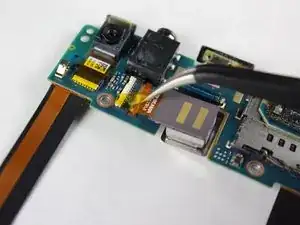
Use your tweezers to gently snap up the white board on the top left of the motherboard.
-
-
-
Reorient the phone so that the green camera board is farthest from you.
-
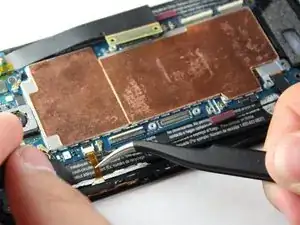
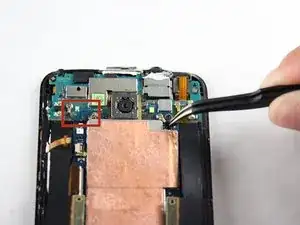
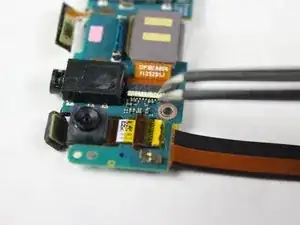
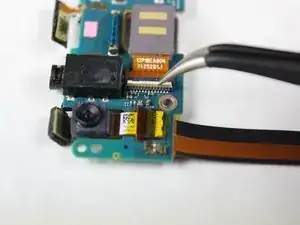
Use your tweezers to remove the two wires located at the top of the board. The wires snap off very easily so not much force is needed.
-
-
-
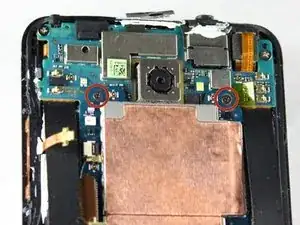
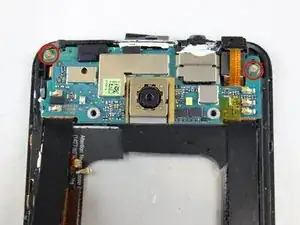
Use a Phillips #000 screwdriver to remove the two 2.1mm screws on the top of the camera board.
-
-
-
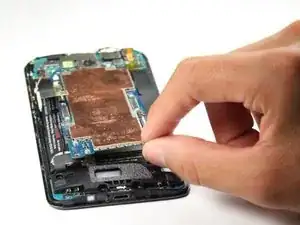
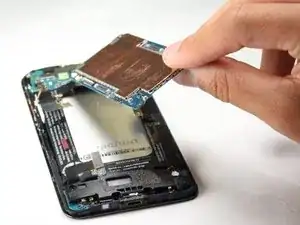
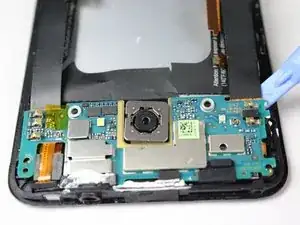
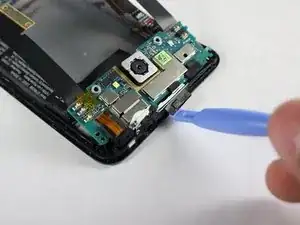
Slowly lift the camera board up and work on removing the remaining adhesive. You can then take the camera board off of the phone.
-
-
-
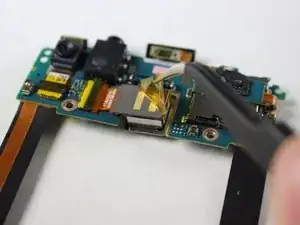
Use your tweezers to gently pull off the two pieces of yellow tape in the center of the camera board.
-
To reassemble your device, follow these instructions in reverse order.
