Introduction

  1. lHYhgKZYcZKepISM
    lHYhgKZYcZKepISM
    SYxHQMC5GaTjXMaW
    DEJQKfKwPGQTURN5
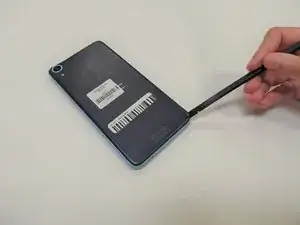
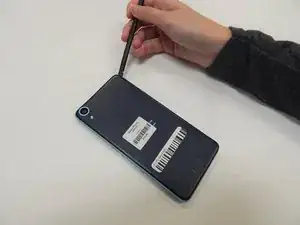
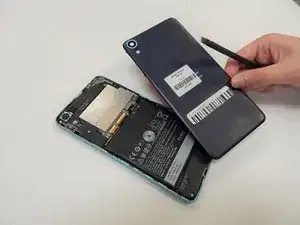
    • Find a seam in the back of the device.

    • Insert the plastic spudger into the seam and pry off the back panel.

    • There will be glue, so keep prying until it comes off or you may need to heat up the edges of the device to loosen the adhesive with the iOpener.

  2. aUiFSEy5tMDKLxuv
    aUiFSEy5tMDKLxuv
    pss1vG2DidfgTFSD
    SNbYrsBYSERfhvw2
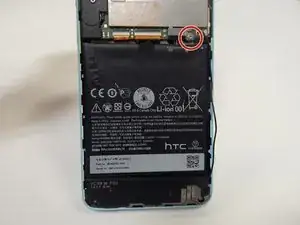
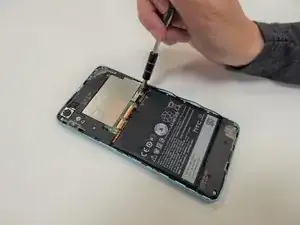
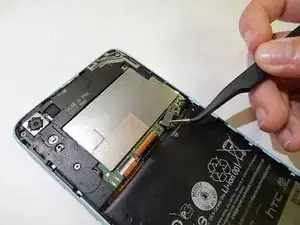
    • Remove the 4.0 mm screw above the battery with a T5 Torx screwdriver.

    • Remove the metal bracket with the tweezers.

  3. 6FPGPwKTNHvNpbsf
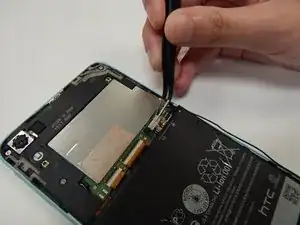
    • Disconnect the battery cable from the motherboard with the tweezers.

  4. xdOsG5IgjpmCmVVL
    xdOsG5IgjpmCmVVL
    At4LqV2sup1Xsvxw
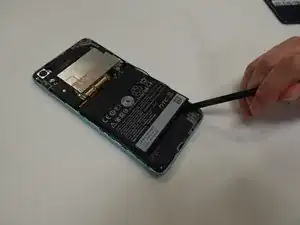
    • Lift the battery with a plastic spudger and remove it from the device.

  5. ASSDnwgtLLOf1DQQ
    ASSDnwgtLLOf1DQQ
    wpGYLr2qSIwbLRYE
    FRXxfGyQ1ij1B2PA
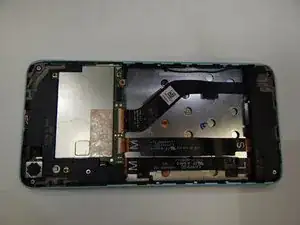
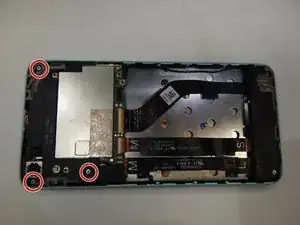
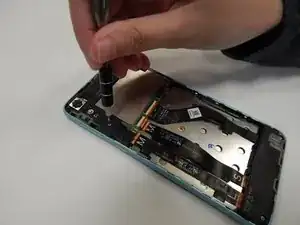
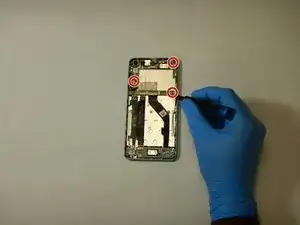
    • Use a T5 Torx screwdriver to remove the three 4.0 mm screws.

  6. HbRAXHfn2irIBpWS
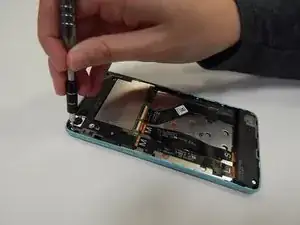
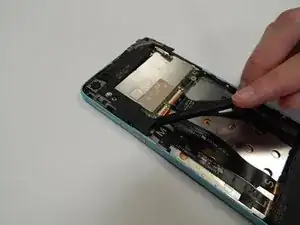
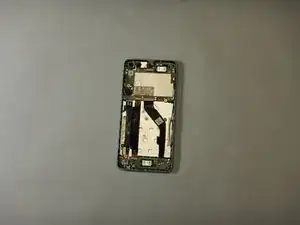
    • Use the spudger to lift the black plastic covering.

  7. qZlyCqnJfFXTBHOO
    qZlyCqnJfFXTBHOO
    iEBscdVxSYmMtQpV
    MTmSCUL3XWYOVI2U
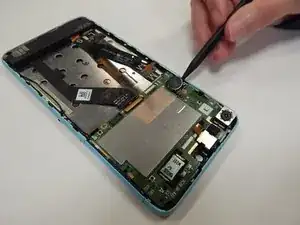
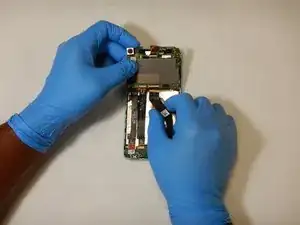
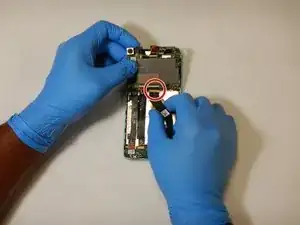
    • Use the spudger to lift the green board. The back camera is attached on the side as shown.

    • Use the tweezers to disconnect and remove the camera.

  8. TNdmCJcHivTQSP1u
    TNdmCJcHivTQSP1u
    jJMZRFDfsdrJGyFE
    • Remove the three 4.0 mm T5 Torx screws connected to the motherboard.

  9. ZqPEuDxHn5itN2u1
    ZqPEuDxHn5itN2u1
    iiXnL1mtMGRKKAHJ
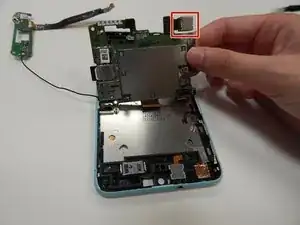
    • Disconnect the ribbon cable from the motherboard by flipping up the locking tab with a spudger and pulling out the cable with your fingers.

    • Lift the motherboard out of the frame, using a spudger to help pick up one of the edges.

  10. SLbeCSpw2aW5nJBt
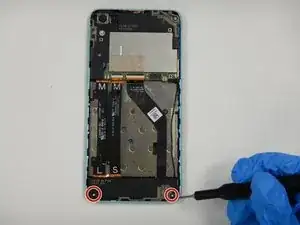
    • Use a T5 Torx screwdriver to remove the two 4.0 mm screws in the bottom corners of the device.

  11. V1nXfxMrSa1lQBOp
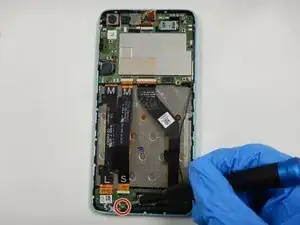
    • Use a T5 Torx screwdriver to remove one screw connected to the daughterboard.

  12. Gvs4J6C2PAJIQxgO
    Gvs4J6C2PAJIQxgO
    RJxETOmRYAt5wJd4
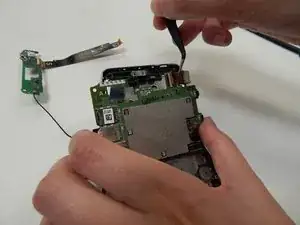
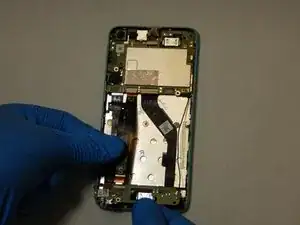
    • Remove the interconnect ribbon cable by flipping up the black tab of the ZIF connector and pulling out the cable with your fingers.

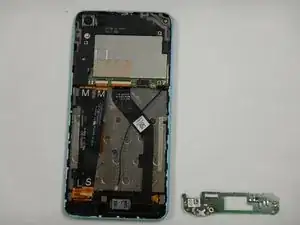
    • Remove the daughterboard.

  13. ANqNJBCcRsN4cWav
    ANqNJBCcRsN4cWav
    WRJ5ABQDPc4eOhyb
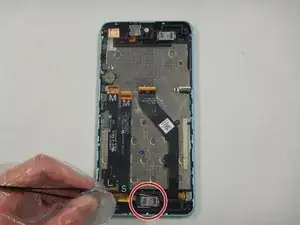
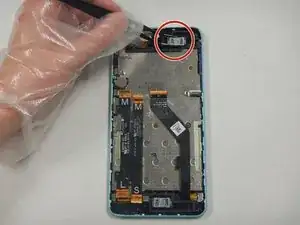
    • Use a pair of tweezers to unhook the locks on both sides of the speaker.

    • Grab the speaker with the tweezers and lift vertically to remove.

    • You can replace the top and bottom speakers independently as needed.

Conclusion

To reassemble your device, follow these instructions in reverse order.
Ronald Reid

Member since: 17/09/20

73 Reputation

0 comments