Introduction
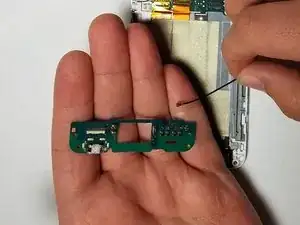
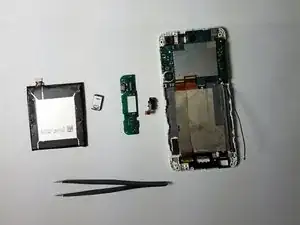
Use this guide to replace the charging port in the HTC Desire 626s.
The charging port is responsible for transmitting electricity to the phone’s battery. Dust, dirt, debris, and bad quality chargers can damage the charging port, resulting in an inability to charge the phone.
Before you replace the charging port, try to charge the phone using different chargers in order to confirm that the charging port is damaged.
Tools
-
-
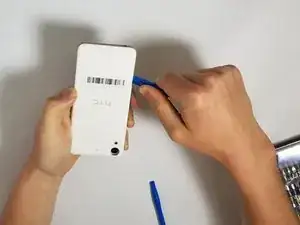
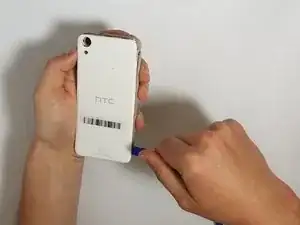
Insert plastic opening tool in between the back cover and grey plastic.
-
Gently work your way around the phone while sliding the tool.
-
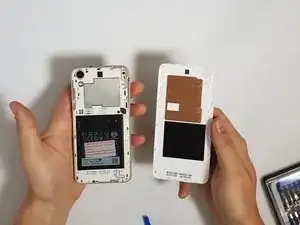
Gently pry on plastic cover as needed to release fasteners.
-
-
-
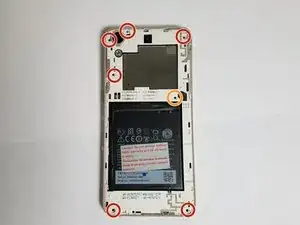
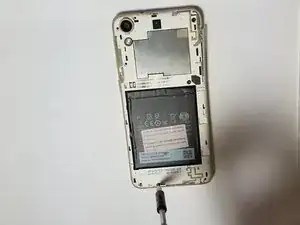
There are 7 screws you need to remove before prying the secondary cover off. You will need to use the JIS #000 screwdriver and the T5 Torx screwdriver to remove these screws.
-
There is a screw under the "void" sticker.
-
-
-
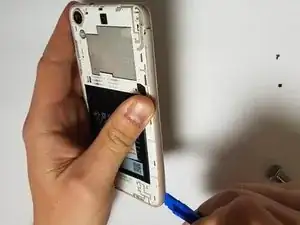
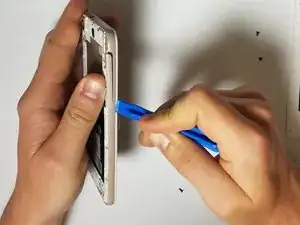
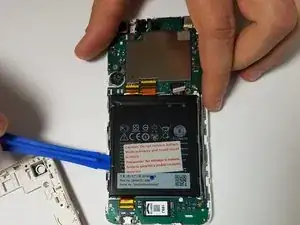
Once the screws are removed, use the plastic opening tool to remove the remaining plastic cover.
-
Start from the corners of the phone, and insert the plastic opening tool between the outer colored rim and the screen.
-
This portion of the cover will be more difficult to remove than the initial back cover. Be patient and gentle around the button holes.
-
-
-
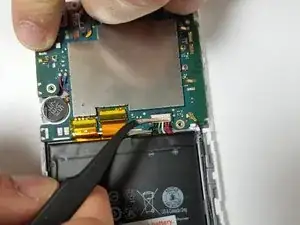
By using the angled tweezers, you have to be careful when you try to remove the battery connection by start pulling the wires.
-
-
-
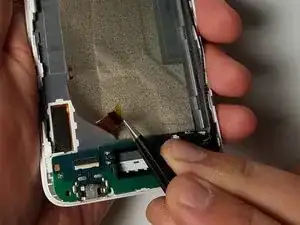
Using tweezers, peel back the plastic as shown in these two pictures.
-
You will need to pull it back as shown in picture 2 for future steps.
-
-
-
Flip the white plastic piece up to a 90 degree angle.
-
Do this by using tweezers to grab the plastic, then gently lifting into position.
-
-
-
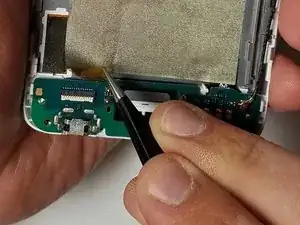
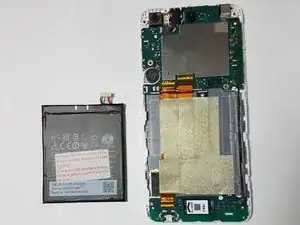
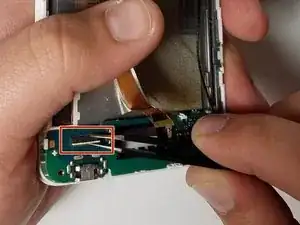
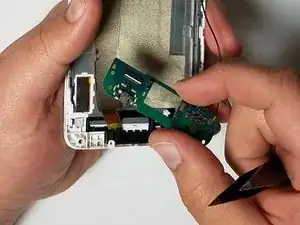
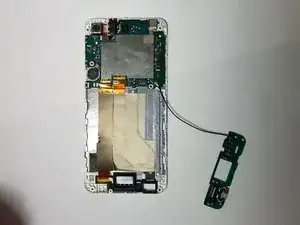
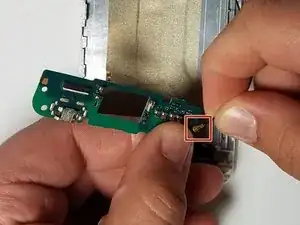
Now that the circuit board is detached, the connecting wire needs to be removed.
-
Grasp the wire as shown in picture 2 at the red circle.
-
Pull straight up, perpendicular to the board. The wire pops off easily.
-
To reassemble your device, follow these instructions in reverse order.
