Introduction

Prerequisite only.

  1. js1LpbnZLWjQgfcN
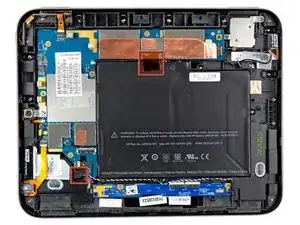
    • If present, remove the two pieces of tape boxed in red.

  2. 1exGDcYiUqTQkIBi
    1exGDcYiUqTQkIBi
    GBJF34cXkmrCvojX
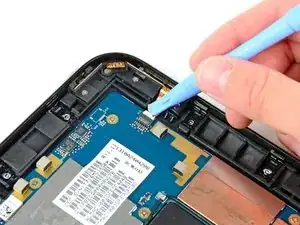
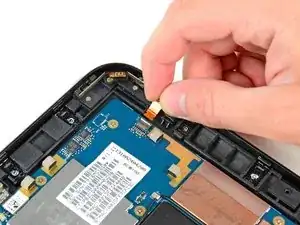
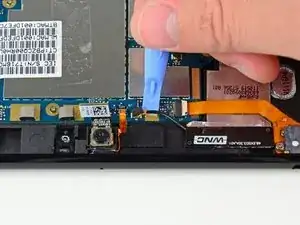
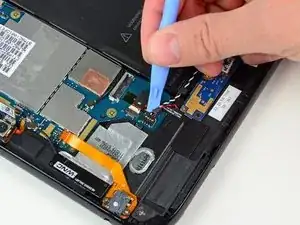
    • Use the edge of a plastic opening tool to flip up the retaining flap on the volume control/power button ribbon cable socket.

    • Be sure you are prying up on the hinged retaining flap, not the socket itself.

    • Pull the cable out of its socket.

  3. m5rHIZriXSrOPV2t
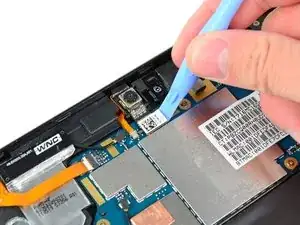
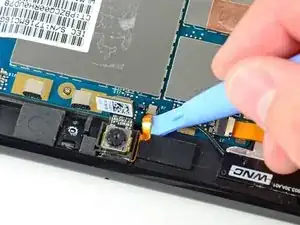
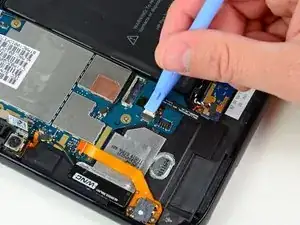
    • Use a plastic opening tool to lift the camera connector up and out of its socket on the motherboard.

    • Bend the camera cable away from the motherboard.

  4. SXGWfHRN4OKuPNPi
    SXGWfHRN4OKuPNPi
    yIJeVfFSjIJxJRwX
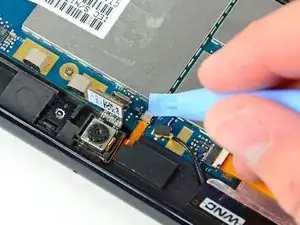
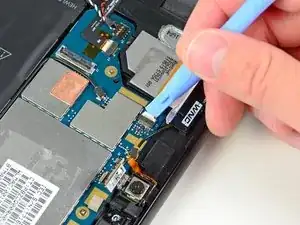
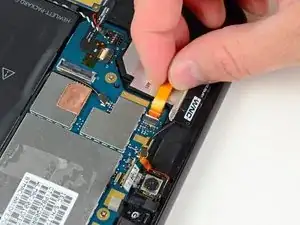
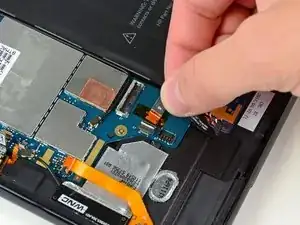
    • Carefully flip up the retaining flap on the microphone cable socket.

    • Be sure you are prying up on the hinged retaining flap.

    • Pull the microphone cable out of its socket.

    Its just a reminder when you're repairing your touchpad back to the way it was ( reversing the steps) It might be difficult to place your microphone ribbon back into its socket. Would advise to use some sort of device ( like tweezers) to help place it back inside its socket. Just be gentle.

    Frank Booker -

  5. oQR51YKSoHTIPjJv
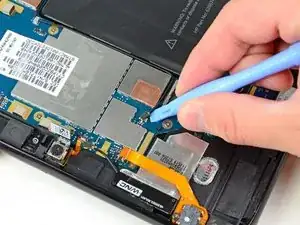
    • Use your plastic opening tool to pry the upper antenna connector up from its socket on the motherboard.

  6. MDYNwsGNLXFHKhBj
    MDYNwsGNLXFHKhBj
    CxeKJ22ccHO1x366
    • Pry up the retaining flap on the headphone jack ribbon cable socket.

    • Be sure you are prying up on the hinged retaining flap.

    • Pull the headphone jack ribbon cable out of its socket.

  7. sXDc3VQtdZGDVJk1
    • Pry the speaker cable connector up from its socket on the motherboard.

    • Pry up from beneath the wires.

  8. V4FEHha5RiHFFipm
    V4FEHha5RiHFFipm
    AVsFP1TWLUOaJFBT
    • Use a plastic opening tool to flip up the retaining flap on the digitizer board ribbon cable socket.

    • Be sure you are prying up on the hinged retaining flap, not the socket itself.

    • Pull the digitizer ribbon cable out of its socket.

  9. lHW4XKVYpGTlsAoM
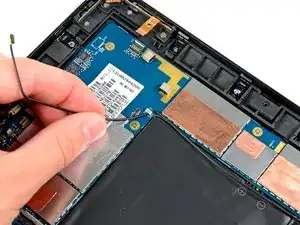
    • Pry up the lower antenna cable connector from its socket on the motherboard.

  10. 1J2UvTpU4d6ZZeqR
    • De-route the lower antenna cable along the top edge of the battery and carefully pull it out from under its retaining clip near the top right corner of the battery.

  11. asPp3XuhfLUsJn1b
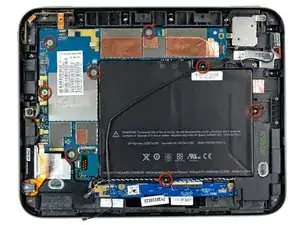
    • Remove the eight 3.2 mm Phillips screws securing both the battery and the motherboard to the rear case.

  12. Cf42PqG4laToPN1p
    Cf42PqG4laToPN1p
    nNZTOOEMlsXerTpA
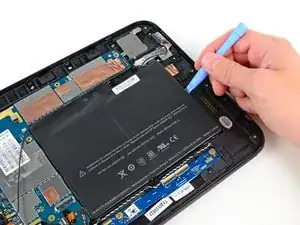
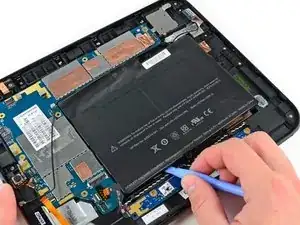
    • Use a plastic opening tool to pry the battery up from the tape securing it to the rear case.

    • It is easiest to pry up along the edges of the battery closest to the USB connector and the digitizer board.

    The battery may be tightly adhered to the copper foil beneath. Take care not to damage this foil or the battery charging coil beneath it.

    jsifert Macs -

  13. DtOUYaKZPYM5aKht
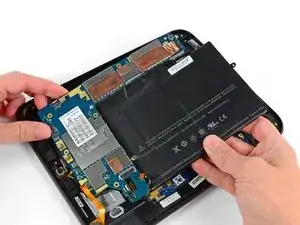
    • Lift the motherboard assembly out of the rear case, minding any cables that may get caught.

    ok but wat abt d battery man

    harineteddy -

  14. WiDqNPJERMP32p6X
    WiDqNPJERMP32p6X
    tSGKuhWbAGe6HEY5
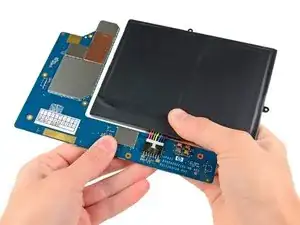
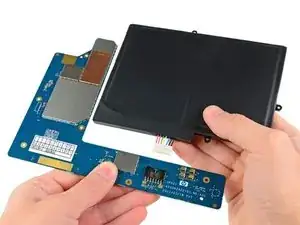
    • Carefully pull the battery away from the L-shaped motherboard to disconnect its cable.

    • Remove the battery from the motherboard.

Conclusion

To reassemble your device, follow these instructions in reverse order.
Andrew Bookholt

585795 Reputation

0 comments