Introduction
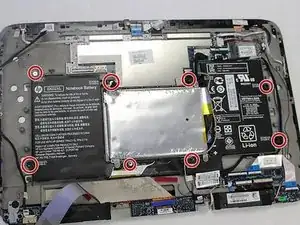
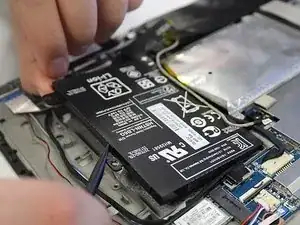
Battery powers up the laptop. You will need to replace the battery if your laptop is not power on, or fails to maintain charge battery.
Tools
Parts
-
-
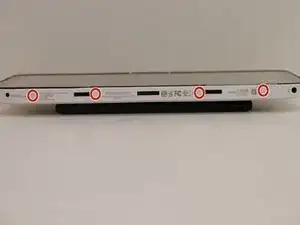
Locate the four screws at the bottom of the device. (Note that the keyboard attachment is missing from this device.)
-
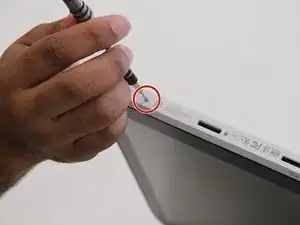
Use a Philips head #0 screwdriver to remove each of the screws (Size: 4mm)
-
-
-
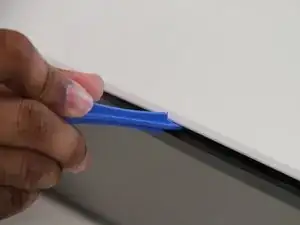
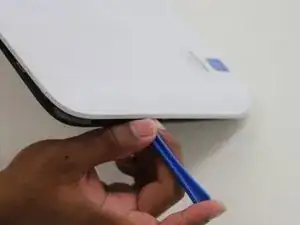
Gently wedge the plastic opening tool in between where the display and back panel meet.
-
Slowly and gently apply force to the plastic opening tool in a downwards motion to loosen the front panel from the back panel.
-
Rotate the device so that the side is facing up and repeat the previous step for the sides.
-
Do NOT attempt to wedge the plastic opening tool on the bottom . Once the sides and top are loose you are ready to continue to the next step.
-
-
-
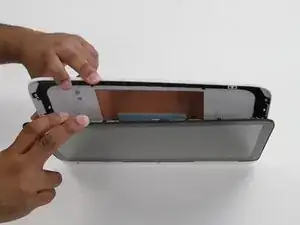
Gently and slowly pull the front and back panel away from each other (in opposite directions). ( Pulling them apart will not separate the two panels)
-
Only separate the panels by a few inches from each other so that there is room to separate the front and back panel in the next step. Proceed to the next step.
-
-
-
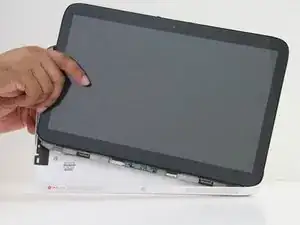
Hold the back panel firmly and pull the front panel upwards to completely separate the front panel from the back panel.
-
The device is now ready to be repaired or replacements installed.
-
-
-
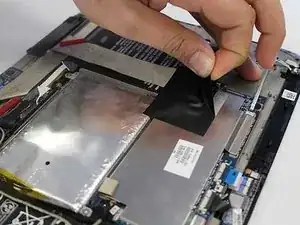
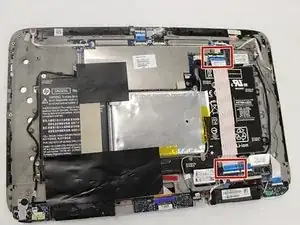
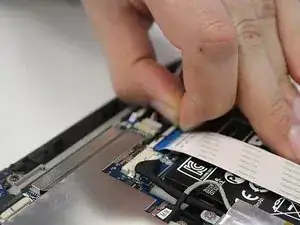
You are going to see blue ribbon right side of the tablet. Lift up the black tab on the ZIF connector and then pull on the blue ribbon to disconnect the cable.
-
Make sure both ends of the cable are disconnected.
-
To reassemble your device, follow these instructions in reverse order.
