Introduction
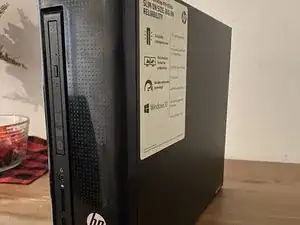
This guide will walk you through replacing the hard drive on a HP Pavilion Slim 410-017cb.
Tools
Parts
-
-
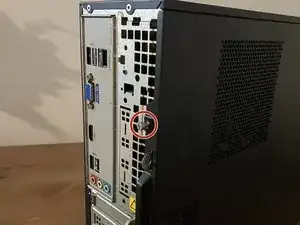
After verifying the hard drive has failed (or is failing), remove the screw (T15) that holds the side cover on the case.
-
-
-
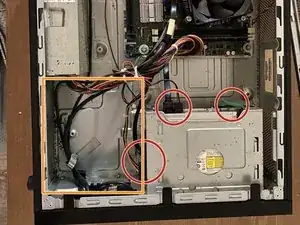
On this model, the hard drive is usually under the optical drive, screwed in below.
-
While uncommon, some systems which shipped with multiple drives (or selected CTO options) may have the drives and caddy installed here.
-
-
-
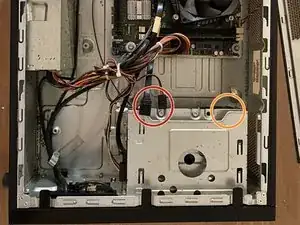
Before removing the DVD drive, disconnect the SATA data and power connections as shown.
-
For systems without the dual drive caddy mentioned in the previous step, you first need to remove the DVD drive. Push the green tabs shown to release it.
-
-
-
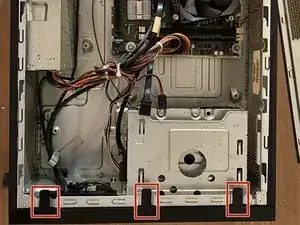
Remove the front panel from the system to reveal the screws that hold the drive cage NOTE: NO BETTER PICTURES ARE AVAILABLE, but this is held in with 3 clips which get unsnapped.
-
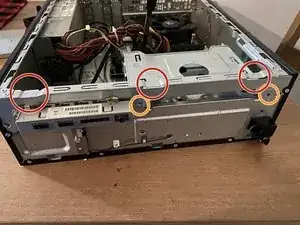
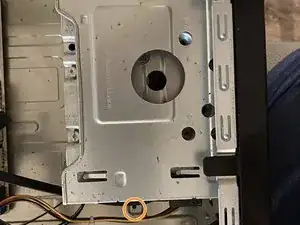
Remove the three screws (T15?) that secure the drive cage in the system.
-
-
-
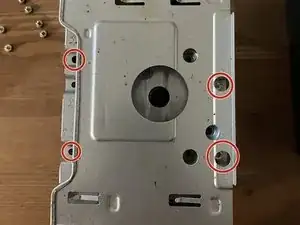
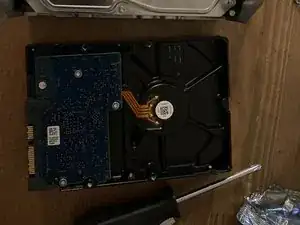
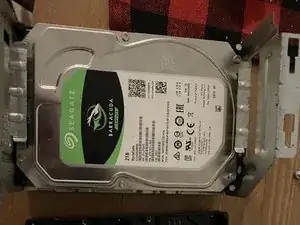
Remove the four screws (T15) holding the old hard drive in the system.
-
Reverse disassembly to install the replacement drive
-
To reassemble your device, follow these instructions in reverse order.
