Introduction
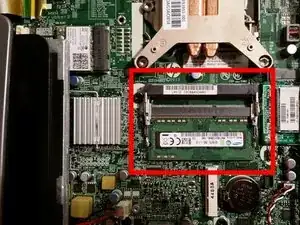
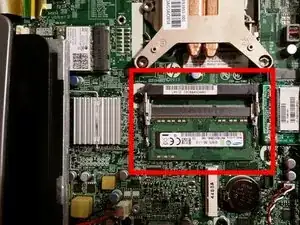
This guide will provide step-by-step instructions for locating the two SODIMM memory slots within the computer, removing the existing memory stick, and inserting two new ones.
Parts
-
-
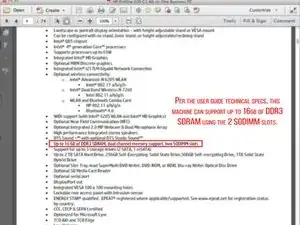
Prior to purchasing memory for a replacement or upgrade, check with your manufacturer or user manual to ensure the type and maximum allowed amount. Per the Spec Guide - this ProOne 600 G1 supports up to 16GB of DDR3-SDRAM.
-
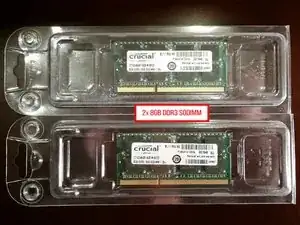
DDR3-SDRAM SODIMMs = double data rate 3 synchronous dynamic random access memory; small outline dual inline memory modules.
-
SODIMMs for this machine must be: industry-standard 204-pin; unbuffered non-ECC PC3-10600 DDR3-1600 MHz-compliant; 1.5 volt DDR3-SDRAM SODIMMs. Please see The HP ProOne spec guide for further information.
-
This computer can support single- and double- sided SODIMMs constructed with x8 and x16 SDRAMs. The system will not operate properly if you install unsupported SODIMM memory.
-
-
-
After purchasing appropriate memory, turn off the machine and disconnect the power cord from the wall.
-
Wait at least 30 seconds before proceeding to the next step to allow the power to drain. Adding or removing memory while voltage is present may cause irreparable damage to the memory modules or system board!
-
-
-
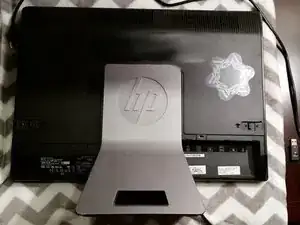
Place the computer face down on a soft, flat surface. A blanket, towel, or other soft cloth will protect the bezel and screen from scratches or other damage.
-
-
-
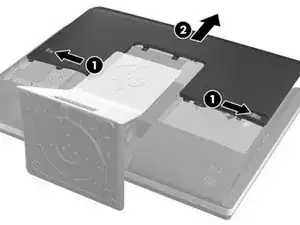
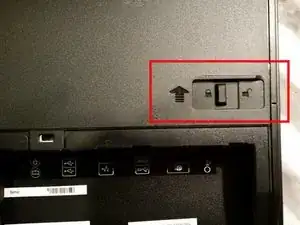
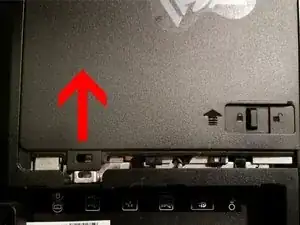
To remove the cover: slide the latches on the right and left sides of the back cover towards the edges of the unit, then slide the cover towards the top of the computer until it slides off the unit.
-
-
-
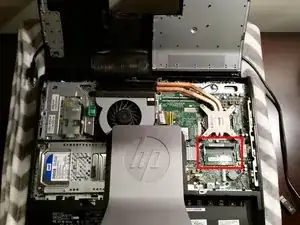
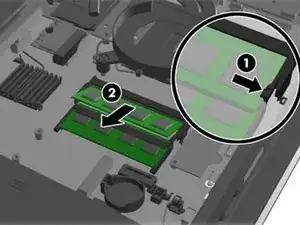
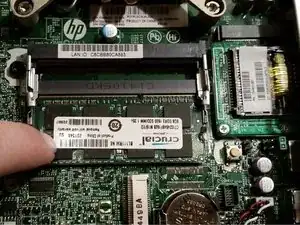
Locate the SODIMM slots. To remove the memory module, press outward on the two latches on each side of the SODIMM, then pull the SODIMM out of the socket.
-
-
-
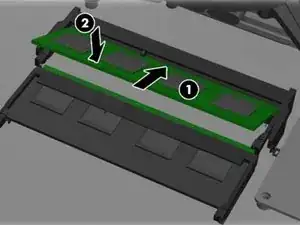
To install the new memory module(s), slide the SODIMM into the socket(s) at approximately a 30 degree angle, then press the SODIMM down so that latches lock it into place.
-
Memory modules can only be installed in one way. Match the notch on the module to the tab on the memory socket.
-
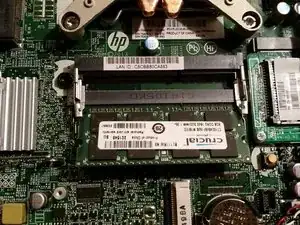
Note: Lower socket = Channel A, Upper socket = Channel B. The system will operate in single channel mode if the SODIMM sockets are populated in one channel only.
-
The system will operate in flex mode if the memory capacity of the SODIMM in Channel A is not equal to that of Channel B. The channel populated with the least amount of memory will determine the maximum operational speed. The larger amount should be assigned to Channel A.
-
The system will operate in a higher-performing dual channel mode if the memory capacities of both Channels A and B are equal.
-
-
-
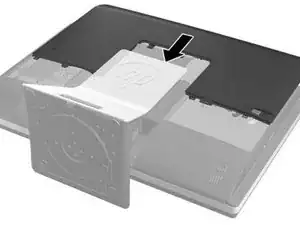
To replace the back cover (access panel), set the panel on the back of the computer, slightly above the stand, and slide it down into place.
-
After this is complete, reconnect the power cord and external devices. Then place the computer in the upright position and turn on the computer.
-
It will automatically recognize the additional memory while booting.
-
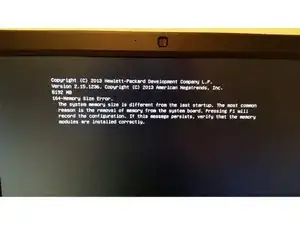
With Windows 7 Pro: If it prompts you stating that the memory size has changed since the last startup, press F1 to record the new configuration.
-
After replacing the access panel, reconnect the power cord and turn on the computer. It should automatically recognize the new memory modules.
