Introduction

If your computer has errors or just needs a speed boost, consider changing the RAM by following this guide.

  1. RAFFF4HyUIgTKpju
    • Disconnect PC from power source and any other devices.

  2. CN2JIqSRZdWIFWOW
    CN2JIqSRZdWIFWOW
    tnxDiMX2iC44SBGb
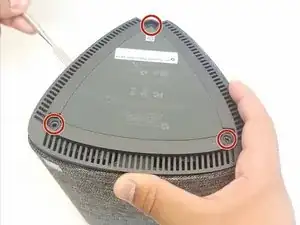
    • Turn over computer and remove the rubber feet.

    • Remove the three 8mm Philips screws with a Philips #0 screwdriver.

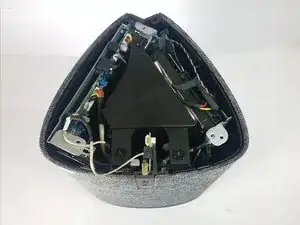
    • Use a pry tool and lift up on the lid.

  3. indTqasUHRnNvEGi
    indTqasUHRnNvEGi
    2WoSHfrll4ZDZYbm
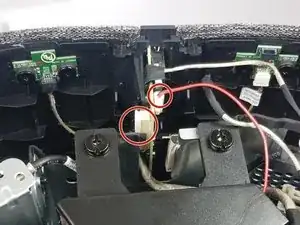
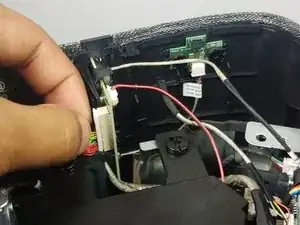
    • Remove the two cables connecting the motherboard to the front I/O panel.

  4. oYEfYetWIwQFu1Ql
    oYEfYetWIwQFu1Ql
    h3FGsbe6HuMYhABI
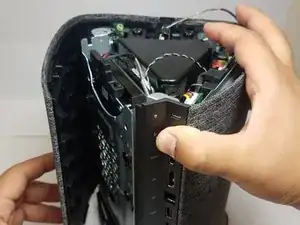
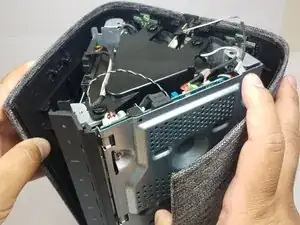
    • From the back I/O panel, pry open the cloth covering.

  5. YwZxjNNbEbwVUYjZ
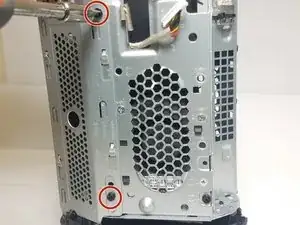
    • Remove the 2 black philips screws on the outside of the PC, to the left of the fan.

    • There is one on the top and one on the bottom.

  6. oXwYyhFidsy5qy41
    oXwYyhFidsy5qy41
    VFg4Gl5HyLBHLCUb
    nVVDmVFHqDoV2LUf
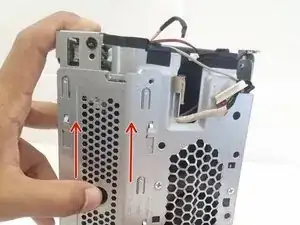
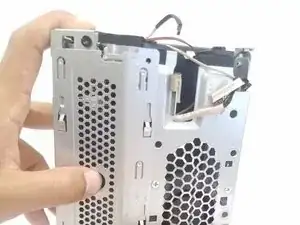
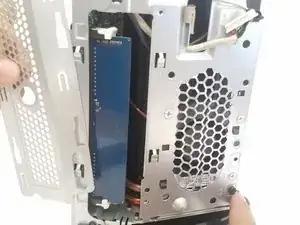
    • Put your thumb on the penny-sized hole, and slide the panel upwards.

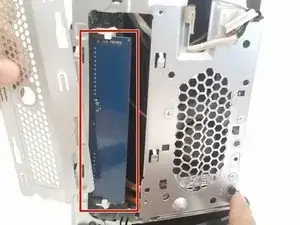
    • Remove the panel to reveal the stock blue RAM.

  7. A4BbXkDUAbTXybfW
    A4BbXkDUAbTXybfW
    PB1NWRiVBHiZBYvH
    BPXqENOFSROBApY6
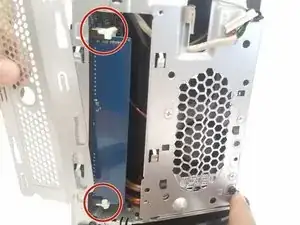
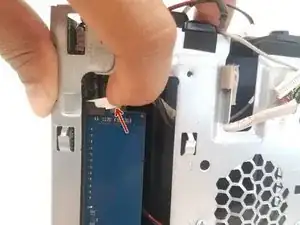
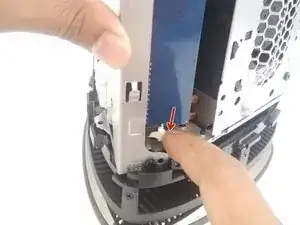
    • Push both of the white tabs away from the RAM stick to free the RAM.

  8. u2rgrYPooAAuFhlZ
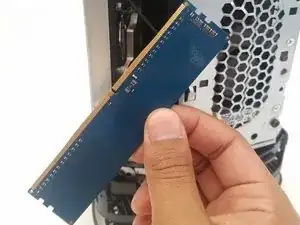
    • You can now easily pull the RAM out of the socket, and replace up to two new ones!

Conclusion

To reassemble your device, follow these instructions in reverse order.

Arthur Knatt

Member since: 28/09/17

149 Reputation

One comment

Hello srs, i follow the link to the Amazon Ram, and it is So-DIMM, but we need UDIMM for this Wave, it is correct? Wich can we use? Thank you so much, and best regards.
Albert Garcia -