
Introduction
The screen is a delicate part of the Chromebook, and can be easily cracked or damaged. This guide will show you how to replace a HP Pavilion 14-q020nr Chromebook screen.
-
-
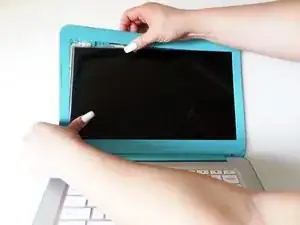
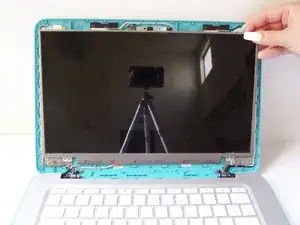
With the laptop facing you, open the clamshell. Be sure to turn the power off using a long press before beginning.
-
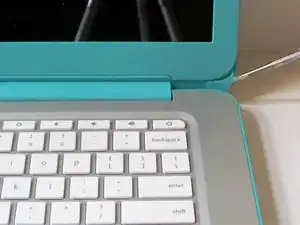
Remove the screw covers on both sides of the screen bezel by sliding a metal spudger into the crevice and gently peeling the cover away.
-
-
-
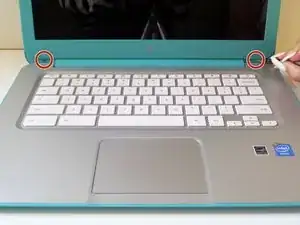
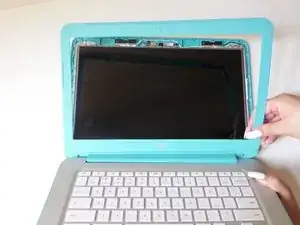
Snap off the screen bezel by prying with your fingers in between the bezel and the screen.
-
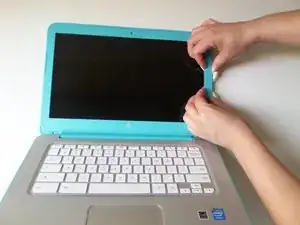
Continue around the screen, gently prying and lifting.
-
-
-
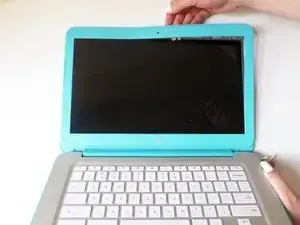
Carefully loosen the bottom bezel. Eventually it will snap free from the rest of the clamshell.
-
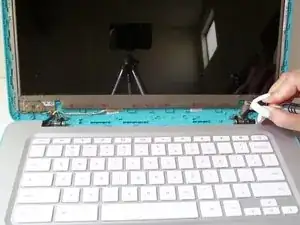
Pull hinge up and forward to detach it from the Chromebook. The bezel and hinge cover will remain attached.
-
-
-
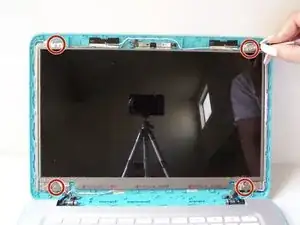
Remove the four 4mm screws within the metal tabs on the top and bottom of the screen using a Phillips Head 1 screwdriver.
-
-
-
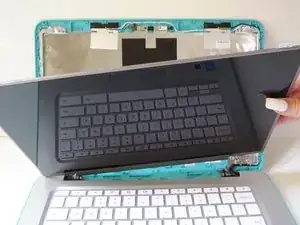
Gently pry the metal tabs off of the screen assembly while holding the screen to unlock them.
-
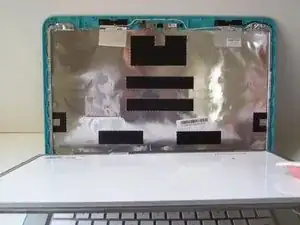
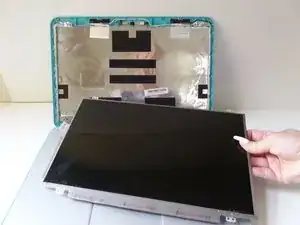
Grab the screen by its unlocked tabs and tilt it down and away from the screen assembly, laying it down.
-
-
-
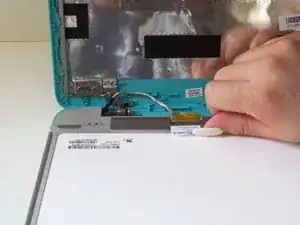
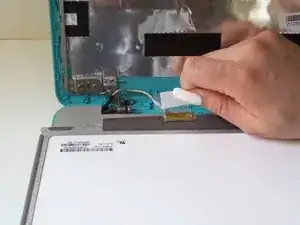
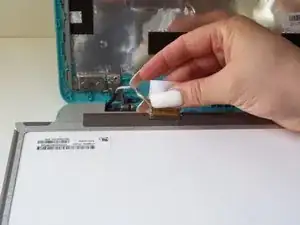
Slide the connector out from its plug on the screen using your fingers to completely disconnect the screen.
-
Using your fingers, slide the connector out from its plug attached to the screen to completely disconnect the old screen panel
-

To reassemble your device, follow these instructions in reverse order.
4 comments
Where did you find a replacement screen?
We are only showing how to replace the screen, we did not actually purchase a new screen for this guide.
i have a multi layered line going down the middle of my screen how would i go about fixing something like that?
Sorry, we are only knowledgeable on how to replace the screen, not on the issues.