Introduction
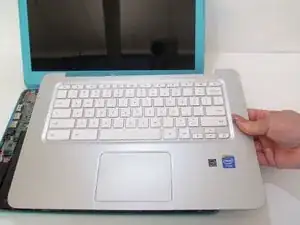
This guide will narrate the process of simultaneously removing a defective keyboard and touchpad panel. These components are both attached to the internal base panel and cannot be removed separately. Removing this panel is also the first step to accessing other internal components.
-
-
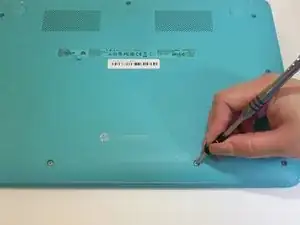
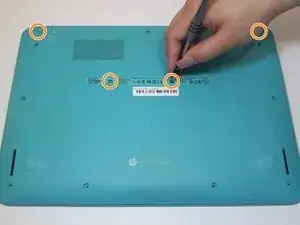
Turn the laptop over.
-
Remove all nine 3mm screws on back panel with a Phillips Head 1 driver.
-
-
-
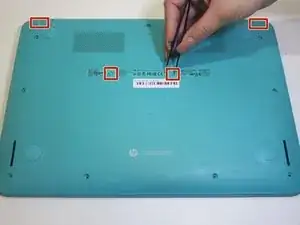
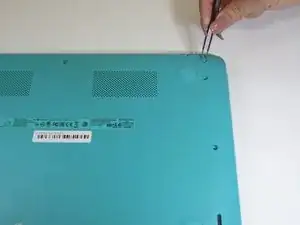
Pry off the four rubber bumpers, located at the top corners and center of the back panel, off with a pair of tweezers.
-
Unscrew the four 3mm screws under the bumpers using a Phillips Head 1 screwdriver.
-
-
-
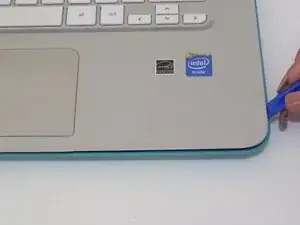
Flip the laptop right side up and open the clamshell.
-
Starting at the bottom right corner, slide the opening tool into the crevice between the blue and silver panels.
-
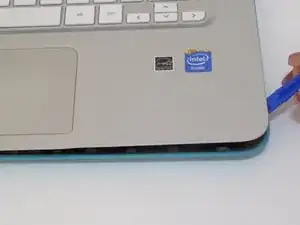
Carefully pry the top casing up around the edges, moving counterclockwise.
-
-
-
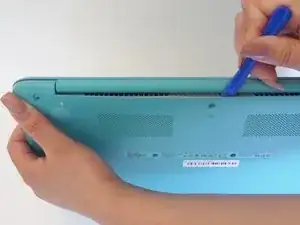
Close the laptop and orient it on its side (clamshell hinge up), carefully holding it steady to ensure its safety.
-
Insert the opening tool inside of the hinge and pry with an even amount of force to disconnect the keyboard panel from the fan grate.
-
-
-
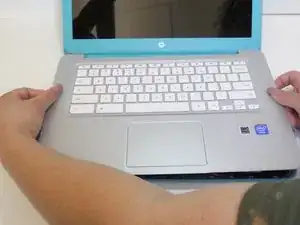
Reorient the laptop in an upright fashion and open the clamshell.
-
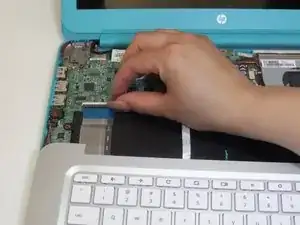
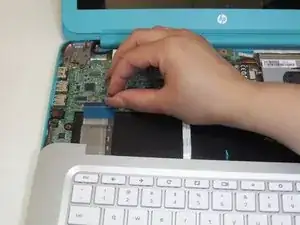
If needed, continue to pry the silver keyboard panel from the rest of the hardware with minimal force.
-
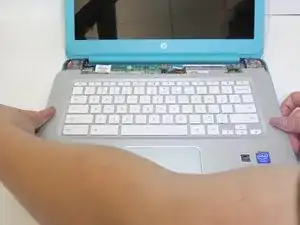
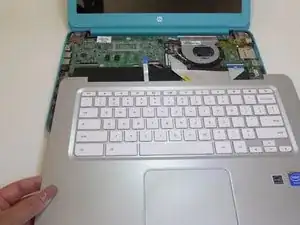
Slowly slide the silver keyboard panel towards you while lifting gently to separate the halves.
-
-
-
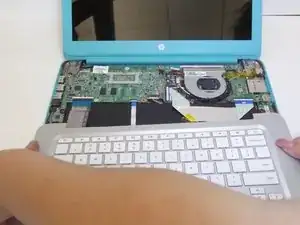
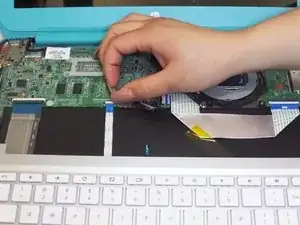
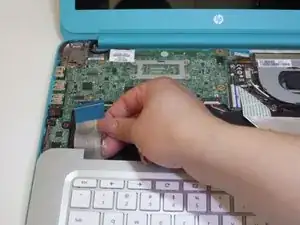
While keeping silver keyboard panel hovering above the laptop, locate the touchpad connector ribbon attached to both the silver panel and motherboard.
-
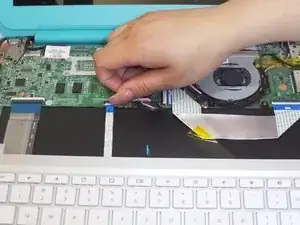
With your finger, flip up the white clasp that holds the connector, releasing the connector ribbon.
-
Unpeel the connector ribbon from its position on the motherboard.
-
-
-
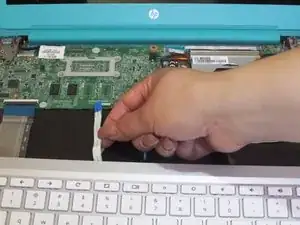
With your finger, flip up the white clasp that connects the larger keyboard connector to the motherboard, releasing the connector ribbon.
-
Gently pull the connector ribbon from the clasp.
-

To reassemble your device, follow these instructions in reverse order. Remember to carefully handle and replace the blue and silver connectors.