Introduction
A damaged scanner glass will at best produce poor quality images, and at worst damage other parts of the printer or cause injury. Replacing the scanner glass only requires a couple tools and a little patience.
-
-
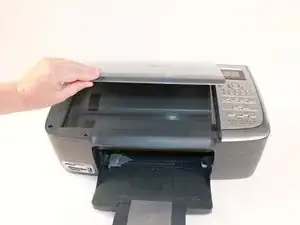
Grasp the scanner lid cover from the front of the device and lift lid all the way up until it stands on its own.
-
-
-
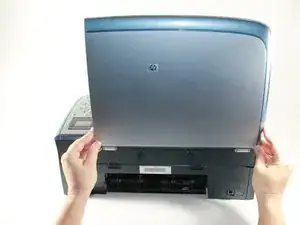
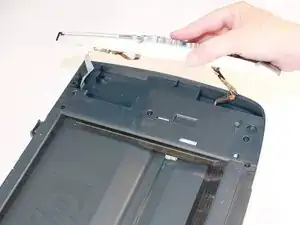
With two hands, grasp the lid on both sides near the hinges and lift straight up to release the lid from each hinge.
-
-
-
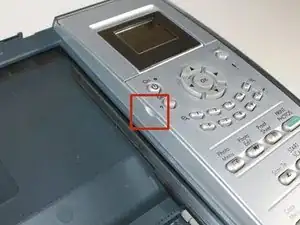
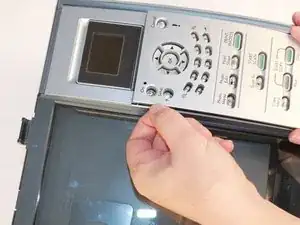
Locate the finger notch on the inside top left half of the bezel (control) panel cover.
-
Place your index finger in the notch and lift up to unsnap the panel.
-
Set the panel cover aside.
-
-
-
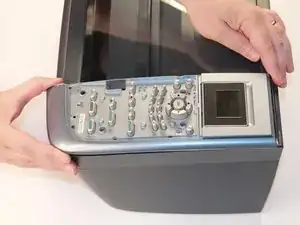
From the front of the printer, remove the button panel by pulling it towards you while slightly lifting it up.
-
-
-
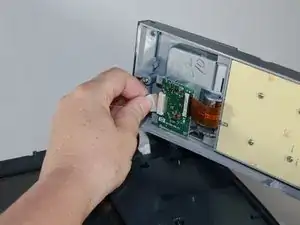
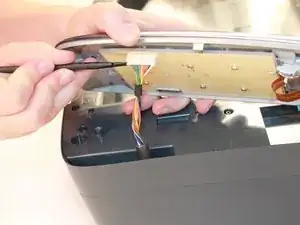
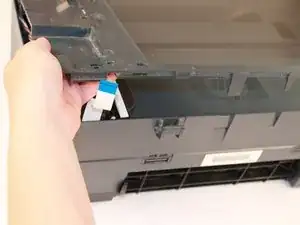
Disconnect the white ribbon cable by grasping it between your thumb and forefinger.
-
Gently pull to release the ribbon from the green circuit board.
-
-
-
Next, use a spudger to pry the flat ribbon computer cable by the plastic connection end loose. Carefully separate it from the prongs on the button panel.
-
Set button panel aside.
-
-
-
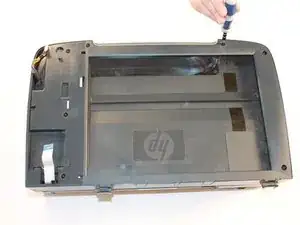
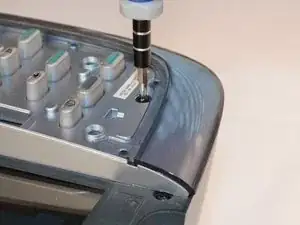
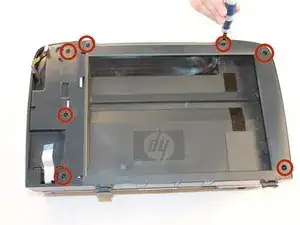
Use the T9 Torx screwdriver to remove the seven 9 mm screws on the top plastic frame around the glass.
-
-
-
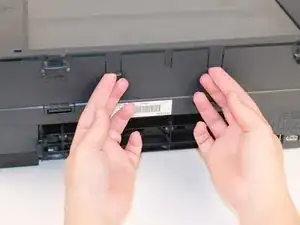
From the back of the printer, locate the two large plastic tabs as shown.
-
With your index fingers underneath each tab, gently and simultaneously pull the tabs towards you and upwards to release the tabs from the plastic clasps behind them.
-
Remove the whole plastic frame that holds the glass.
-
-
-
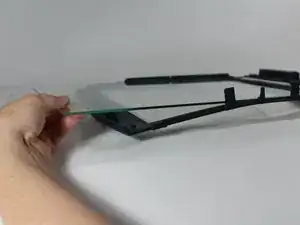
Gently lift the glass/plastic bed from the edge on the side opposite of the button/control panel section.
-
As shown in the second image, gently lift the glass pane up so that it is above the plastic tab that holds it into place.
-
-
-
Proceed to slide the glass pane out and over the plastic tab to remove it completely from the plastic bed.
-

To reassemble your device, follow these instructions in reverse order.
