Introduction
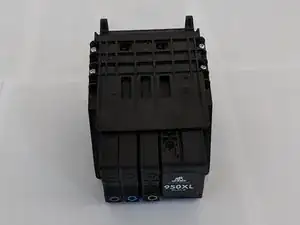
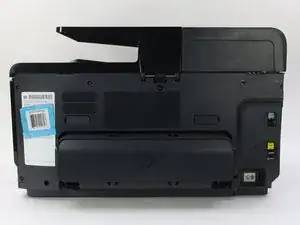
The printhead holds the ink cartridges and is responsible for the motions that actually print documents onto paper. If you receive error messages stating that the printhead is missing or failed, use this guide to replace it. You will need a T9 Torx screwdriver for all of the screws in this guide.
Tools
-
-
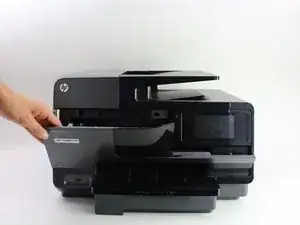
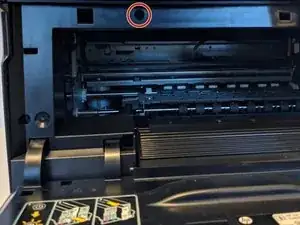
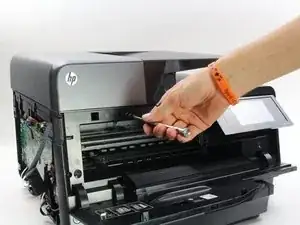
Pull down the front panel to expose the screws on the front.
-
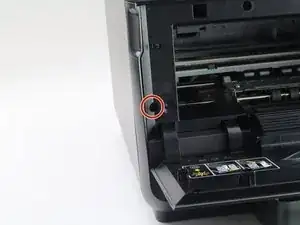
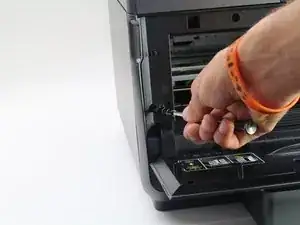
Remove the one 11.6 mm T9 screw on the left side of the front face.
-
-
-
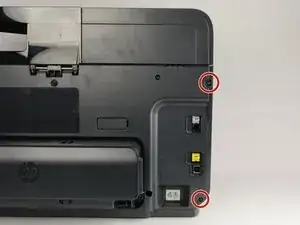
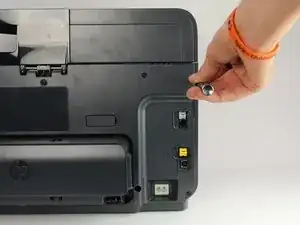
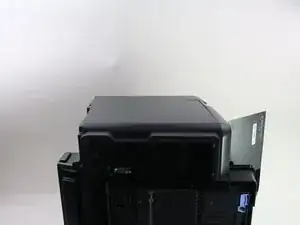
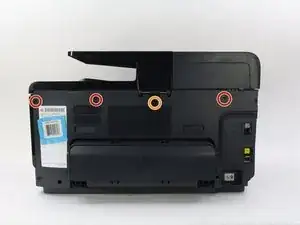
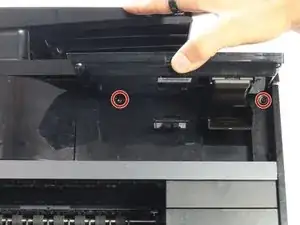
Remove the three 11.6 mm T9 screws from the top, back of the printer.
-
Remove the one 12.1 mm T9 screw from the top, back of the printer.
-
-
-
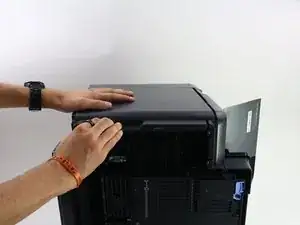
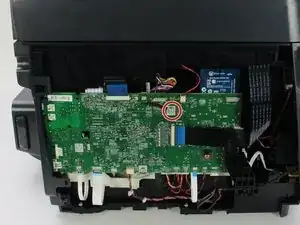
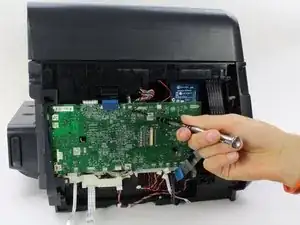
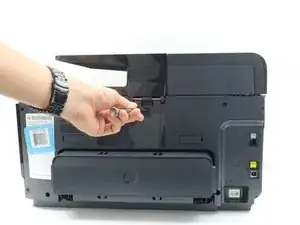
Lift the display as high as it will allow to expose the back of the display.
-
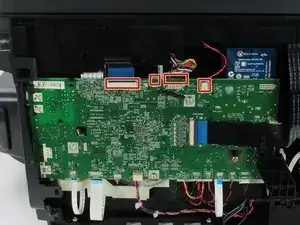
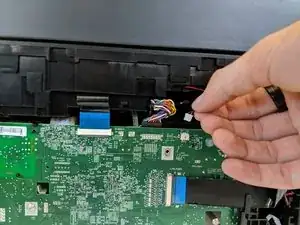
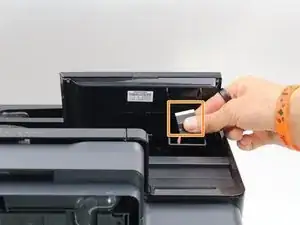
Remove the connector by pinching the sides and pulling away from the printer.
-
Remove the connector by pulling both away from the display and towards the printer.
-
-
-
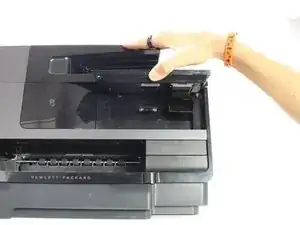
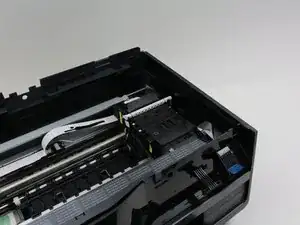
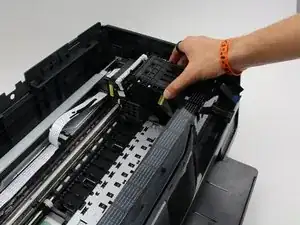
Locate the printhead on the right side of the printer.
-
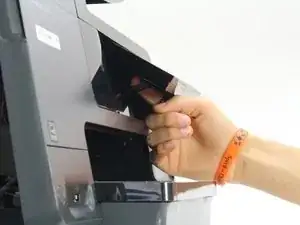
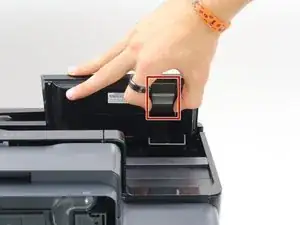
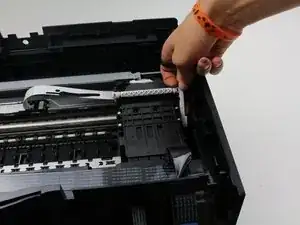
Pull the white tab on the right side of the printhead up, by pushing on the side of the printer a little bit.
-
Remove the printhead by lifting it out of the housing.
-
To reassemble your device, follow these instructions in reverse order.
5 comments
This printhead is normally user replaceable.
No screwdrivers are required.
This video is for an 8600, but the process is the same.
Andy -
I used these instructions to repair the guide ribbon for the print head. It had come off after a sheet of high tack labels got jammed in the printer. Just saved myself from having to buy a new printer! Thanks!!!
