Introduction

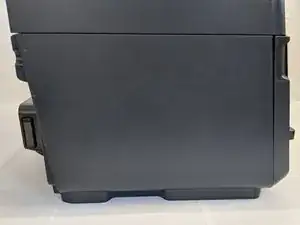
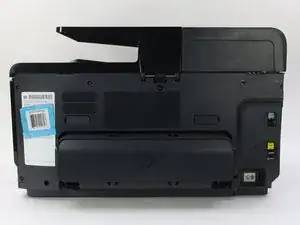
To gain access to the motherboard, the CMOS battery, and the power supply of your HP Officejet Pro 8625, use this guide to remove the left side panel. You will need a T9 Torx screwdriver for each screw in this guide.

  1. T3p1ekVHGvkqdfTh
    T3p1ekVHGvkqdfTh
    IuOtdeIWupF5NOLR
    XLuBAjgxxGCCKVfH
    • Remove the two 11.6 mm T9 screws from the right side of the back of the printer.

  2. HfpOEkBWHG1FcAfb
    HfpOEkBWHG1FcAfb
    N3Gv4NUNSWRTsYMx
    JKdLCNYQlOlbJJrJ
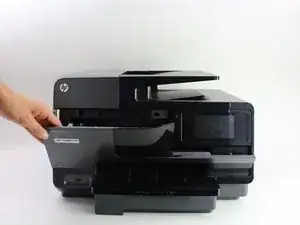
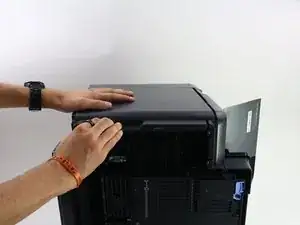
    • Pull down the front panel to expose the screws on the front.

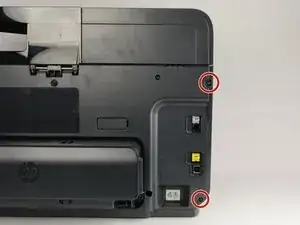
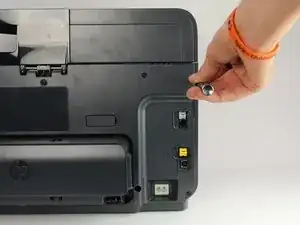
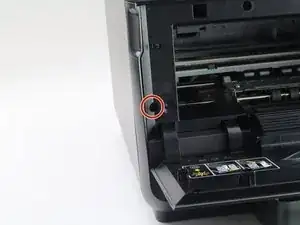
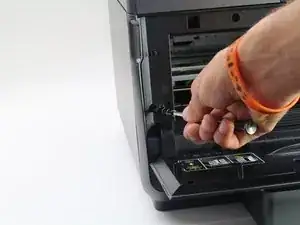
    • Remove the one 11.6 mm T9 screw on the left side of the front face.

  3. MWC1xa6nJeKNnMy2
    MWC1xa6nJeKNnMy2
    HLViTQtMF5EwWQbO
    • Remove the side panel by pushing down and towards the back.

    • This step may be easier if the printer is laid on its side with the left side panel facing up.

Conclusion

To reassemble your device, follow these instructions in reverse order.

Daniel

Member since: 08/10/18

283 Reputation

0 comments