Introduction

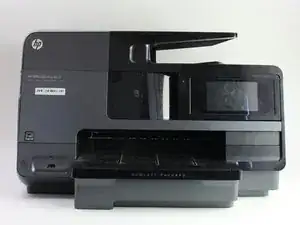
If your HP Officejet Pro 8625 display is blank or not turning on, you can replace the display motherboard using this guide. You will need a T9 Torx screwdriver and a T6 Torx screwdriver for the screws in this guide.

  1. UFxRUNaO33K5rBlh
    UFxRUNaO33K5rBlh
    VLcVhOn1yGyPxfNk
    • Disconnect the display by holding it in place while pulling down on the plastic hinge.

    • Slowly apply more and more force as it does take a lot to separate, do not worry about the hinge or display breaking.

  2. UZNoKppAJir5wNvE
    UZNoKppAJir5wNvE
    P5ekKPFlU5jBXmIj
    IUULy6nCKKJwCEat
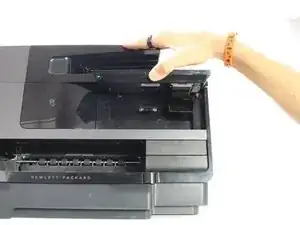
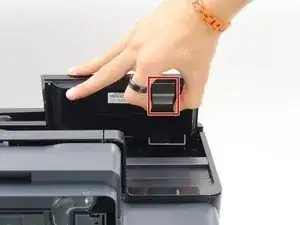
    • Lift the display as high as it will allow to expose the back of the display.

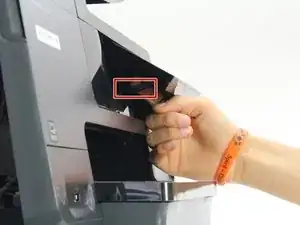
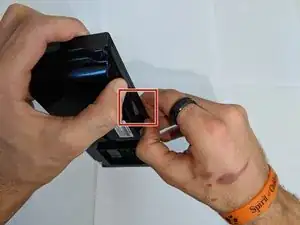
    • Pinch the sides of the cover and pull away from the printer to reveal the connector.

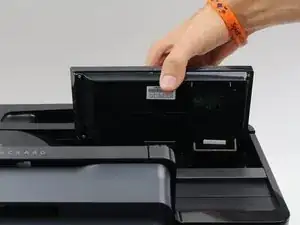
    • Remove the connector by pulling both away from the display and towards the printer.

  3. Hyd4JTfTXYpq1oxl
    Hyd4JTfTXYpq1oxl
    AFmygvfUGhYYJ53q
    kIdpQomJb5FvsEpm
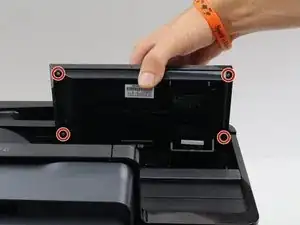
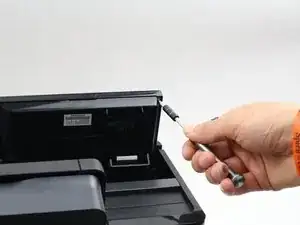
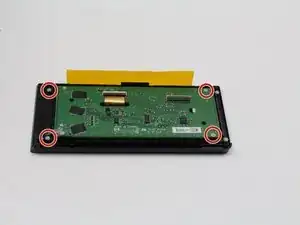
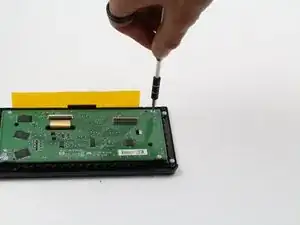
    • Remove the four 6.2 mm T9 screws from the back of the display.

    • Pull the display assembly up and away from the printer.

  4. 6GhADbaJNHnyXjmN
    6GhADbaJNHnyXjmN
    asfARYQSXqRLqQBo
    • Remove the back cover from the display assembly by pressing down on the point of connection.

    • If you use a plastic spudger for this step, be careful not to brake the plastic as you do not need to use much force to remove the back cover.

  5. dsOfnbTXJNjyJoki
    dsOfnbTXJNjyJoki
    EpOv1shrgEei3Mle
    • Remove the four 4.8 mm T6 screws from the back of the display motherboard.

  6. YwC3qYBIb2PcgJIf
    YwC3qYBIb2PcgJIf
    ghJOOgVoOVMwCJyF
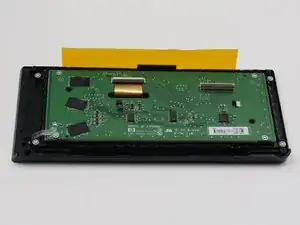
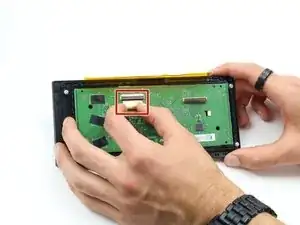
    • Remove the connection on the front of the display motherboard.

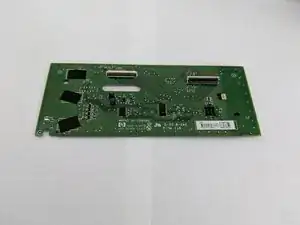
    • Remove the display motherboard.

Conclusion

To reassemble your device, follow these instructions in reverse order.

Daniel

Member since: 08/10/18

283 Reputation

0 comments