Introduction
This guide will teach you how to remove the Cover on your HP Officejet Pro 6835 or 6830 to reach the main components.
-
-
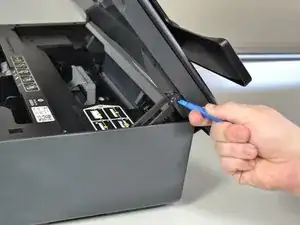
Open the main lid as far as it will go.
-
Use a plastic opening tool to gently pry off the hinge on the right side by pushing it to the left and off the hook.
-
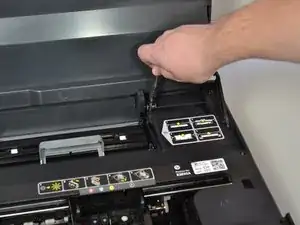
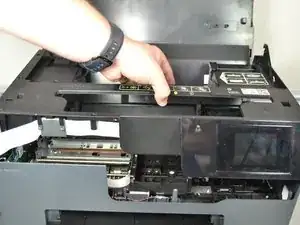
Open the lid further.
-
-
-
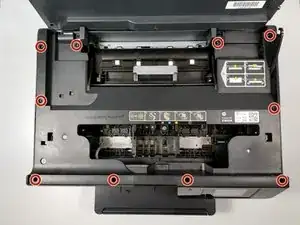
Use a T9 torx screwdriver to remove a total of ten (10) 12mm screws from the main cover by turning the screwdriver counterclockwise.
-
-
-
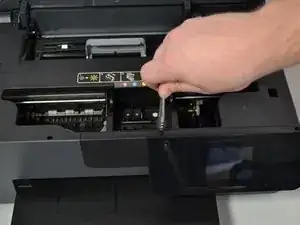
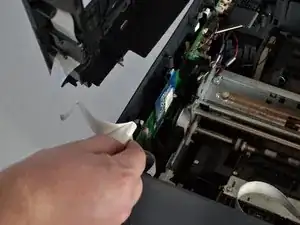
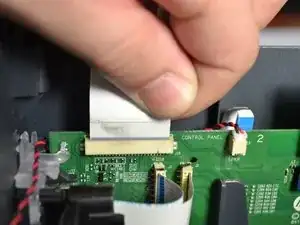
Grab the base of the white ribbon cable connecting the cover to the base of the printer and pull it out.
-
Conclusion
To reassemble your device, follow these instructions in reverse order.
Better use the pliers (Spitzzange like this). One tip into the hole the other onto the plastic hook, then turn the pliers anticlockwise - and open it is, without any damage :-)
The trick is shown here: https://youtu.be/-PwJhT1_uAw?t=180
Michael Gasperl -