Introduction

  1. 1G6HEHT6rkxNrCJg
    • Before beginning, make sure the laptop is completely turned off by pressing the off button and waiting for the screen to turn black.

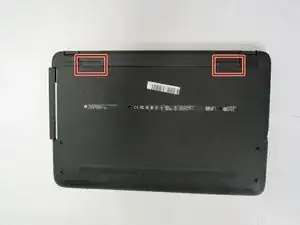
    • Flip the laptop over so the battery is exposed which will be next to the hinges on the top left and right.

  2. pTYgUQ5wLbid2vrs
    pTYgUQ5wLbid2vrs
    3SpH5ti4VOgpms6Y
    EMyea2CdIWSluURM
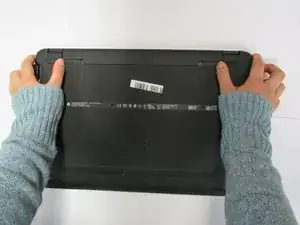
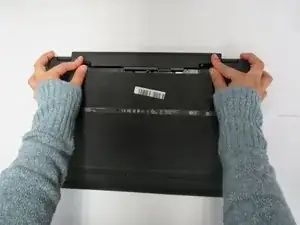
    • Place your thumbs on the slide locks that are next to the hinges and simultaneously push them toward each other to unlock the battery.

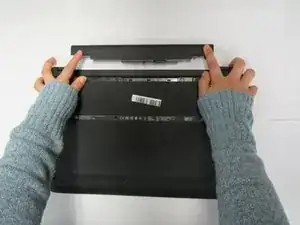
    • While still holding onto the slide locks, push the battery away from the laptop with your index fingers.

  3. 3nJGJBbODhhGJcKW
    3nJGJBbODhhGJcKW
    mKI4a1CsnjHCpdwe
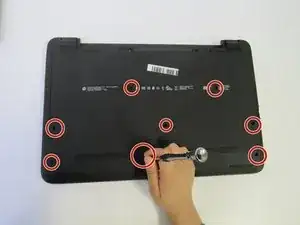
    • Unscrew the 8 screws on the back cover.

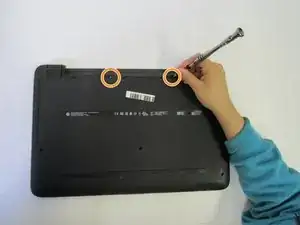
    • There are also two screws in the battery area that need to be removed.

    There’s two more screws under each rubber feet located beside the battery. After removing the rubber feet they can be install without adding any more glue.

    Arturo Cordero -

  4. ocLQXANDdFU41qEl
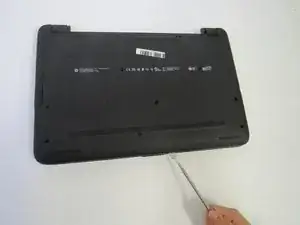
    • Use an opening tool to help remove the back cover.

    • If you look at the side of the laptop, you can see where it can be separated into two parts.

  5. VDSvbpwFDybaYQZY
    VDSvbpwFDybaYQZY
    O3ohVPhPUrxhI6v4
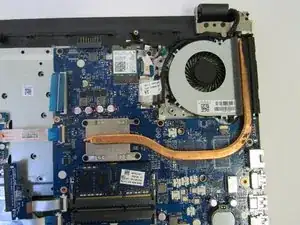
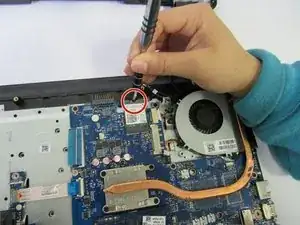
    • Use a Phillips screwdriver to remove the screw holding down the wifi chip.

  6. sIhavXcgBhWBGXO6
    sIhavXcgBhWBGXO6
    youSnKOA3iBnCwxW
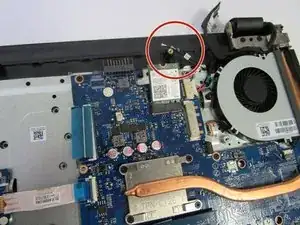
    • Remove the two wires connected to the wifi chip.

    • The wires are labeled 1 and 2. This is important to know when reconnecting the wires to the wifi chip.

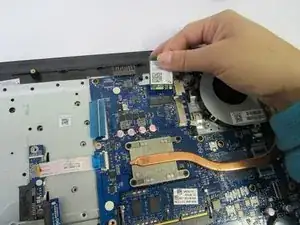
    • Gently pull the wifi chip out and replace with a new wifi chip.

Conclusion

To reassemble your device, follow these instructions in reverse order.
Terrell Bradford

Member since: 18/09/18

443 Reputation

0 comments