Introduction

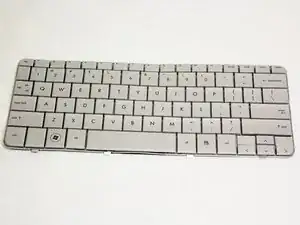
If you have experienced a malfunction with your keys or overall keyboard, you should change the entire keyboard on your HP Mini 311.

  1. VJSryLLgvJ2J2FiF
    VJSryLLgvJ2J2FiF
    mfk65y1EPtCOYlNZ
    hT3YMWeRyOVFTIFe
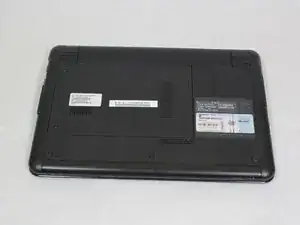
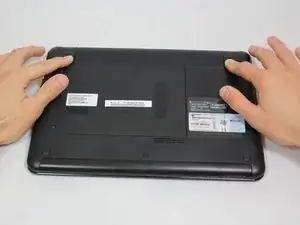
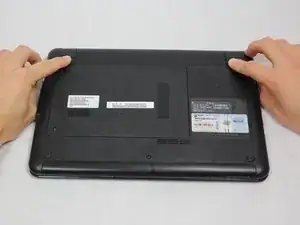
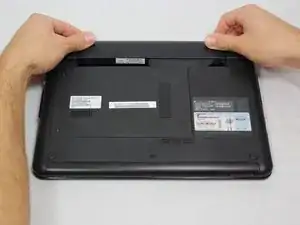
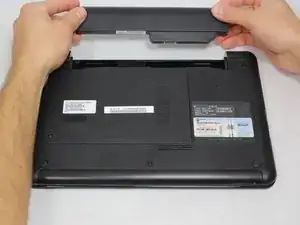
    • Lay the laptop on a flat surface, bottom side up and slide the two battery release latches toward the outside of the case.

  2. vUMCijFoCENuCVdB
    vUMCijFoCENuCVdB
    BVeVIFZTjUVsVFuH
    • Slide the battery away from the device to remove.

  3. ZSBawQS6LNhQRNfb
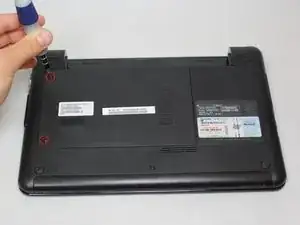
    • With the device still in a bottom side up position, proceed to unscrew the two 4.8mm Phillips 00 screws from the memory shield.

    • The screws will remain in the shied.

  4. XaFJcfdAjSkpYfja
    XaFJcfdAjSkpYfja
    mFBOg3XWi5DNDQfL
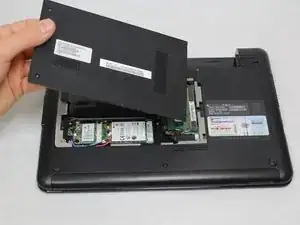
    • Lift the memory shield up and remove from the laptop.

  5. awHYcpXaY232KICP
    awHYcpXaY232KICP
    XRm3sZghxvBPfCDq
    wJFiUPyqdCa4nK1C
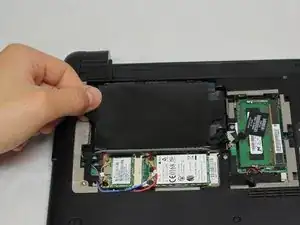
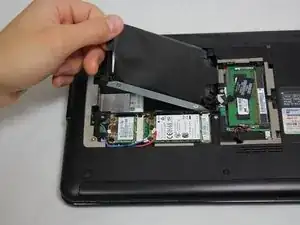
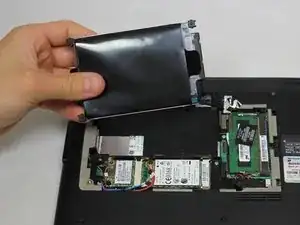
    • Grab the left black, plastic tab and carefully pull upward.

    • Be sure to pull carefully. Pulling too forcefully may damage the tab.

  6. FRoYiacLNJiMRVNX
    FRoYiacLNJiMRVNX
    AU4pgYqkSkSXQjPH
    HOk4IWSGAELI2of1
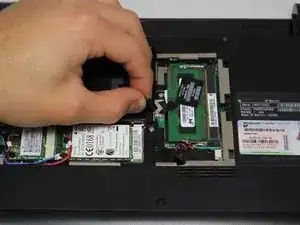
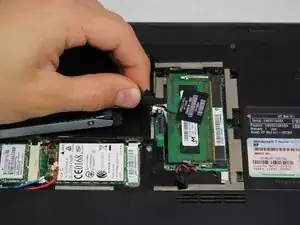
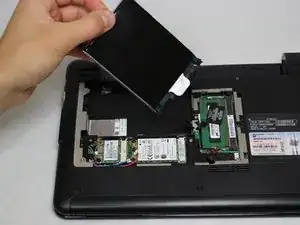
    • Grab a hold of the wire connecting the hard drive and the device.

    • Pull upward, perpendicular to the surface of the laptop, releasing the connector tethering the hard drive to the motherboard.

  7. QIfj2qDgCK3bNemd
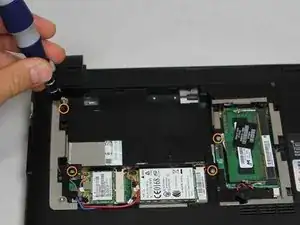
    • Unscrew the four Phillip 00 5.6 mm screws located around the wireless card and RAM.

  8. JW6JCC3bG4INZLKI
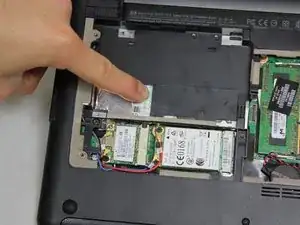
    • Open the laptop so that the screen and front of the keyboard are both facing the ground.

    • Push on the opening on the back side of the device until the keyboard partially pops out.

    • This opening is located where the original hard drive was set.

  9. QDwv4lDyJ5PlPOQE
    QDwv4lDyJ5PlPOQE
    I5i35oNldIPAZfJp
    MEHBMaaTTWV5iNMK
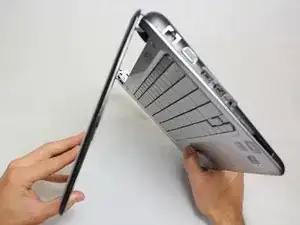
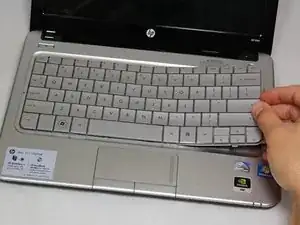
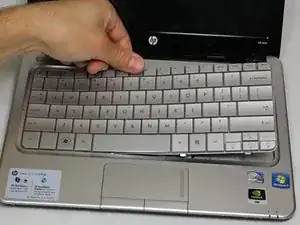
    • Flip the device around and orient it so that the screen and keyboard are facing you.

    • Starting at the right side, work your way towards the left end and remove the keyboard by unhinging the latches attaching it to the base of the device.

    • The right side of the keyboard should be unattached.

    • Be gentle and patient. You don't want to pull the entire keyboard at once, but rather pull by sections.

  10. 2JlHmNNwjbPUijTV
    2JlHmNNwjbPUijTV
    OkYh1TYsXiIBiHCK
    sbI6VWrMU1tZxSTL
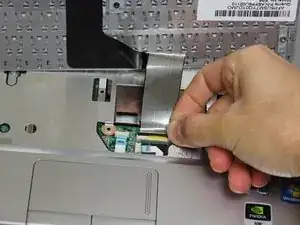
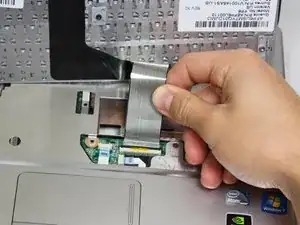
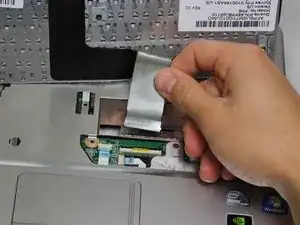
    • Carefully pull the ribbon cable connecting the keyboard and the laptop to remove from the device.

Conclusion

To reassemble your device, follow these instructions in reverse order.
Christian Santoyo

Member since: 31/01/13

495 Reputation

0 comments