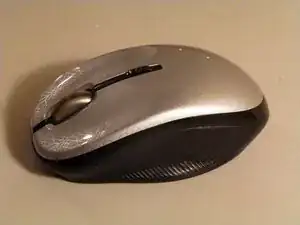
Introduction
There are 3 methods to repair a faulty left, right or document flip button in this device.
1) Its likely only one buttons has stopped working, so you can desolder another of the button switches and use it to replace the faulty button. Be careful they melt easily!
2) Buy a new Panasonic EVQ P0E07K tactile switch from a parts distributor. e.g. Digikey, Farnell, Mouser. This is a slightly unusual tactile switch having only 2 pins instead of the more common 4 pins. When purchasing, be aware that the P&P will often cost more than the switch. Try adding this to a larger purchase.
3) Use a longer switch but file it down to the correct height - height is critical! Be sure to get a switch with a low operating force. The Panasonic part used in the mouse is a 0.74N part. Larger forces create a bigger clunk!
Parts
-
-
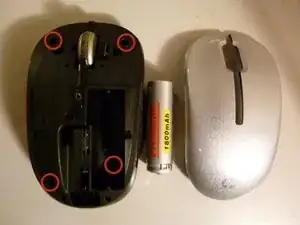
Remove the screws and keep them safe. One screw is under where the battery was located.
-
Gently lift the cover from the mouse to reveal the Printed Circuit Board.
-
-
-
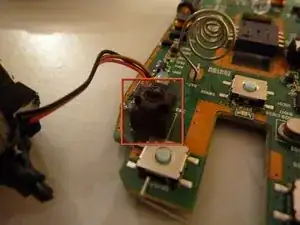
Study how the antenna wire in front of the mouse wheel and the mouse wheel assembly are located into the PCB. You'll need to know this when you perform the re-assembly. Also note which side the power switch is set to.
-
Remove the mouse wheel from the assembly, then remove the PCB.
-
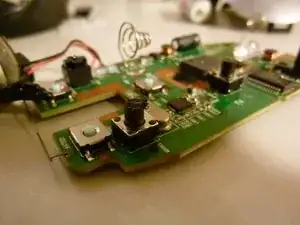
The tactile switches for the left, right or page down buttons are tall black and square devices. One can be seen next to the wire in the picture.
-
-
-
The new EVQ P0E07K can be seen in the image.
-
Using your soldering Iron, de-solder the old switch by placing tweezers under the switch for leverage whilst heating the pins.
-
You may find it easier to wriggle the switch out one pin at a time, rather than heating both pins at once.
-
De-solder the holes with the solder pump or wick.
-
Insert the new buttons and solder, ensuring they are flush with the PCB.
-
Re-assemble the mouse carefully ensuring the power switch, lens, antenna and mouse wheel are in the correct locations.
-
Test the switch works acceptably before screwing the unit back together.
-

To reassemble your device, follow these instructions in reverse order.